Clipchamp – Create a Custom Presentation Video
![]()
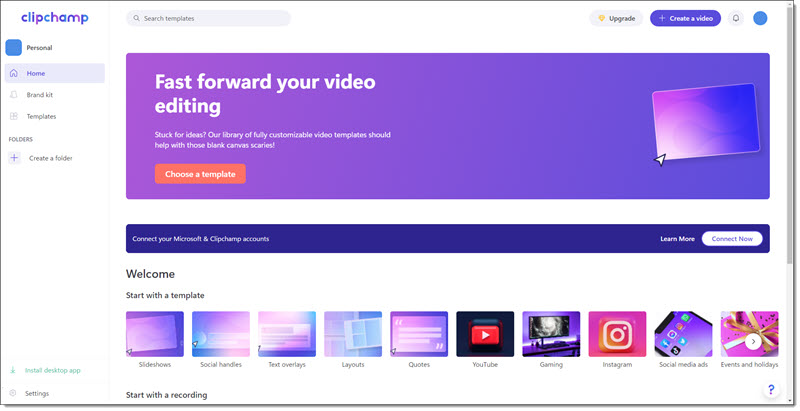
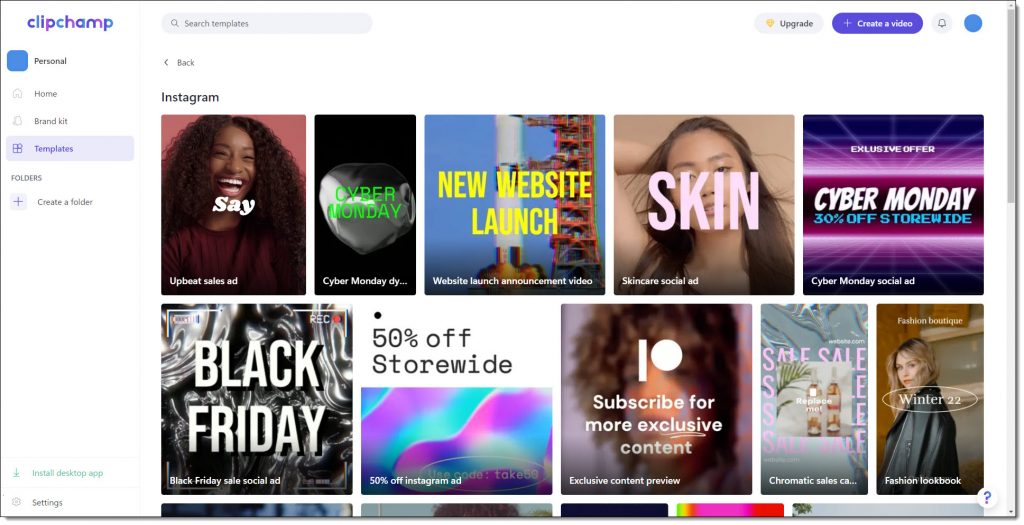
When you open Clipchamp there is a lot of social media video templates, but we focus on using Clipchamp as a video editing app. As example, creating a video for a PowerPoint presentation.
Note: PowerPoint has some very good video editing tools and styling features. Like the ability to trim the beginning and/or end of a video. Easily adjust the playback size of a video, crop a video, or even recolor a video. But when the goal is to remove a middle section of a video, or merge multiple videos into a single video, a more full feature video editor is going to be the solution. While we are a very Adobe centric design studio (ie.Adobe Premiere and After Effects), ClipChamp is quickly becoming a favorite for these quick video edit needs that are beyond PowerPoints native video tools.
The read time on this is most likely longer than the actual edit time (under 5 minutes to create the video for this tutorial). We are merging two videos with a fade transition from one to the other, rendering and adding the new single video to a slide.
- Open Clipchamp (TIP: use as a local app vs. web-based browser app – this will save time on not needing to upload video clips to Clipchamp servers).
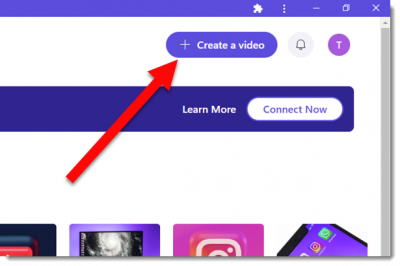
- Click on the “Create a Video” button on the upper right corner of the screen.
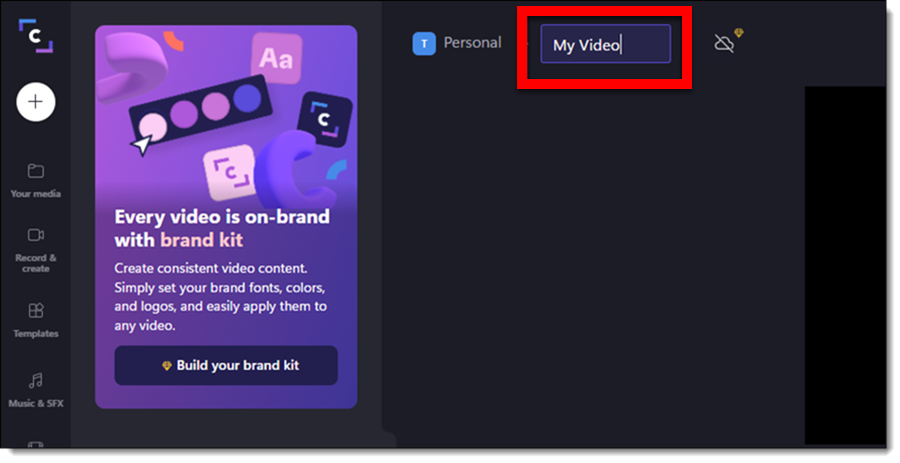
- Name the video by clicking “Untitled Video” text in the upper left hand (TIP: this will be the file name in your project list and the name used for the rendered video).
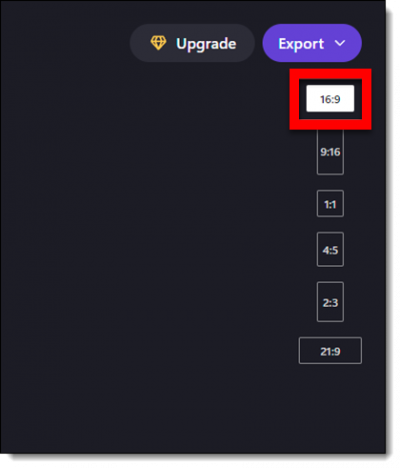
- The default video aspect ratio is 16:9. But other aspect ratio options are available. Click the “16:9” button on the right below the “export” button and pick an option from the drop-down list.
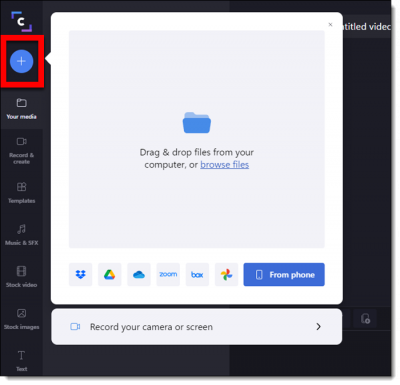
- Add media for the project (videos, images, audio files, etc.) by clicking the “+” icon on the left and drag-and-drop.
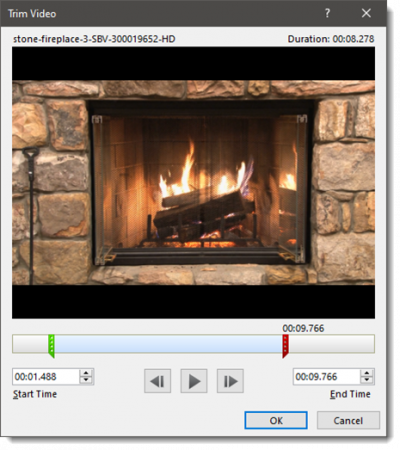
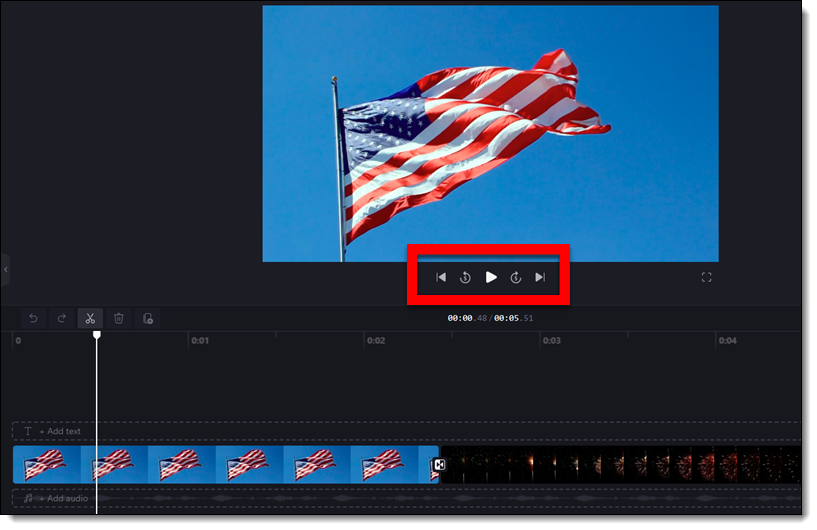
- We have added 2 videos and added them to the editor timeline (in the order of playback). Use the “scissors” tool to trim videos if needed.
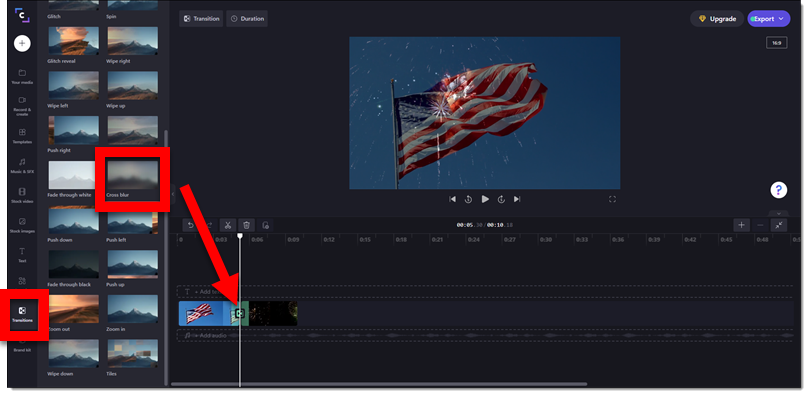
- To add a fade transition of your choice between videos by clicking the “Transitions” tab on the left menu (the example video uses the “Cross blur” transition) and drag the transition from the left to “+” icon between the video clips.
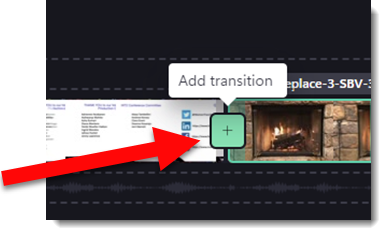
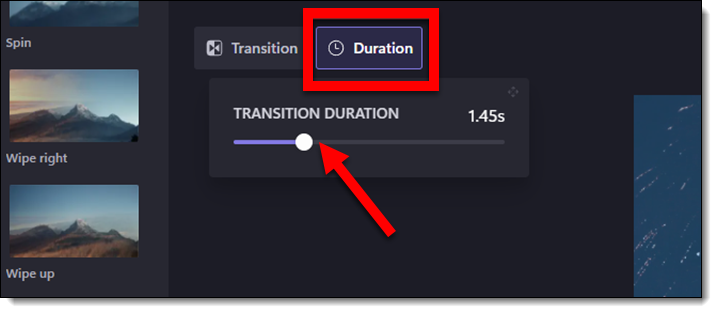
- TIP: transitions can be adjusted by clicking the “+” icon and then in the top left either TRANSITION (to change what transition effect is used) or DURATION (to change the length of the duration).
- Preview the video with the playback buttons.
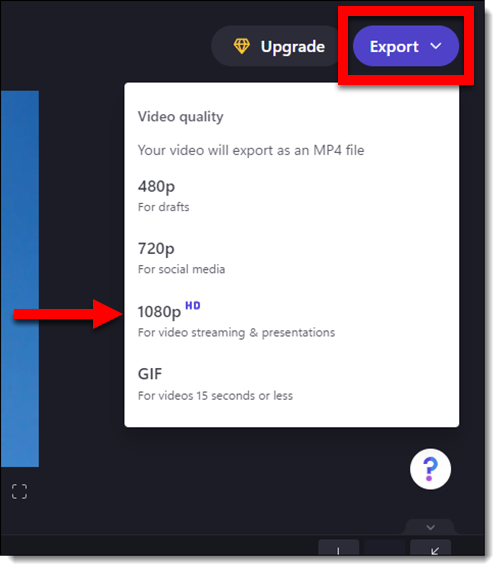
- Create the video (eg. render the video) by clicking the “Export” button on the top right. From the drop-down menu, select a resolution – we are using the standard HD, 1920×1080 option.
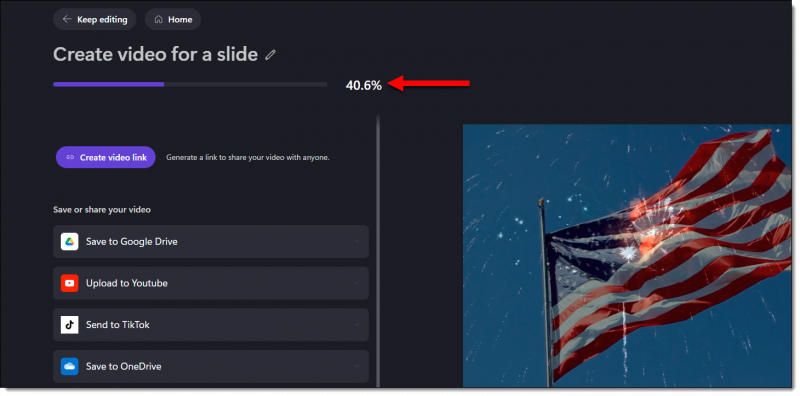
- The progress bar show a percentage complete, but unfortunately does not show an estimated time remaining. The video downloads to the computer DOWNLOADS folder. Other options to create a shareable link or upload direct to other online destinations are available.
And here is our video on a slide!
Clipchamp – Install Guide
![]()
Clipchamp is a video editing app that focuses on making video editing simple and fun. It was purchased by Microsoft with the goal to “empower creators.” Users can edit videos for a variety of social media platforms, such as YouTube and Instagram, or video to be used in a PowerPoint presentation. The app focuses on their template designs, but ignore that, import your own media, and have an easy to use video editor that exports professional file formats.
Getting Clipchamp has many options right now; download from the Clipchamp website, download from the Microsoft App Store, or the mobile version (review of the mobile app later in this series) at the Apple or Android app stores. One note, ClipChamp is not available for Mac computers currently.
At TLC Creative our focus is presentation design, so here is the process of installing on a Windows computer.
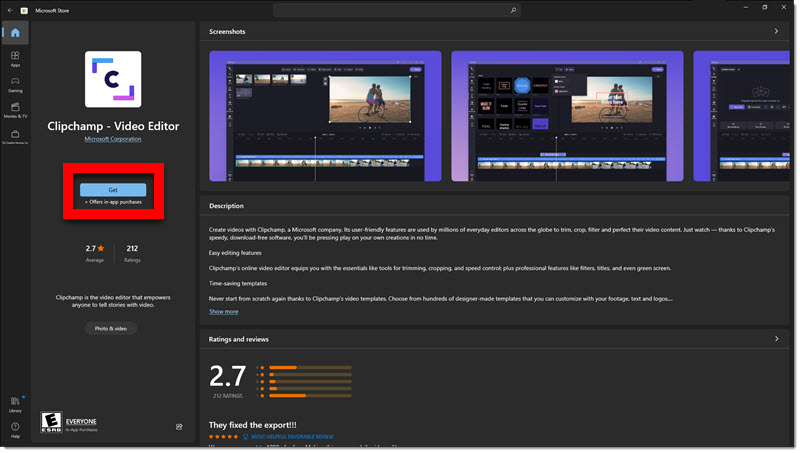
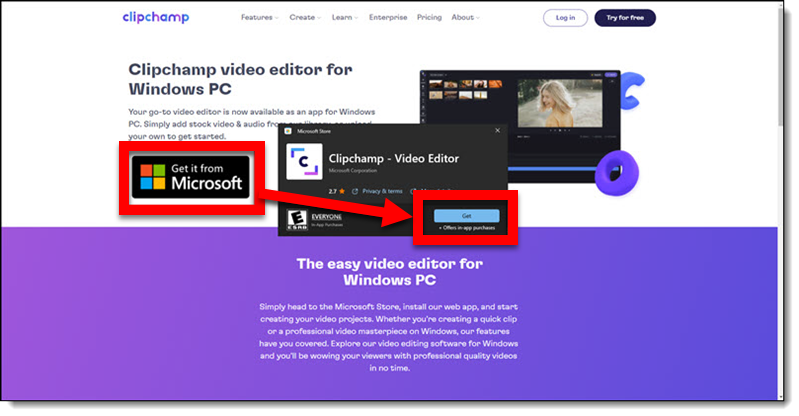
1. Open the Microsoft app store and search for “Clipchamp”.
2. Click on Clipchamp and “get” to download.
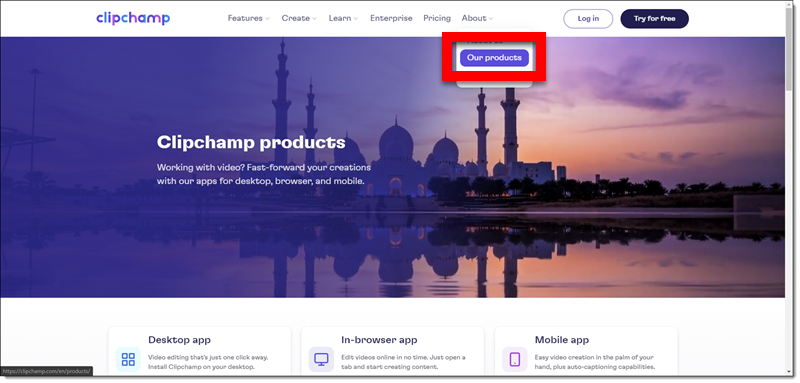
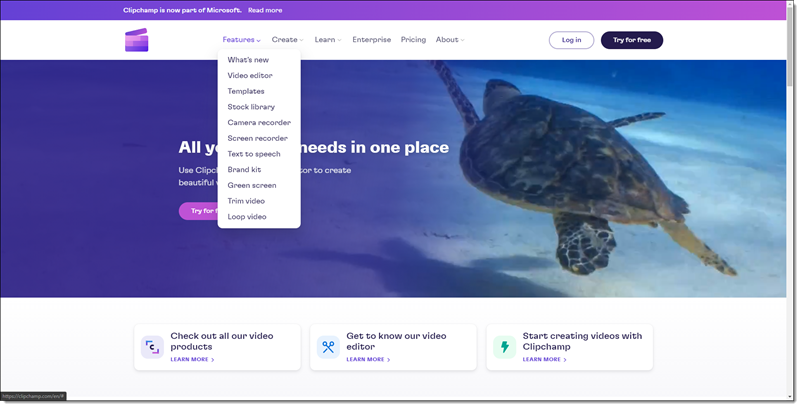
3. Alternately, go to the Clipchamp website, which ultimately takes you to the Microsoft app store to install. Hover over the “About” link in the top navigation menu and click on “Our products” from the drop-down menu.
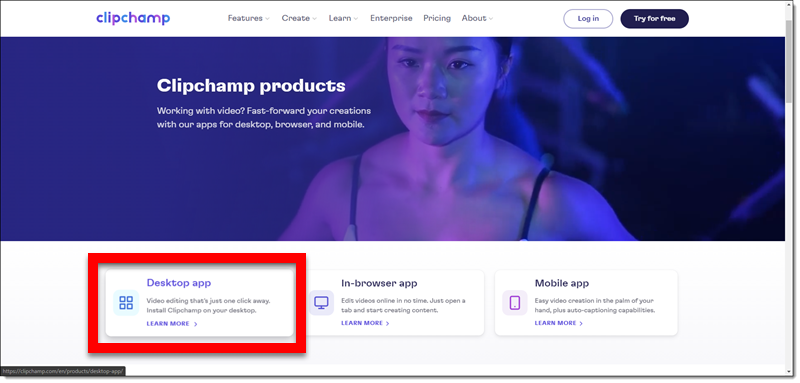
4. On the product information page, click “Desktop app”.
5. Then click the option that you need (eg. “Microsoft’s Windows”).
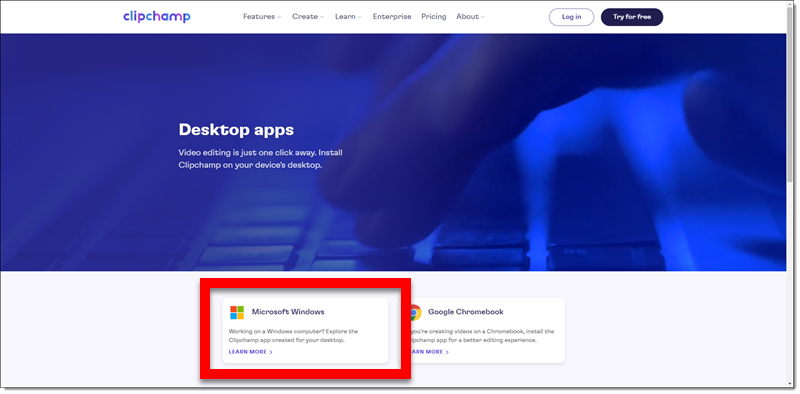
6. Then click “Get it from Microsoft” button. The pop-up window is the Microsoft Store. Click “get” to download and install.
When installed on a computer, the app interface is virtually the same as the web-based interface, but you do not need to upload media (eg. videos, photos, audio) and can work on them as local files.
More to come!
Karen @ TLC
Clipchamp – A New Video Editor
![]()
Climpchamp is a video editing app that focuses on making video editing simple and fun. Microsoft recently acquired the company and is adding clipchamp to its array of features. Microsoft notes the goal is to “empower creators” – and as presentation designers, we are creators!
Clipchamp is a very capable (eg. real) video editing application. It does have a strong focus on video for social media; YouTube, Instagram, etc. – but this blog series is focused on using clipchamp for videos to be used in presentations.
Microsoft acquired Clipchamp, the Australian based video-editing app, in early September 2021 for an undisclosed amount. Clipchamp will soon be pre-installed on Windows 11 computers and is available to all now if they search, download and install. Clipchamp is also unique in that is as a mobile app, web-based browser app, and installed as a local/desktop app.
Troy here at TLC Creative Services has been testing Clipchamp, and already used it on several client projects – which prompted adding this blog series. I heard Troy say he thinks as a Microsoft standard app, clipchamp will become a standard video workflow option for presentation designers.
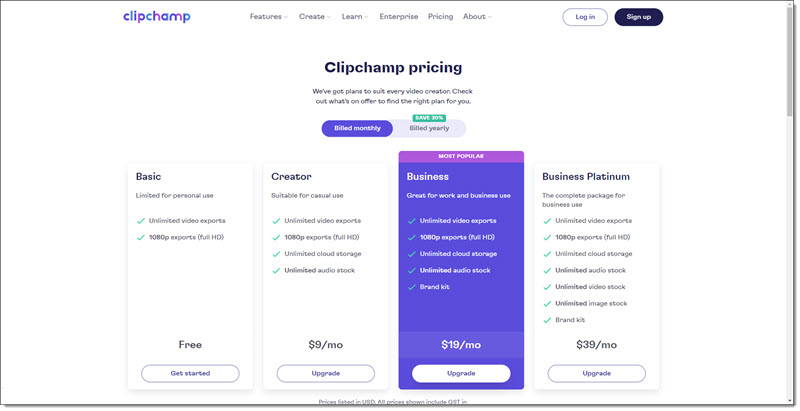
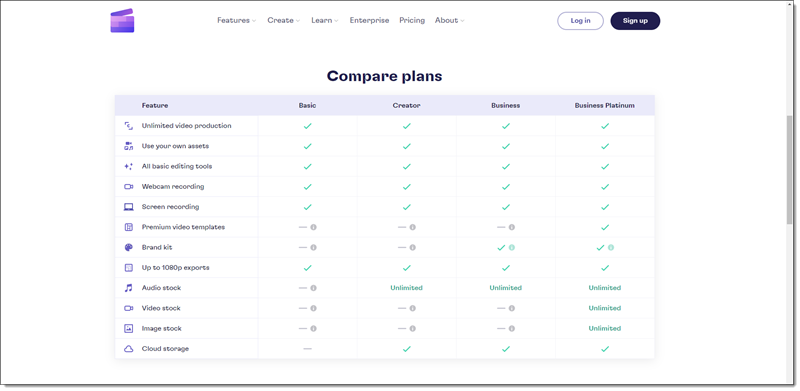
The app is free to use, but is currently a “freemium” app where there is a subscription to add some of its features, such as unlimited cloud storage, unlimited stock media, and create a brand kit.
Clipchamp’s other great features include text-to-speech, video captions, essential tools for trimming and cropping, fade effects, and even green screen. Standby for each to be covered in upcoming blog posts.
Talking about The Present to Succeed Conference on the latest Presentation Podcast episode

The 2nd annual Present to Succeed conference was April 7-8, 2022. This fully online conference’s tagline is, “a lineup of world-class speakers you can’t find anywhere else.” This episode we have coordinated the global time zones and have a great conversation with Boris Hristov about the Present to Succeed conference.
Listen here.
Mac Computer-to-Computer AirDrop is Amazing!
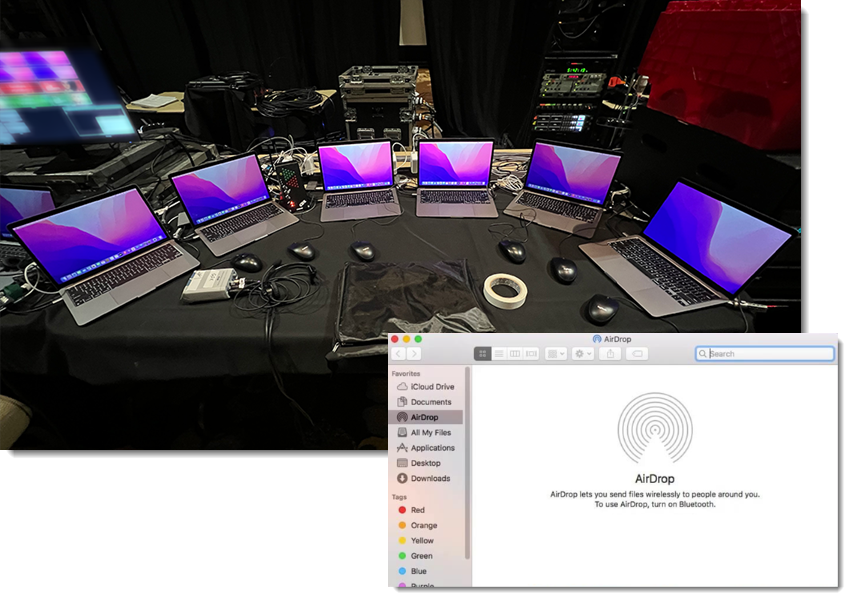
This week’s office for me is surrounded by a fleet of Macbook Pro’s for this event (running Mac PowerPoint). I am definitely a Windows person, but every time I have Macs to work on the magical tool is using the Mac OS AirDrop to seamlessly transfer files between computers – it is absolutely amazing (and missing on Windows computers)!
Troy @ TLC
Remove Text Margins – in 1 Click!
Here is something I do dozens, if not hundreds of times per day. Select a text box > open the Format Shape pane > find the inner margin settings.
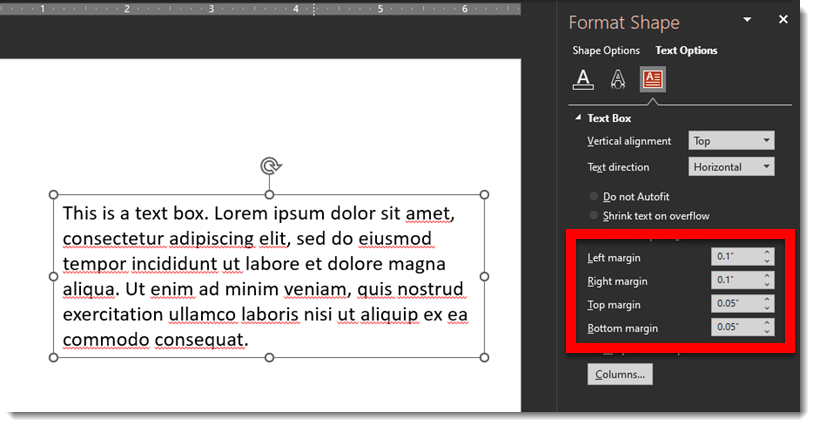
Then change all to zero’s

Recently I added this amazing icon to my QAT
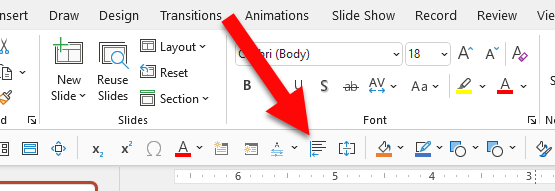
It is the “Remove (inner margins) from Selection” feature now in Brightslide.
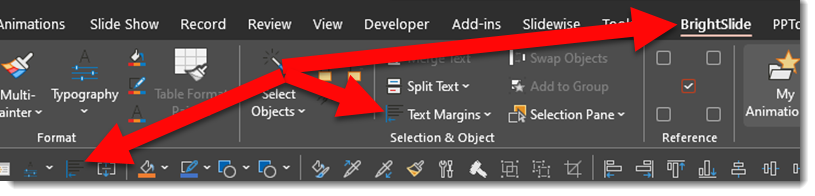
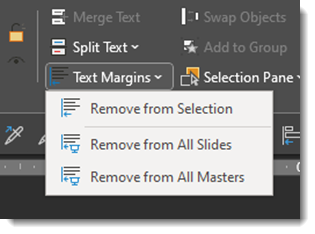
The Brightslide “Text Margins” has 3 options for removing inner margins; from selected shape (this is the one added to my QAT), from every text box on every slide (wow!) or from all Master Layouts (which means any text box associated with a master placeholder will have the inner margins set to zero, but all individual text boxes on slides not connected to a master layout will remain as set).
And the Brightslide PowerPoint add-in suite is FREE from the super people at BrightCarbon!
Troy @ TLC
You’re a Pill!
For a recent project (can we all say “pharma deck”) I needed a medication/pill icon.
- Option 1, which i will admit is my primary option, is to open the Noun Project in PowerPoint, find the icon, copy to slide, modify as needed (because the icons are editable .svg graphics!).
- Option 2, go to Adobe Illustrator and quickly create the needed pill icon (and shortcut the process by selecting – copying – pasting into PowerPoint – which is an editable .svg graphic!).
- Option 3, add a PowerPoint shape, give it a color fill and add text (into the shape – not as a text box on top of the shape!) that labels that shape as a “Pill”. This is a common solution when formatting a 200+ slide deck and have a time constraint budget.
But on this recent project I created option 4, which is really spending some additional time on Option 3 and making it great! Here are a few of my full editable, resizable, recolorable, ready to use “pill” PowerPoint shapes.
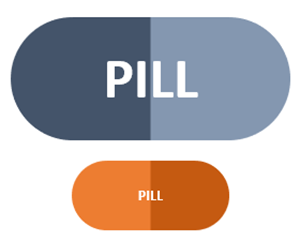
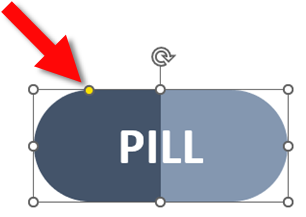
The pill shape is simply a rounded rectangle PowerPoint shape with the rounded corner adjuster moved inward to create fully rounded ends to the rectangle.
It is also a 2 color gradient, with 4 color stops.
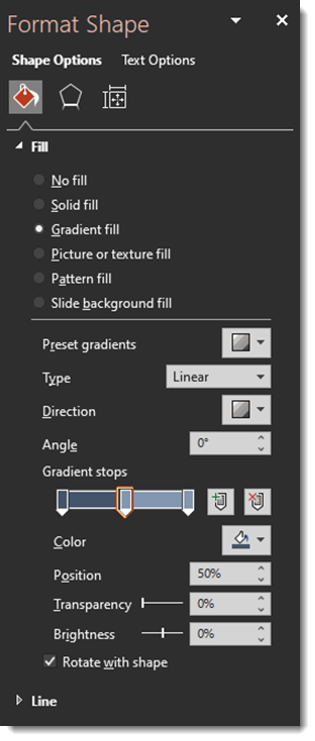
The tricky part is manually entering the middle color stop positions vs. click-and-drag. Set both to 50%, which eliminates any gradient soft edge and completes the 2 color pill icon.

For my presentation, I also moved away from a flat icon styling to a slight 3D bevel look by using PowerPoints 3D shape option.

Download the PowerPoint Pill Shape on a slide HERE
Troy @ TLC