![]()
When you open Clipchamp there is a lot of social media video templates, but we focus on using Clipchamp as a video editing app. As example, creating a video for a PowerPoint presentation.
Note: PowerPoint has some very good video editing tools and styling features. Like the ability to trim the beginning and/or end of a video. Easily adjust the playback size of a video, crop a video, or even recolor a video. But when the goal is to remove a middle section of a video, or merge multiple videos into a single video, a more full feature video editor is going to be the solution. While we are a very Adobe centric design studio (ie.Adobe Premiere and After Effects), ClipChamp is quickly becoming a favorite for these quick video edit needs that are beyond PowerPoints native video tools.
The read time on this is most likely longer than the actual edit time (under 5 minutes to create the video for this tutorial). We are merging two videos with a fade transition from one to the other, rendering and adding the new single video to a slide.
- Open Clipchamp (TIP: use as a local app vs. web-based browser app – this will save time on not needing to upload video clips to Clipchamp servers).
- Click on the “Create a Video” button on the upper right corner of the screen.

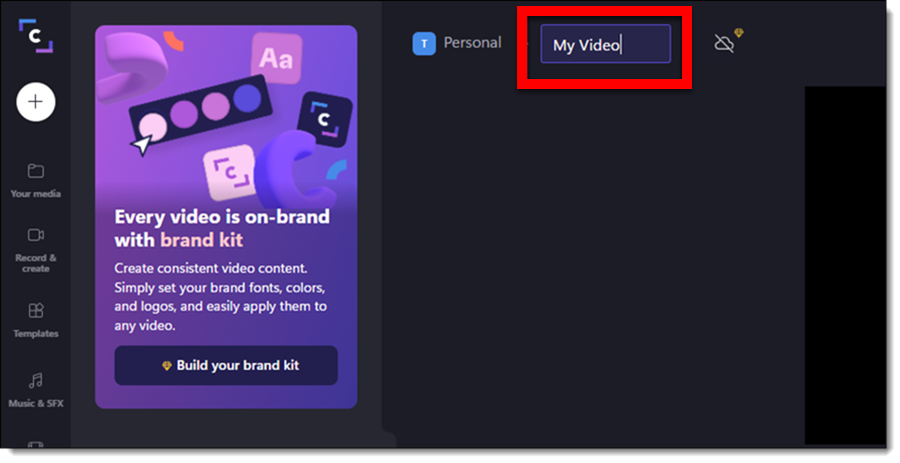
- Name the video by clicking “Untitled Video” text in the upper left hand (TIP: this will be the file name in your project list and the name used for the rendered video).
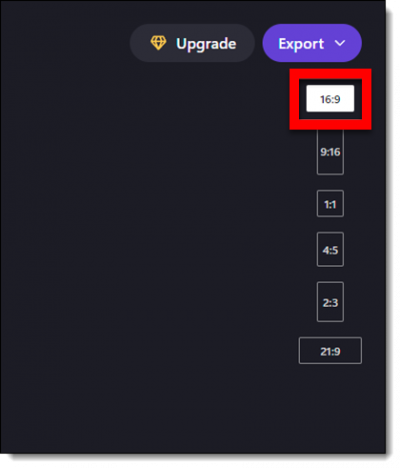
- The default video aspect ratio is 16:9. But other aspect ratio options are available. Click the “16:9” button on the right below the “export” button and pick an option from the drop-down list.
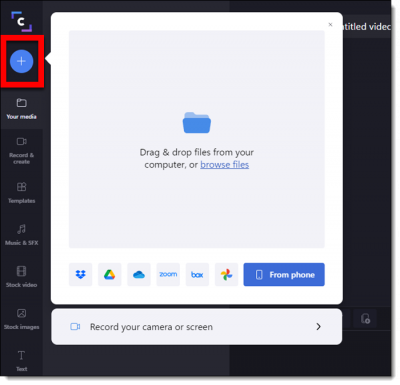
- Add media for the project (videos, images, audio files, etc.) by clicking the “+” icon on the left and drag-and-drop.
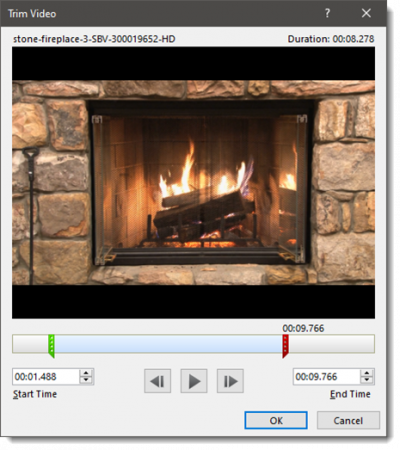
- We have added 2 videos and added them to the editor timeline (in the order of playback). Use the “scissors” tool to trim videos if needed.
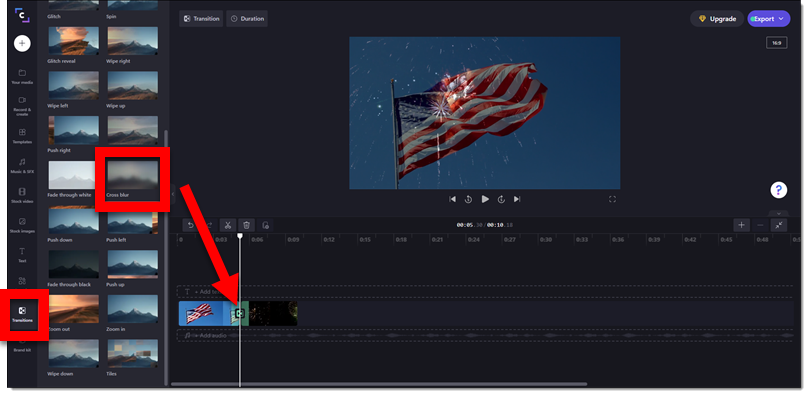
- To add a fade transition of your choice between videos by clicking the “Transitions” tab on the left menu (the example video uses the “Cross blur” transition) and drag the transition from the left to “+” icon between the video clips.
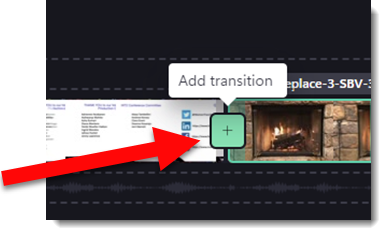
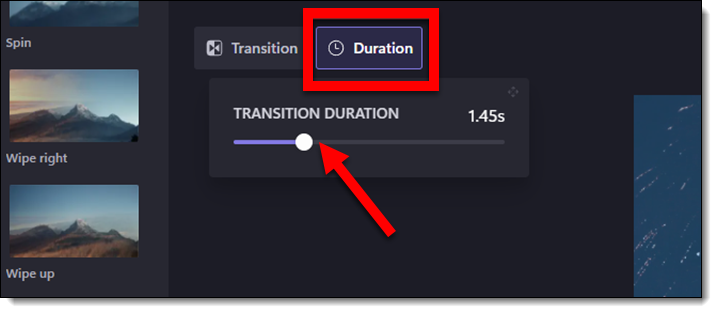
- TIP: transitions can be adjusted by clicking the “+” icon and then in the top left either TRANSITION (to change what transition effect is used) or DURATION (to change the length of the duration).
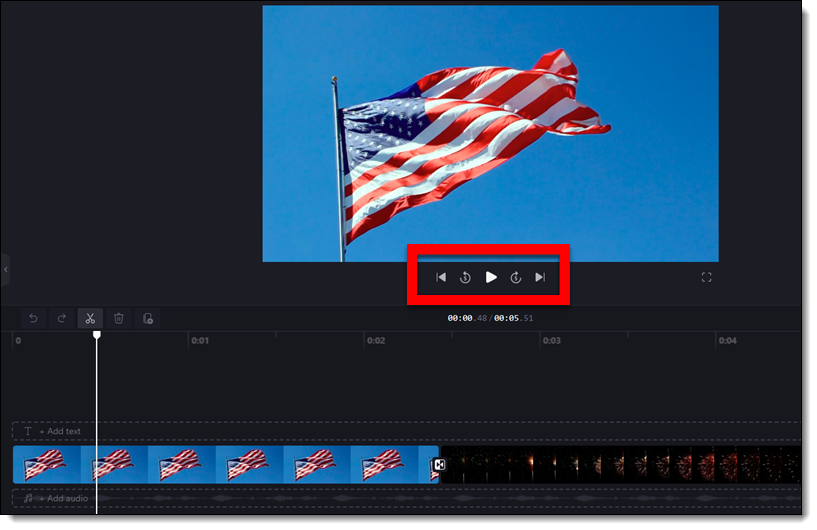
- Preview the video with the playback buttons.
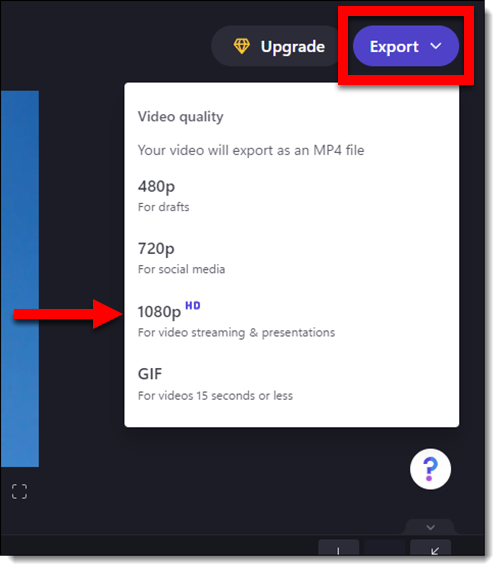
- Create the video (eg. render the video) by clicking the “Export” button on the top right. From the drop-down menu, select a resolution – we are using the standard HD, 1920×1080 option.
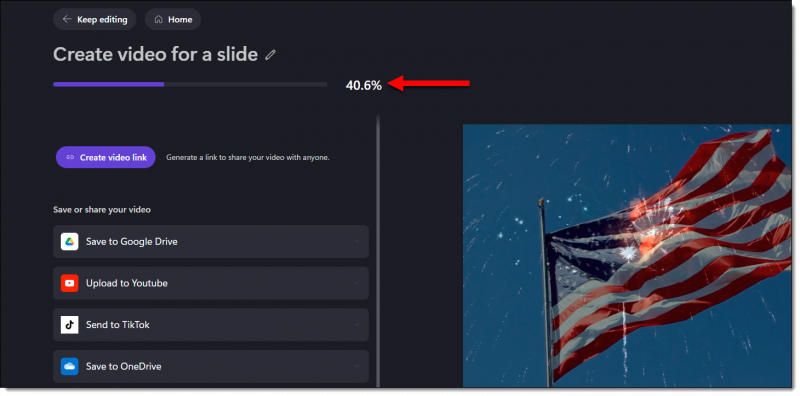
- The progress bar show a percentage complete, but unfortunately does not show an estimated time remaining. The video downloads to the computer DOWNLOADS folder. Other options to create a shareable link or upload direct to other online destinations are available.
And here is our video on a slide!