PowerPoint Metallic Lines
Continuing our exploration of PowerPoint’s capabilities to create metallic effects on shapes, let’s look at how we can create some metallic lines. These are super useful for underline effects, outlines, or other accents in your presentation.
For this first example, we used a very similar gradient to yesterday’s shapes. Select any PowerPoint line, right-click and select FORMAT SHAPE, go to the LINE section, and select the GRADIENT line option. Here we used a linear gradient, 4 gradient stops, but 0 angle. Download an editable PowerPoint slide with the Gold, Bronze, and Silver metallic lines here.
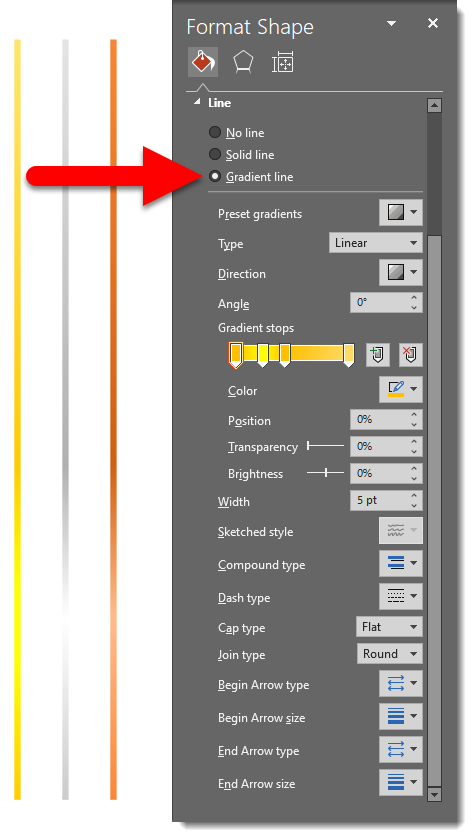
For a more sophisticated metallic look in this example, we added more gradient stops (7 total) with darker colors. The thinner lines also create a more elegant look. Again, create any PowerPoint line, right-click and select FORMAT SHAPE, go to the LINE section, and select the GRADIENT line option. Download an editable PowerPoint slide with the Gold, Bronze, and Silver metallic lines here.

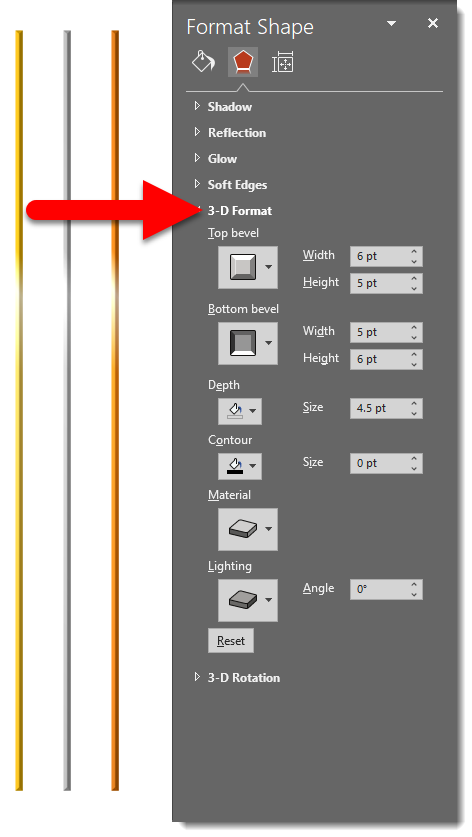
We can make these lines even more convincingly metallic with the same bevel trick that we used with the shapes. The gradient used here is similar to the above 7-stop gradient, with a bevel effect applied on top. Right-click on your PowerPoint line and select FORMAT SHAPE, go to the EFFECTS tab, and open the 3-D FORMAT options. Manipulate the bevel depth for different effects. Download an editable PowerPoint slide with the Gold, Bronze, and Silver metallic lines here.
PowerPoint Metallic Shapes
Adobe Illustrator is the best vector art program for creating metallic effects. Adobe Photoshop is an amazing raster image editing app with tons of presets for realistic metallic effects. PowerPoint… We use metallic effects in PowerPoint all the time! These are surprisingly simple gradients that can be created and applied directly in PowerPoint. Over the next several posts, we’re going to highlight some great ways to create and apply metallic effects in PowerPoint.
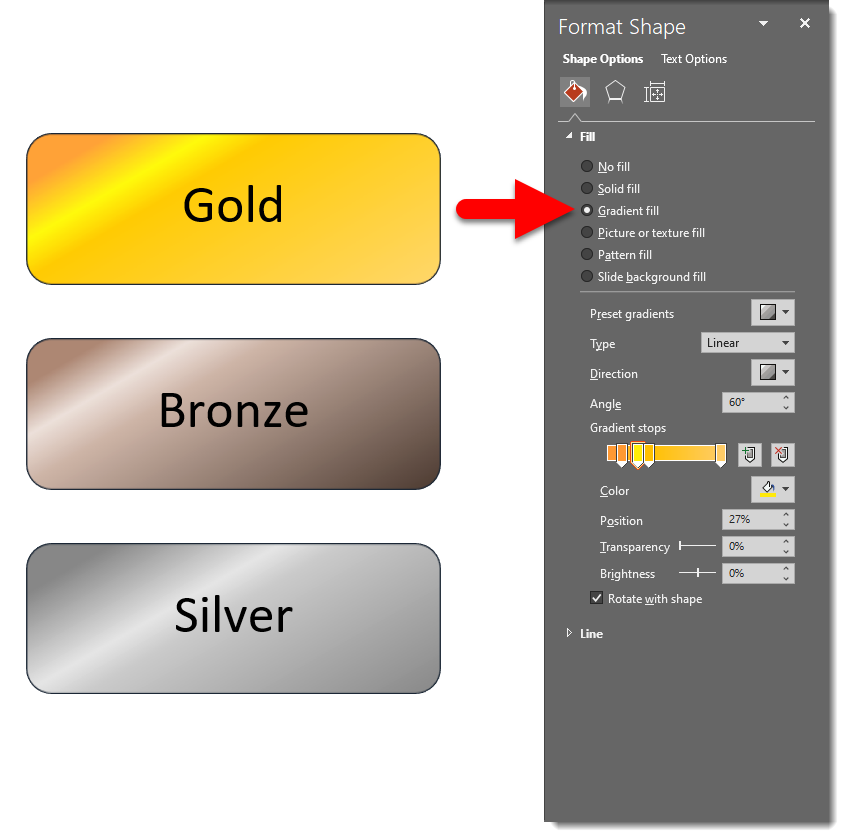
First up is making a PowerPoint shape have a metallic fill. By using the right colors and gradient stops, you can achieve some pretty nice metallic effects on any sort of PowerPoint shape. Select any PowerPoint shape, right-click and select FORMAT SHAPE, go to the FILL section, and select the GRADIENT fill option. This examples uses a linear gradient, a 60° angle, 4 gradient stops with slightly lighter and darker hues, and an off-center position.
Download an editable PowerPoint slide with the Gold, Bronze, and Silver metallic shapes here.
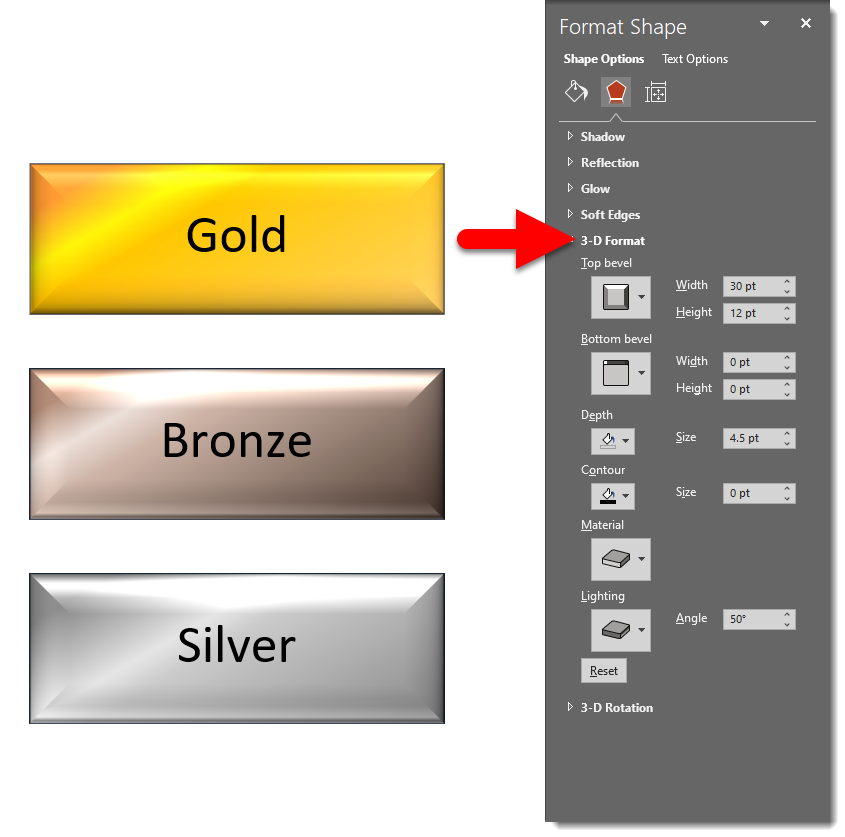
You can also make the metallic effect even more emphasized by layering a PowerPoint bevel effect on the shape. Same thing; FORMAT SHAPE > FILL > GRADIENT. Then go to the EFFECTS tab > 3-D FORMAT. Download an editable PowerPoint slide with the beveled effect Gold, Bronze, and Silver metallic shapes here.
How to Toggle the Brightslide Instant Selection Pane
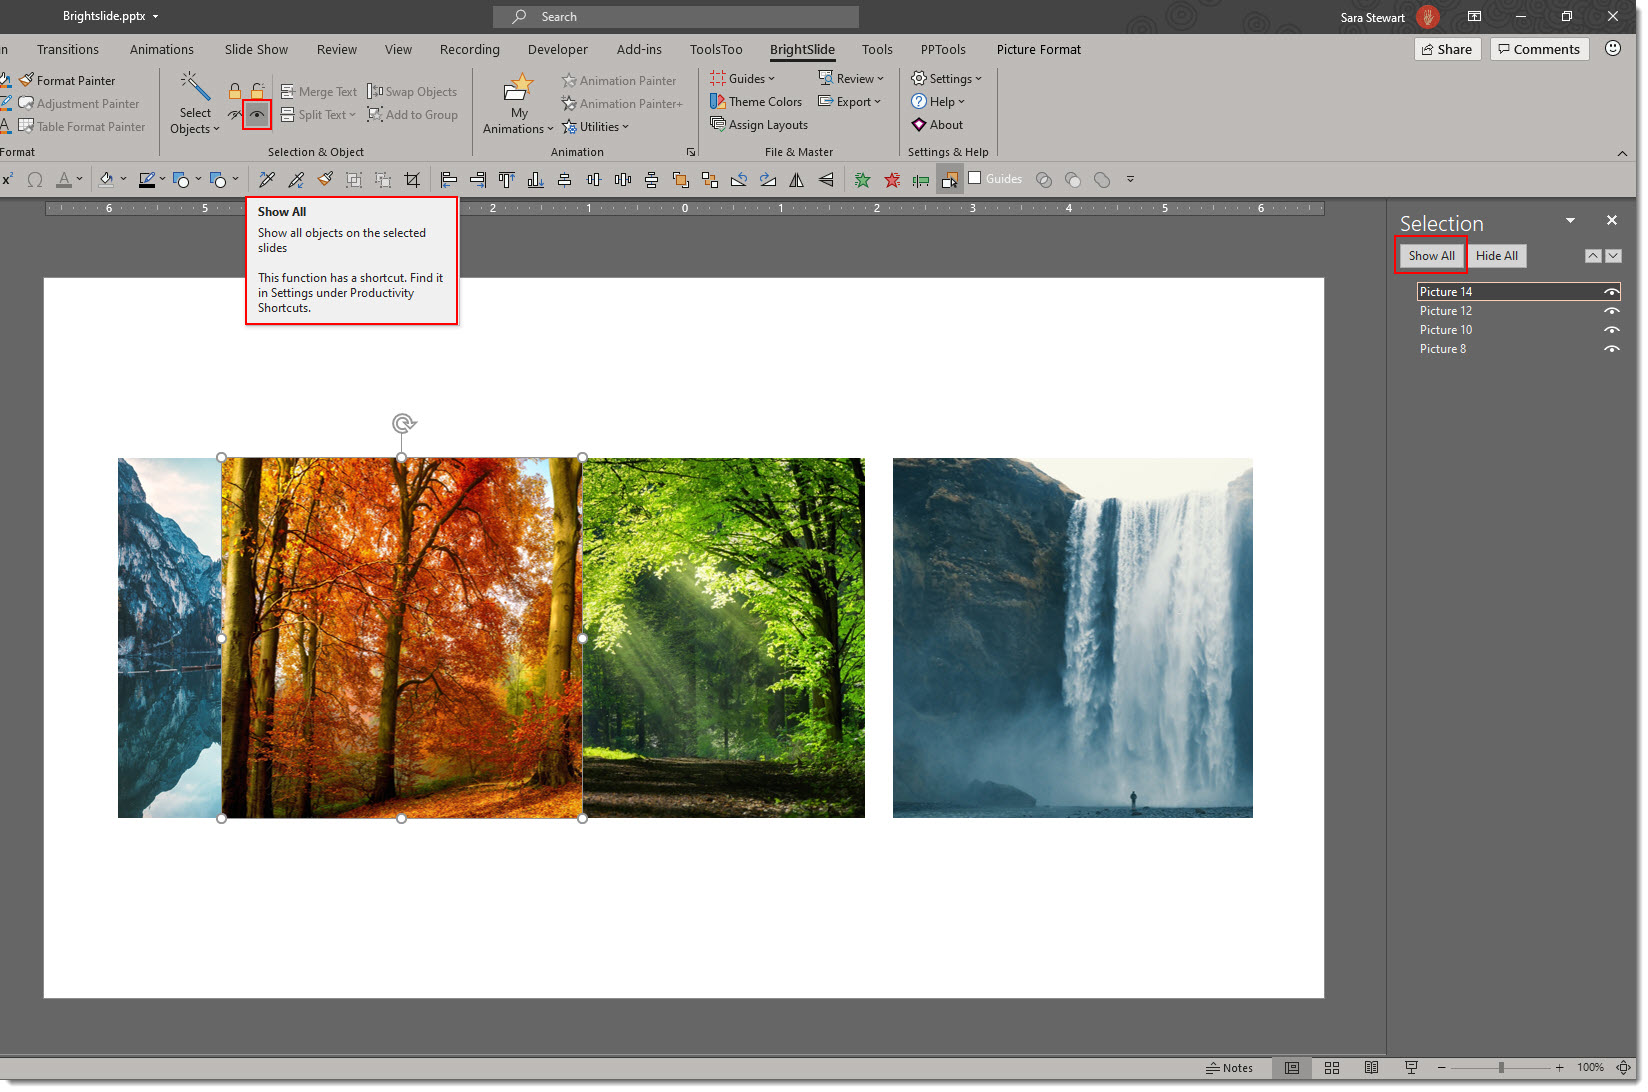
Working on densely layered or animated PowerPoint slides is where the Selection Pane shines. It is almost essential to be able to hide select layers. Usually this involves navigating to the selection pane hidden deep in the view tab. Tip: every TLC Creative computer has the Selection Pane on the QAT for fast access. To do things even faster, the Brightslide add-in has a 1 click toggle to turn off the visibility of any element selected!

Select any object, go to BRIGHTSLIDE, SELECTION & OBJECT section, and click the “hide eyeball” icon. Done, object has been turned off on the Selection Pane!
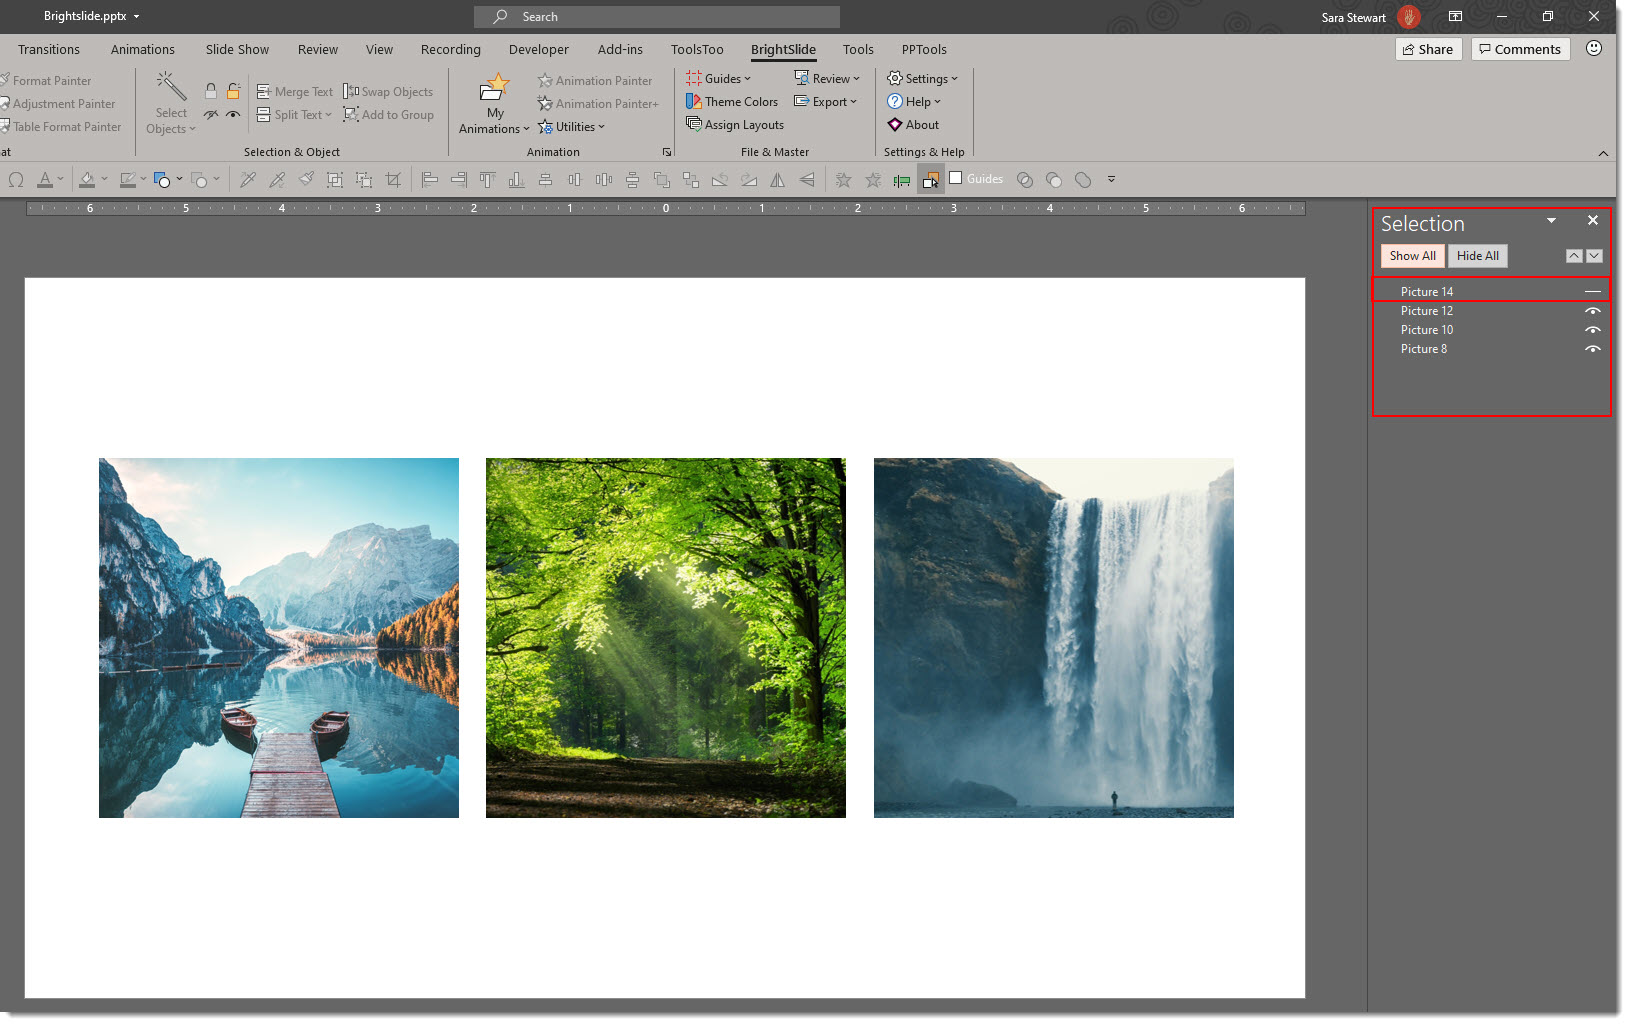
There is only one option in the BrightSlide tools to turn an object back on – that is to turn on ALL of the objects in the selection pane. Go the the Brightslide tab and click the “eye” icon to turn on all hidden layers.
The BrightSlide add-in for PowerPoint can be downloaded for free at: https://www.brightcarbon.com/brightslide/
Troy @ TLC
Combining Static Images with Videos in PowerPoint
The design team is thinking of cooler weather (it is summer in Southern California right now, so warm – okay, hot). This a nice slide design demonstrating creative combining of static images with videos all in PowerPoint for dynamic slide design concept.
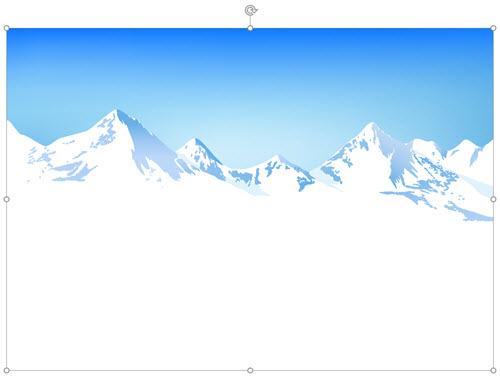
Here is the .jpg image for this example.
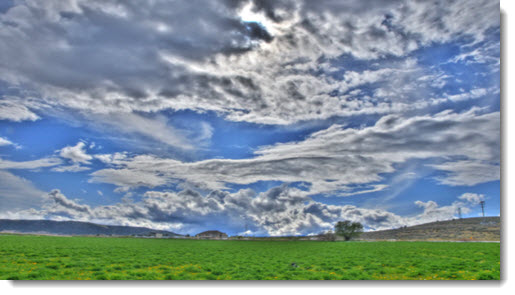
Here is the .mp4 video for this example. Note: the bottom grass area is not going to be seen, or a factor in deciding with video. We are only interested in the moving clouds at the top.
In PowerPoint, the blue sky above the mountain range was removed using the Remove Background tool.

The video was then added and positioned under the mountain image (see, the grass area at the bottom of the video is not see).
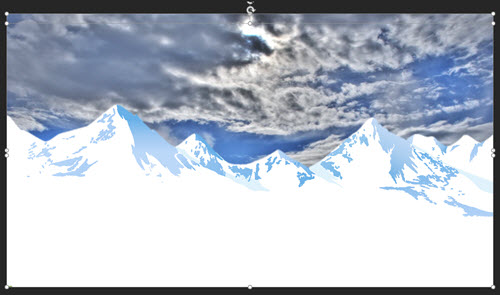
Some PowerPoint text was added and here is the final composited slide!

Troy @ TLC
Google Slide Presentations by TLC Creative
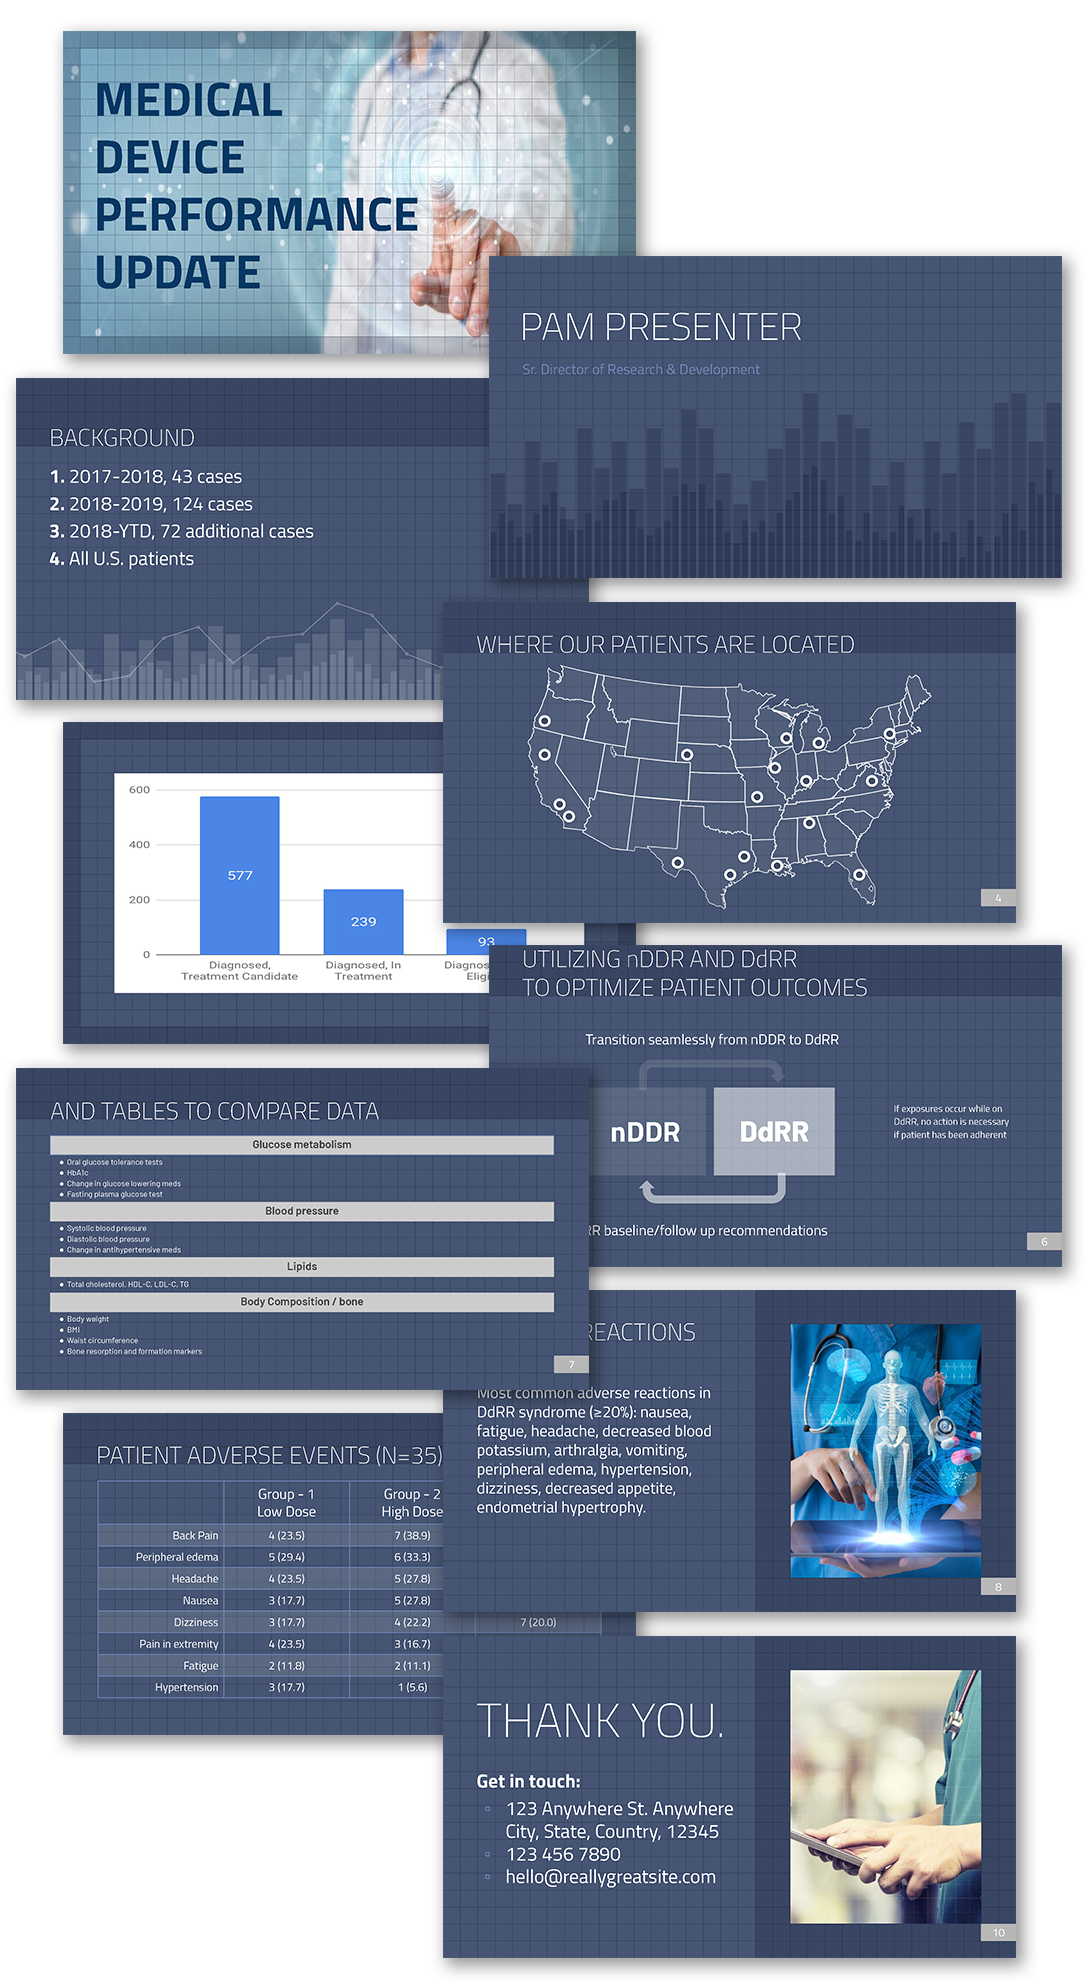
We’ve been taking a deep dive into Google Slides with this blog post series. What better way to wrap up than highlighting some of the Google Slide presentations the TLC Creative design team created. Everyone had the same presentation outline and freedom to develop the presentation in any layout and styling direction.
Amber:
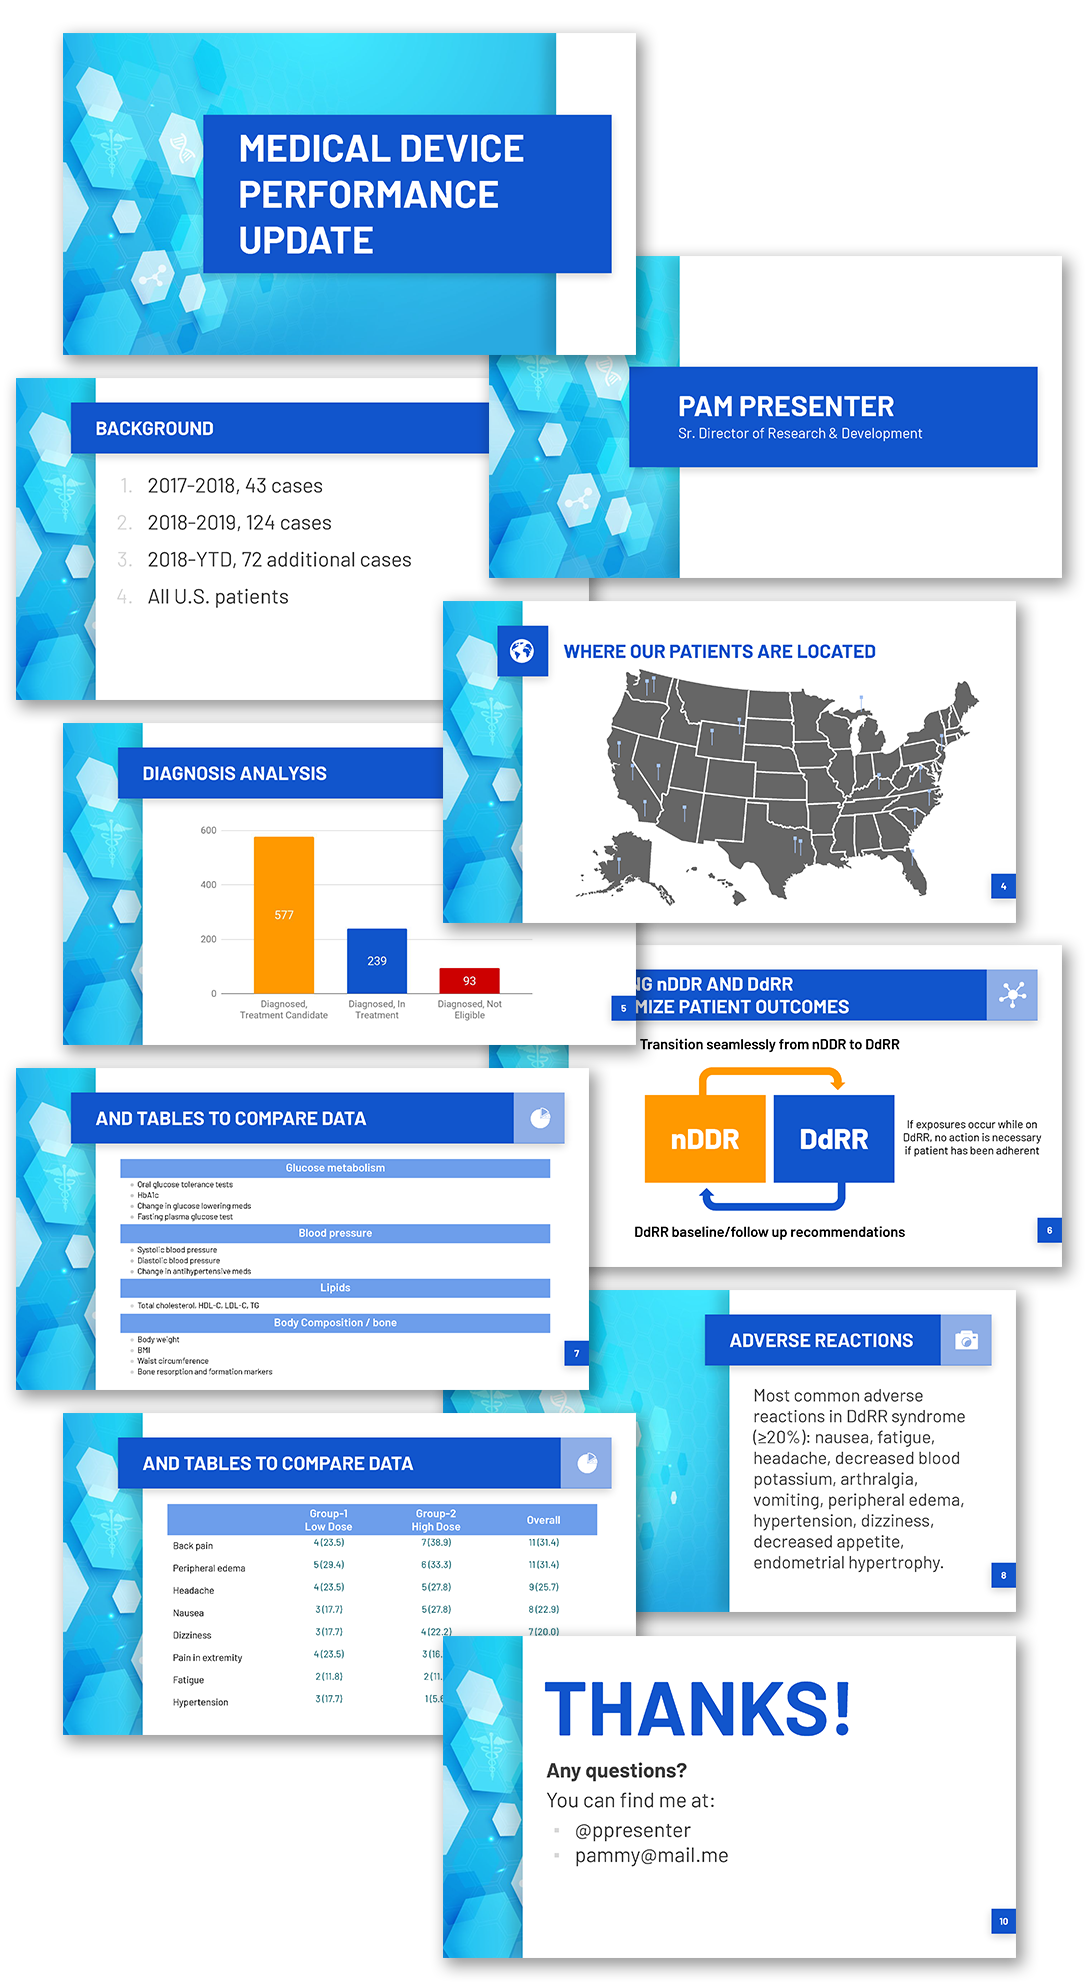
Christie:

Jake:

Sara:
New Episode on The Presentation Podcast!
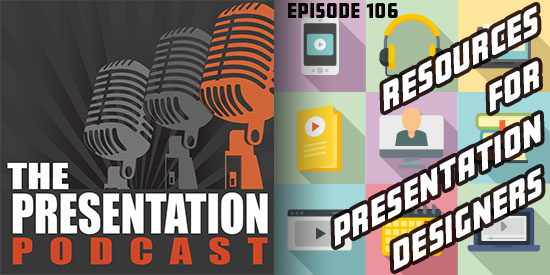
A new episode of The Presentation Podcast is available today! Troy, Sandy and Nolan share their lists of presentation designer resources; books/magazines, conferences, forums, online resources, podcasts, training, and information channels.
Listen on Apple Podcasts, Stitcher, Google Play, Spotify and Soundcloud – or search The Presentation Podcast for “Presentation Live is Here!” or go direct to the episode page here: https://thepresentationpodcast.com/podcast/106
Presenting with Google Slides
Presenting with Google slides is clean and easy process. In the upper right corner click the PRESENT button.
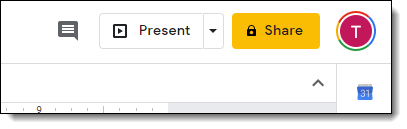
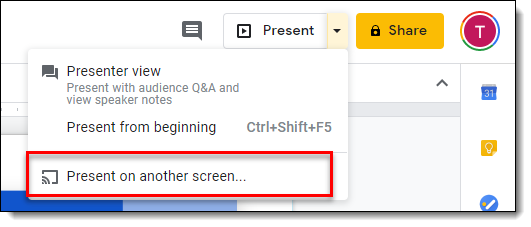
A direct click on the button puts the presentation in full screen slide show (and there is an app to turn a cell phone into a remote for Google Slides!). Click the drop down menu and a few additional options are available; PRESENT FROM BEGINNING (eg. slide #1), PRESENT ON ANOTHER SCREEN (more on this below), and PRESENTER VIEW!

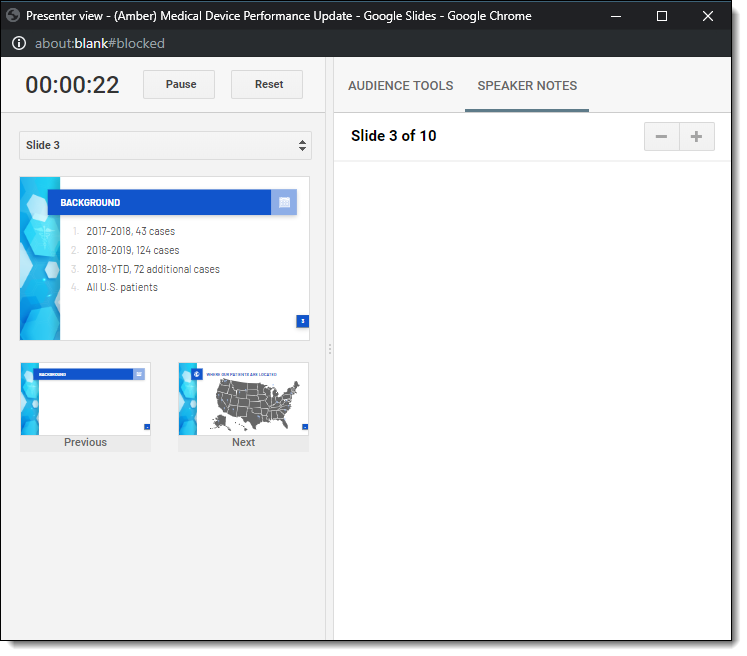
Yes, a web based app that can leverage a multiple monitors, and it does is very well! PRESENTER VIEW opens in a new window and shows the previous, current and next slides. There is a timer, an Audience Q&A feature and SPEAKER NOTES (that can be formatted with styling) There is also a drop down menu to jump to any slide in the presentation easily (but like PowerPoint, jumping to a slide in a non-linear order does not respect the applied transition effect).
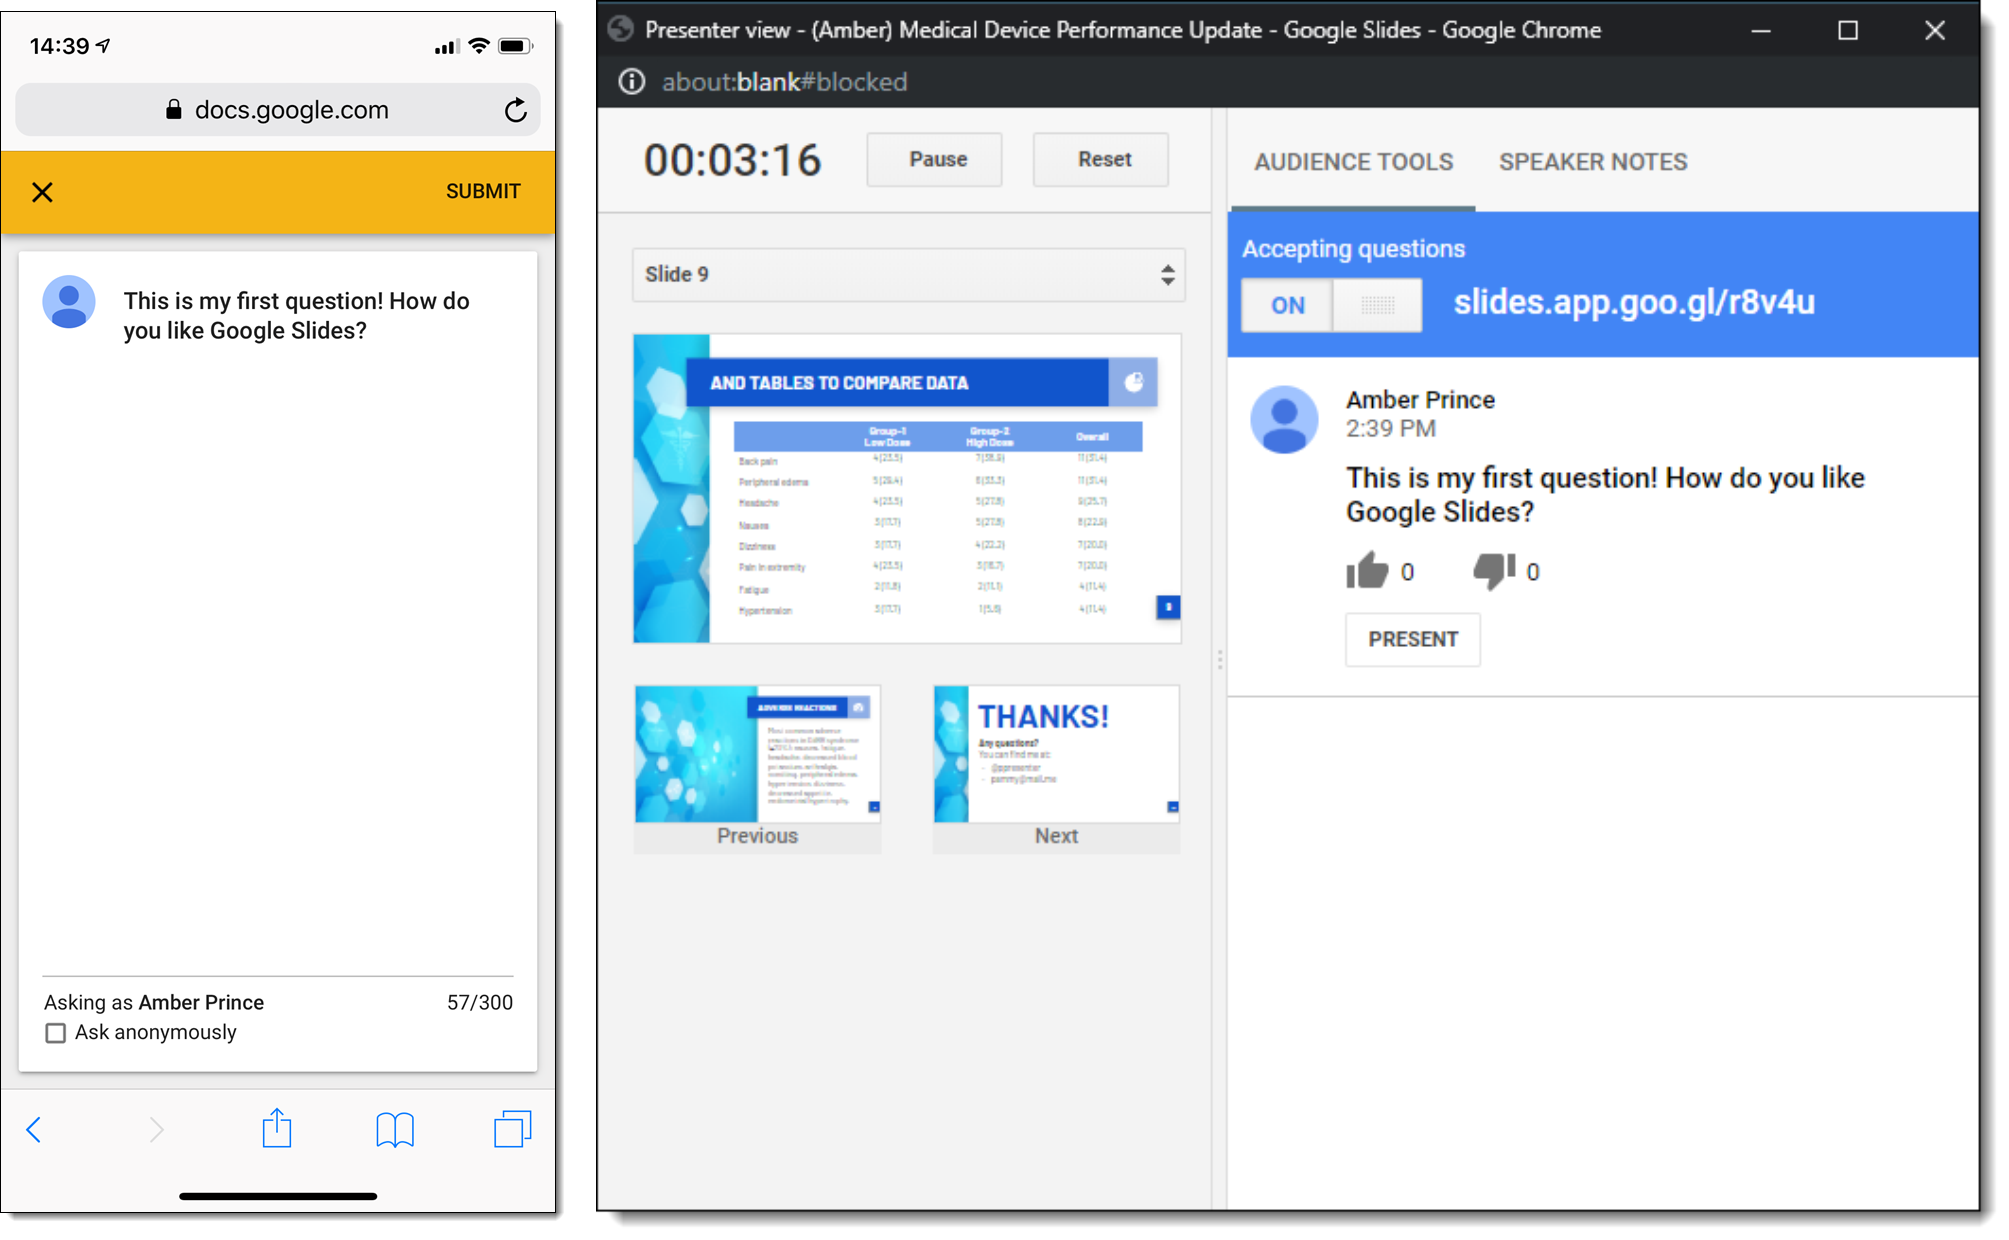
In the AUDIENCE TOOLS is the polling feature. It assumes everyone watching is on a device, and not watching the presentation on a large event screen. What I was really impressed with is how the audience polling integrated into the Presenter View interface (Microsoft – take note!).
The PRESENT ON ANOTHER SCREEN is a clean interface to a ChromeCast enabled monitor (I can easily see this as a corporate event option of the presenter connecting to a ChromeCast that is inline with the show equipment, enabling a presenter to run their presentation from stage and roam). I also was excited about the thought of having Presenter View on a phone or tablet and the presentation on a wireless screen – but that is not an option…
There is a way to use Google Slides offline, but the safest approach is to plan to be online while presenting. The presenting experience is clean, easy to use and if using Presenter View, very robust.
Troy @ TLC