PPT 2010 has lots of great Photoshop-like effects built into the application. This post is highlighting the SHARPEN AND SOFTEN filter in a real-world situation.
Here is my original image.

Here is the effects applied to stylize the image (rounded corners, bevel, reflection, etc.). All looks great, but look at the face – it is not as crisp and defined.

With the image selected go to FORMAT >> ADJUST section >> CORRECTIONS
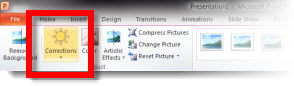
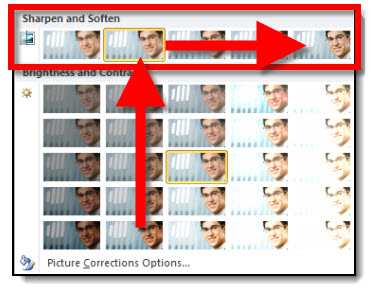
Looking at the top row is the SHARPEN AND SOFTEN quick options. The highlighted box shows what is currently applied to the image. I am going to click and apply the far right option which is a much greater sharpen filter.
Here is the same image, same stylizing effects, but with the greater sharpen filter setting. The bevel is there, the reflection is there and the face is super crisp.

– Troy @ TLC