When doing a PPT Training seminar I am always amazed that people are not aware of the image crop tool and how to use it. For PPT 2010 this simple, useful tool gets a lot better!
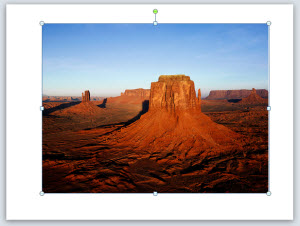
Here is my sample photo:
With the image selected I go to FORMAT >> CROP (okay, in reality I have added this to my QAT for faster access):

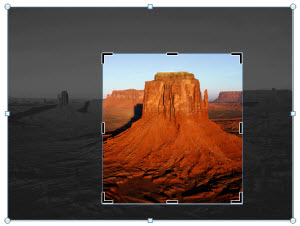
Now the image has the familiar black-dash handles for cropping – but it also has the standard dot handles…
When cropping an image the non-visible (cropped) portion of the image is still visible with a dark mask:
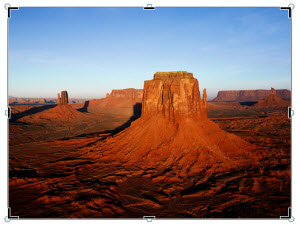
Here is the cropped image when I click off of it (deselect it). Only the cropped image is visible:

The cropping can be adjusted at any time, by selecting the image and crop tool. But the really great function is the ability to move the crop window to any position of the image! Think about setting up one image as a style guide cropped to a specific size. Duplicate the image, replace the image and move crop window to best crop the new image – but have the exact same size (visible) image.

– Troy @ TLC