We are looking back to February 2020 and the post entitled, “Use PowerPoint Text As Part of Background Design”. Click here to view the full 2020 post.
Looking back, I feel this was a pretty simplistic example of a slide design. I know it was inspired by a real client project (and like most of our design work, that project was under an NDA and not able to be directly shared). But I have a new project that incorporates text into the background that I feel is much more dynamic!
In this new slide design tutorial, we’ll use a speech bubble SVG from The Noun Project and transform it with shadows, bevels, AND a subtle logo texture as part of its background, all for a polished and presentation-ready design element. If you don’t have access to The Noun Project (highly recommended), you can replicate this slide using your own art.
Step 1: Insert and Prepare the SVG
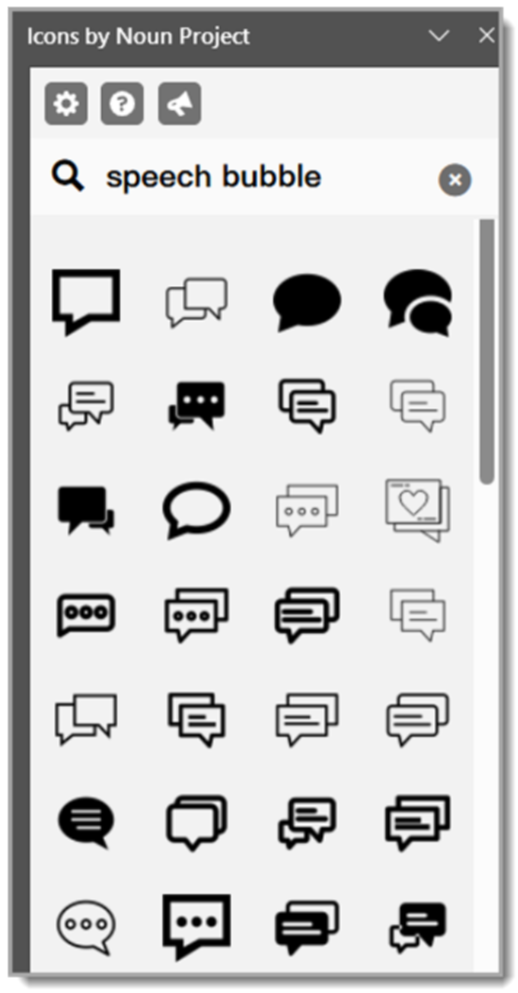
Start by downloading a speech bubble .SVG file from The Noun Project and inserting it onto your slide (I use the PowerPoint add-in, but you can also go to The Noun Project’s website).
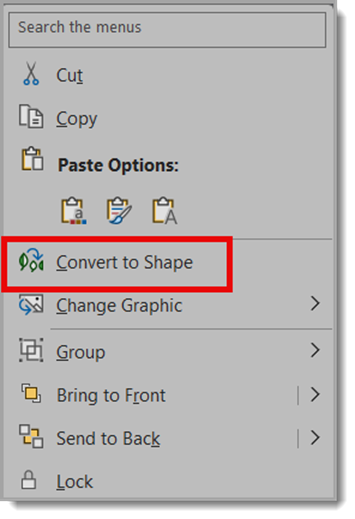
Once placed, right-click and choose Convert to Shape (if needed) so all the PowerPoint style options are available.

Step 2: Add a Drop Shadow
To give the icon a little depth, apply a drop shadow with these settings:
Size: 100%
Blur: 8.5 pt
Angle: 90°
Distance: 1 pt
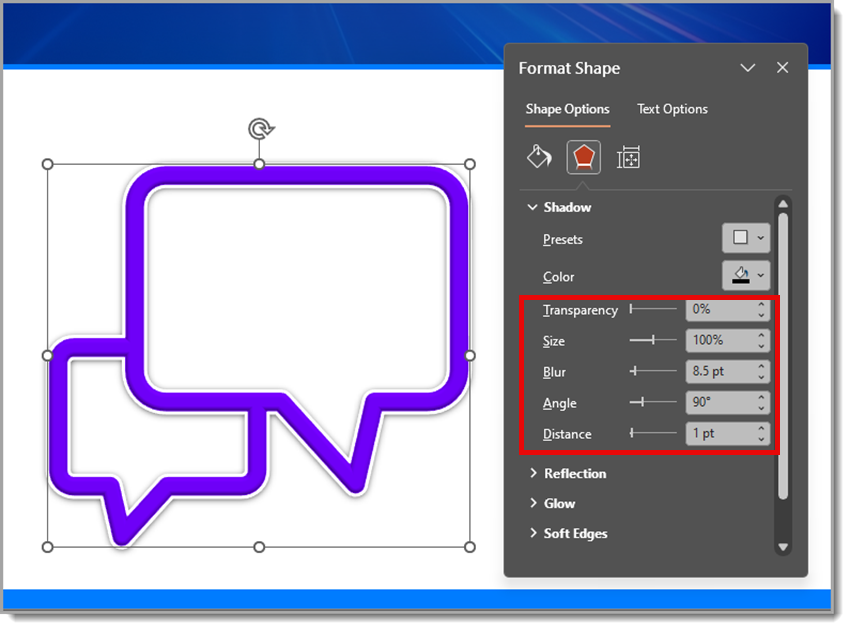
This creates a subtle, soft shadow that lifts the icon just enough off the background.
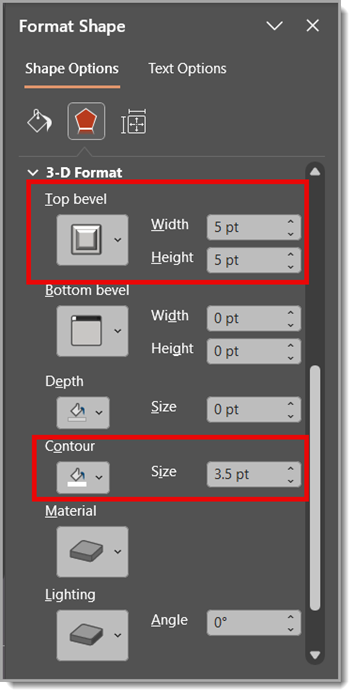
Step 3: Apply a Bevel and Contour
For extra dimension, use a Round Convex bevel:
Width: 5 pt
Height: 5 pt
Then, add a contour set to 3.5 pt. This gives the edges of the speech bubble a nice highlight and makes it feel more 3D.

Step 4: Fill the Speech Bubble with an Image
Next, fill the inner blank area of the speech bubble with an image of the Facebook logo:
Go to Shape Fill > Picture or Texture Fill
Choose the Facebook logo image (this Facebook logo is also sourced from The Noun Project)
Check “Tile picture as texture”
Set Scale X and Scale Y to 5%
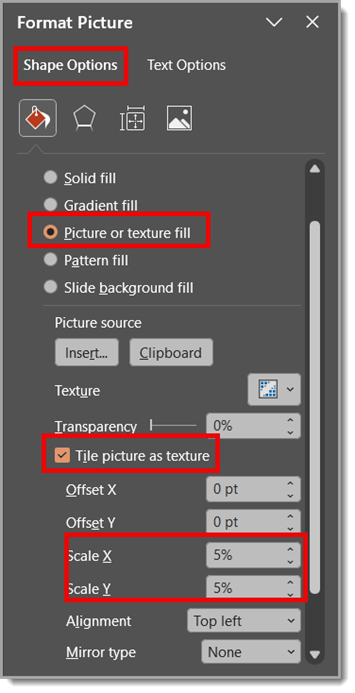
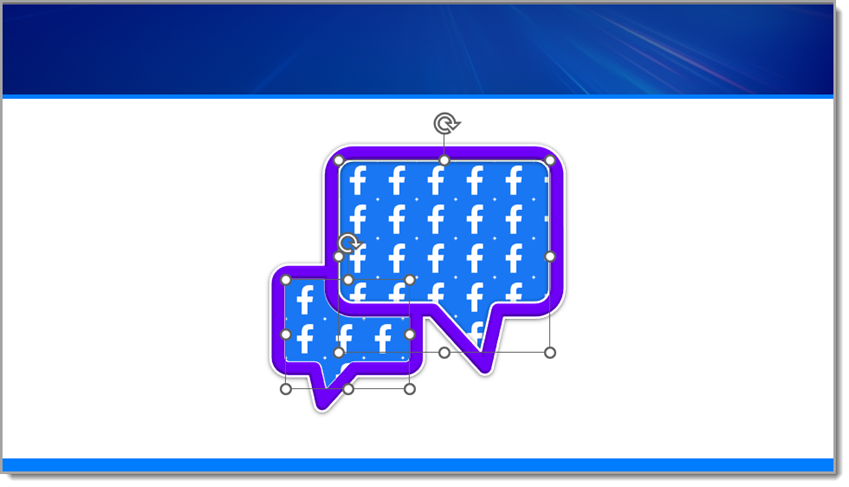
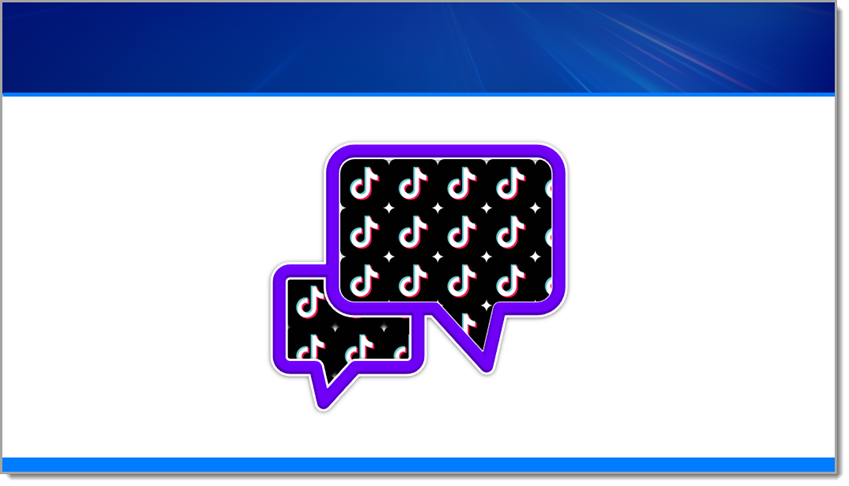
This creates a tiled pattern of the Facebook logo inside the bubble — a cool effect that works well for digital or social media-themed slides.
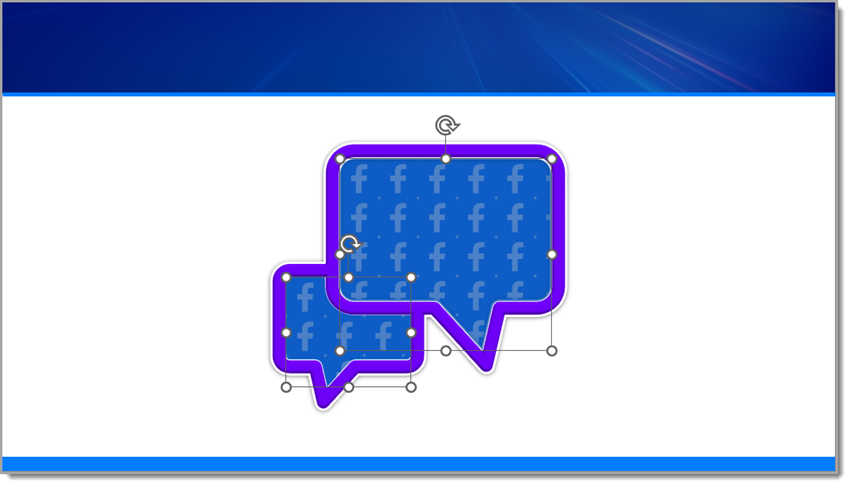
Step 5: Add a Soft Color Overlay
To blend the texture and unify the look, copy and paste the same inner shape directly on top. Then fill it with a solid color and set the transparency to 25%.
This soft overlay mutes the tiled pattern just enough while keeping the detail visible underneath, giving your speech bubble a professional, layered look.
Step 6: Add Text on Top
Now add a text box over the speech bubble and type something like: Add Facebook stat/callout here.
This is where you can highlight a key metric, social media insight, or fun engagement fact to make your design more informative and engaging.

Now, Let’s Repeat the Same Steps Using a TikTok logo.
Repeat the same steps as before, but with one small edit (I sourced the TikTok logo from The Noun Project).
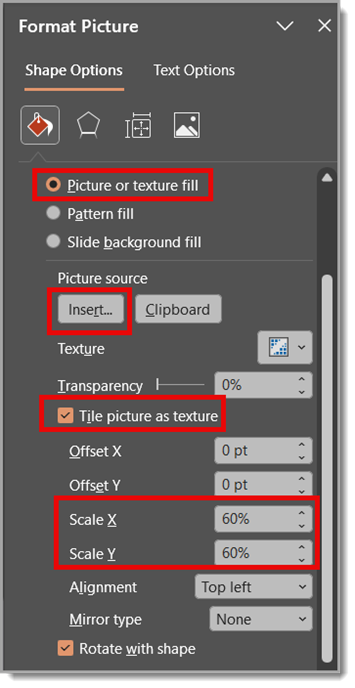
Back to Step 4: Fill the Inner Blank Area of the Speech Bubble with an Image of the TikTok Logo
Go to Shape Fill > Picture or Texture Fill
Choose the TikTok logo image
Check “Tile picture as texture”
Set Scale X and Scale Y to 5%
Note: You may need to adjust the Scale X and Y percentages depending on the size of the logo being used for the repeated texture.
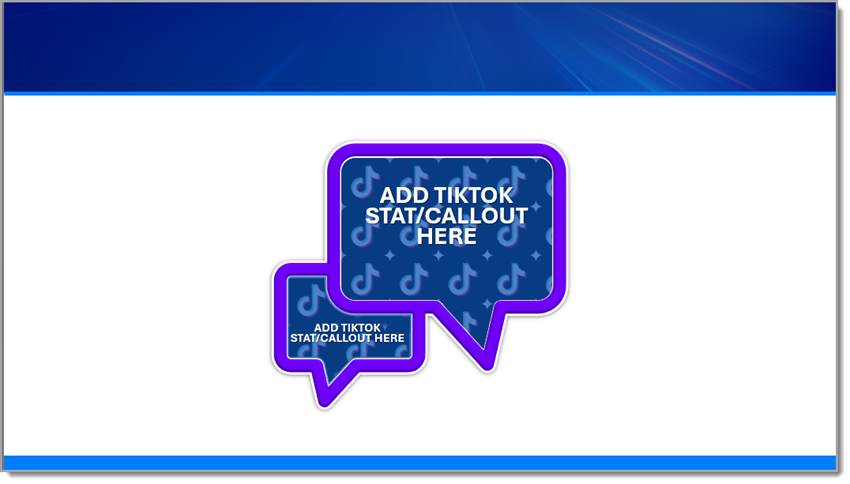
Final Result
The final result is a presentation-ready graphic because all of the design was completed directly in PowerPoint! Not only is the branded and dimensional speech bubble a standout slide element, it’s native to PowerPoint, so it can scale and be edited easily. It’s a great example of mixing vector shapes, styling effects, and rich surface detail – all directly in PowerPoint, no Photoshop required.
Want the final product for yourself? Download the editable TikTok PowerPoint slide HERE!
Hope you enjoyed these examples and design tutorial!
-Christie and the TLC Creative presentation design team