Monthly Archives: April 2016

PowerPoint Guides: Master vs. Slide

In PowerPoint, guides help with formatting, positioning and slide-to-slide consistency.  The PowerPoint guides have evolved over the past few versions. Here is a quick overview of the three different types of guides:

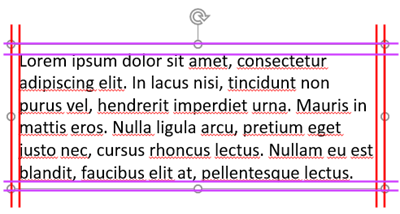
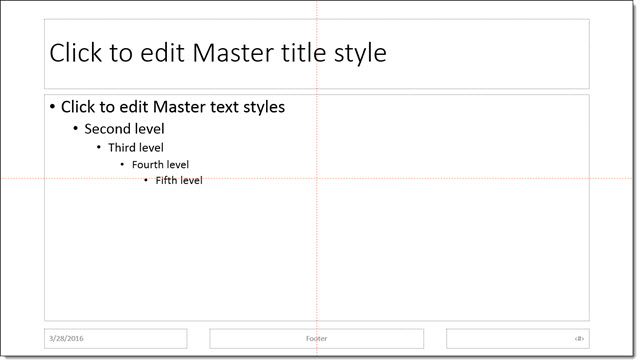
Master Slide Guides (Orange by default): Editable only on the master slide and display on all layouts and slides using that master slide.

PPT Guides_1

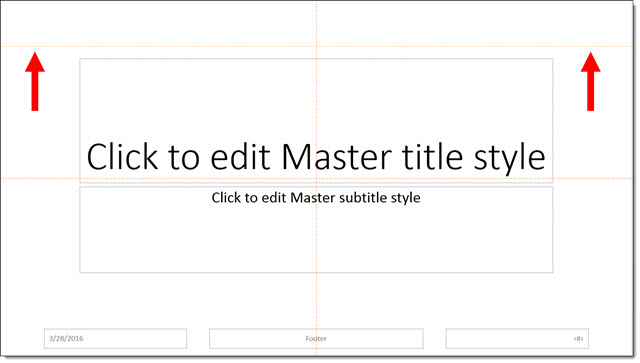
Master Layout Guides (Yellow by default): Apply to individual master layouts only and are only editable on that particular master layout. Here an additional guide is added to the TITLE layout, so only TITLE layout slides will see this new guide.

PPT Guides_2

Slide Guides (Gray by default): These are guides added and editable on slides (in edit view, not master view or slide show). In this example, 2 new guides have been added to the slide.

PPT Guides_3

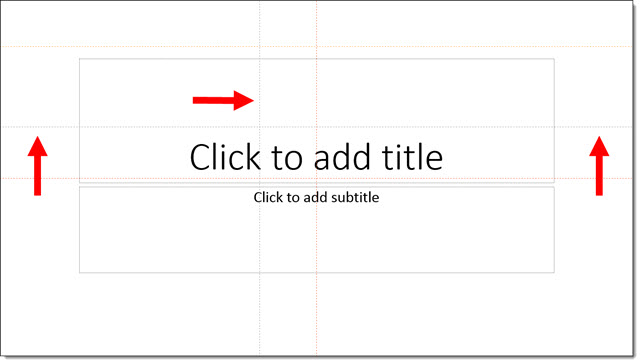
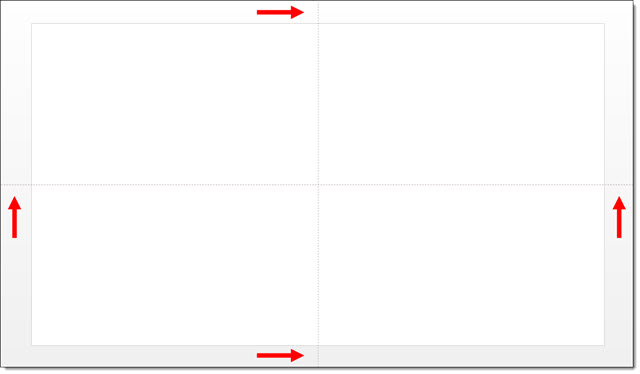
Existing guides can be adjusted by clicking and dragging them .  The easiest way to remove a guide is to drag it off the slide.

PPT Guides_4

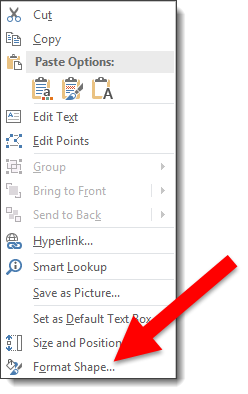
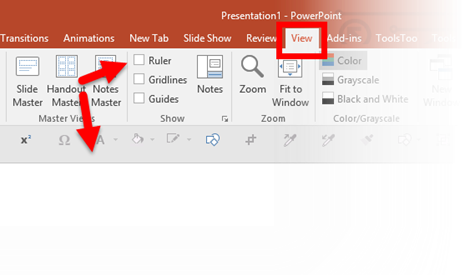
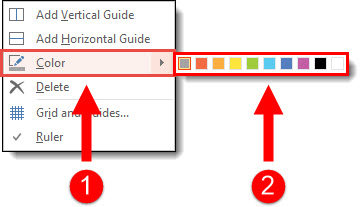
In addition, you can change the color of guides. To change the color of a guide:

  1. Right click the guide you want to change the color of (be sure it is in an area off the slide or on an empty area of the slide)
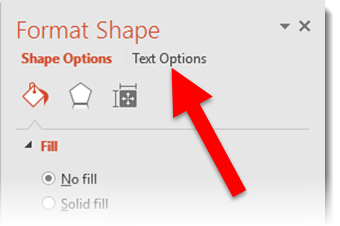
  2. Hover over Color
  3. Select a color option

PPT Guides_5

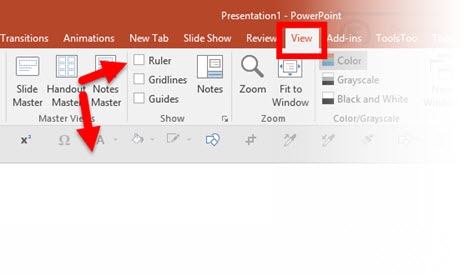
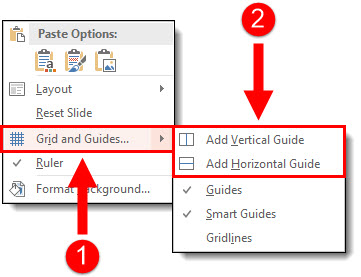
To add PowerPoint guides to a slide or layout:

  1. Right click off slide or on an empty area of the slide
  2. Go to Grid and Guides
  3. Choose Add Vertical or Add Horizontal

PPT Guides_6

– Troy @ TLC

By |2016-08-10T08:25:22-07:00April 8th, 2016|Tutorial|

PowerPoint Text Box Cell Padding (Margins)

One great feature of PowerPoint is knowing that every text box is basically a mini Word document which means adjusting the cell padding can be done quickly and easily.

Cell padding-1

By default, all text is inset a small amount in each text box. Here is an example from the Microsoft PowerPoint 2016 default template. There is .1″ all the way around.

Cell padding-2

The cell padding, or inset, is easily customized. Select a text box, right-click and select Format Shape.

Cell padding-3

In the Formatting text pane, click the Text Options.

Cell padding-4

Click the text box icon.

Cell padding-5

Adjust the Left/Right/Top/Bottom margins exactly as needed.

Cell padding-6

Here is the same text box with a 0″ margin all the way around so the text is right next to the placeholder now.

Cell padding-7

And here is a callout bar with the text set to start 1″ in from the left edge.

Cell padding-8

Just some formatting ideas for your next presentation. Otherwise, you are stuck wondering why the text in a shape is not in the position it should be.


– Troy@TLC


By |2016-08-10T08:25:42-07:00April 6th, 2016|Tutorial|

2-Up PDF Printout of PowerPoint Slides

Printing slides is a common need. But the Microsoft presets are not optimal. For example, let’s look at “2-up” printouts directly from PowerPoint and then we’ll look at my preferred option which is using Adobe Acrobat to create the 2-up PDF printout.

Using Microsoft’s PowerPoint preset:

1. Go to File > Export > Create PDF/XPS Document

2-up PDF printout Export_Image1

2. In the PUBLISH OPTIONS section, change the drop down menu to HANDOUTS. Slides per page = 2. Keep HORIZONTAL setting. A print preview of the pages will be on the right.

2-up PDF printout PPT_Image2

Select OK and your PDF will be created.

2-up PDF printout PPT_Image3


But, these can be larger images of each slide if we do not use the PowerPoint preset.


To create 2-up printout using Adobe Acrobat (Note: This is a multi-step process, but the result is great):

1. Go to File > Export > Create PDF/XPS Document. This time don’t worry about the options, just create PDF with 1 slide per page (the default print setup).

2upBlog_1upPDF_Image4

2. Now we are going to print the PDF again. From the PDF of the slides, Go to File >Print

2-up PDF printout PDF_Image5

3. Select ADOBE PDF as your printer.

4. In the Page Sizing and Handling select MULTIPLE.

5. In Pages Per Sheet select Custom.

6. Set to 1 by 2, the small print preview should look like the below example.

7. PRINT.

2upBlog_PrintPDFoptions_Image6

As you can see, side-by-side, the Adobe Acrobat 2-up PDF printout on the left has larger slide images than the PowerPoint 2-up printout, the Adobe Acrobat 2-up takes up the page significantly more than PowerPoint does.

2upBlog_2upPDF_Image72upBlog_2upPPT_Image3

Just a simple option to provide better printouts. It also works for 3-4-6-8-up printouts!

-Troy @ TLC

By |2016-08-10T08:27:31-07:00April 4th, 2016|Tutorial|

Where is PowerPoint’s Ruler?

This is a very common question that we’ve encountered on many occasions.  By default, the Ruler is not visible when PowerPoint is launched.

Ruler image_02v2

To see the Rulers, go to the View tab, Show section and turn on Ruler.

img2

That’s it! Now the rulers will be visible automatically when PowerPoint is used.


-Troy @ TLC


By |2016-08-10T08:28:41-07:00April 1st, 2016|Tutorial|
Go to Top