The Office 365 version of Office Apps, including PowerPoint, is on a continuous update cycle. Often, it is difficult to know what is new. Well, there is a newer dialog option within all office apps to give you a summary of “What’s New.”
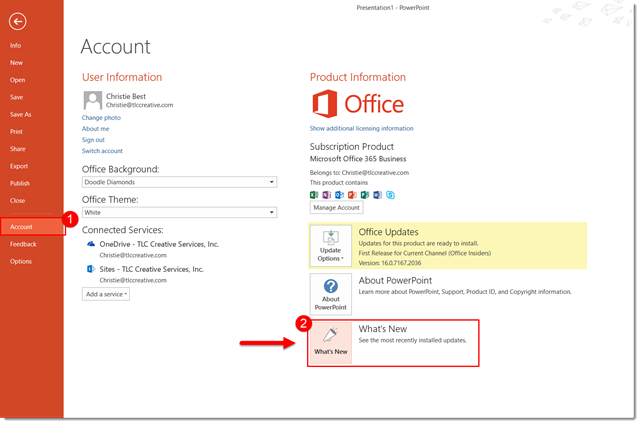
To see what the new features are in PPT, simply go to the file tab, scroll down to account, and click on the What’s New Dialog below the “Office Updates” box.
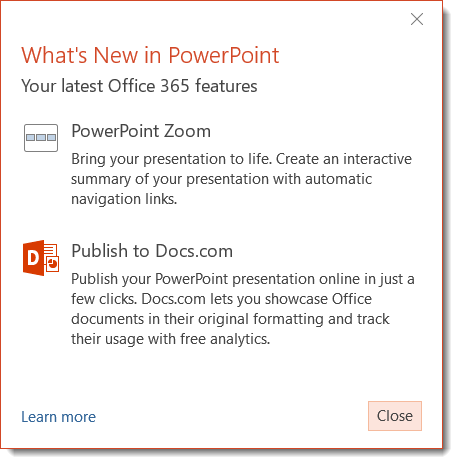
Once clicked, a window will pop up either asking the user to update PPT or simply show what new features have been added.
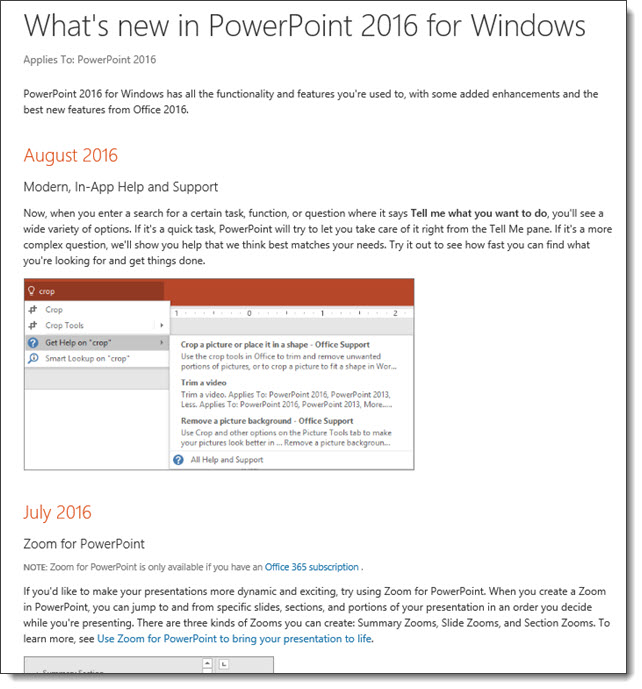
Click the LEARN MORE link to open a web browser and get the full details and history of all feature updates.
-Troy @ TLC