Monthly Archives: November 2018

Things Get Corrupted – Fix it with a Fresh Layout

Funny things can happen to PowerPoint Master Layouts; we have found layouts susceptible mystery bullets being added to text placeholders, layouts jumbled, fonts not working and many other annoying format problems. The mystery can be unravelled by delving into the file XML files – or, we can hack the process by replacing the corrupt layout with a new version.

The really is no fixing a master layout that has gone bad. For this example we are saying the TITLE AND CONTENT Master Layout has become corrupt.

Our solution is deleting the bad layout and replacing with a fresh layout of the same name from another file, such as an earlier version of the same template, or from the Microsoft Default template.

First, we need to delete the Master Layout, so all slides that are assigned to it need to be deleted or assigned to another Master Layout.

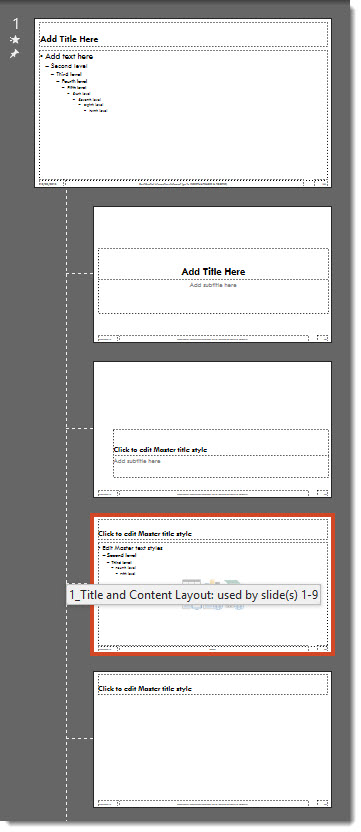
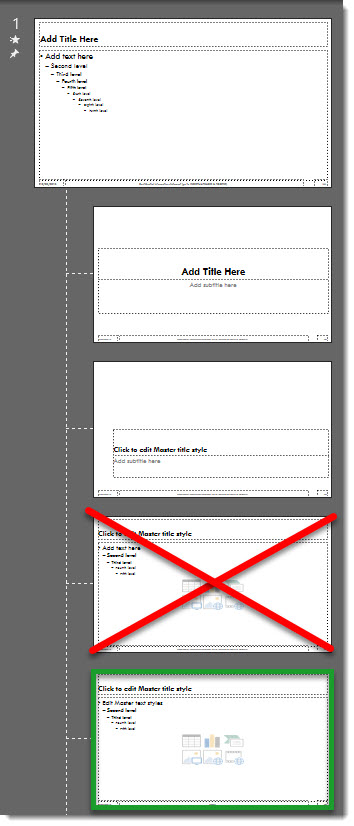
Then Open the Master Slide view and delete the corrupt layout (which means the layout that has mystery formatting issues that cannot be resolved – it is XML corrupt).

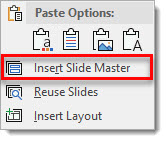
Now the hack, insert a new Slide Master by right clicking and selecting “INSERT SLIDE MASTER”. 

From the new Microsoft default Master Slide, find its TITLE AND CONTENT layout.

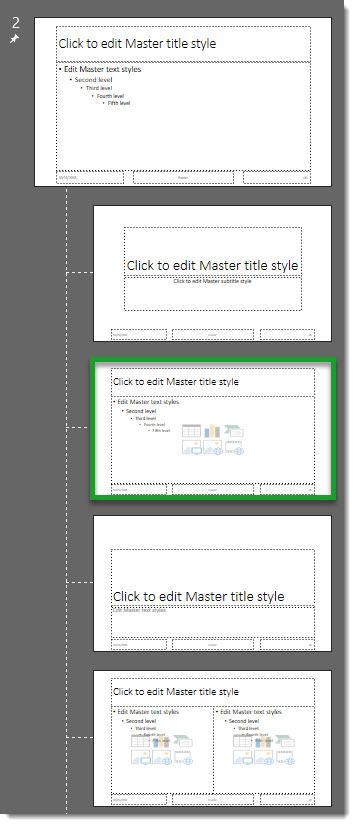
Drag the fresh layout TITLE AND CONTENT layout from the new master to the original Master Slide to replace the corrupt layout deleted earlier.

Note: the new master layout will pick up the Master Slide attributes, but it may need customization to match the template layout needs. The good news it has a fresh XML coding behind it and what was bad is now gone!

Troy @ TLC

By |2018-11-03T21:16:51-07:00November 5th, 2018|Tutorial|

Image Transparency!

Until recently, pictures in PowerPoint didn’t have a transparency setting for photo/raster images. Transparency could be adjusted on shapes, and for creative presentation designers, a shape fill could be set to be a photo, which would then let the transparency to be adjusted (lots of work, but a hack solution!).

As of late October 2018, image transparency is a real thing in PowerPoint Office 365 version!

When an image is selected, there is a new TRANSPARENCY tool on the ribbon.

  1. Format tab
  2. Transparency in the Adjust section
  3. Preset transparency options, or click “Picture Transparency Options”

On the format pane, the Transparency options allow the amount of transparency to be adjusted. Go to Format Picture > Picture > Picture Transparency.

Here is an image  on a blue background slide. First it is the default opaque (0% transparency) and then  semi-transparent (30% transparency).

Troy @ TLC

By |2019-01-31T14:32:56-08:00November 2nd, 2018|Tutorial|

Intro

Wow, November – 2018 is getting close to being over!

This month I have gathered up PowerPoint formatting tips and tricks from our design team, with a special focus on Master Slide and Master Layout formatting. For The Presentation Podcast we have a conversation about the 2018 Presentation Summit session topics “Filling in Sandy On the Presentation Summit” and a conversation about managing projects and watching for additional add-ons “Scope Creep and the Boiling Frog”.

Troy @ TLC

By |2018-10-24T12:19:28-07:00November 1st, 2018|Personal|
Go to Top