Create Charts for Video and Print Projects in PowerPoint – Really!

Charts can be a powerful visual for any presentation to really make a memorable, or easily understandable, point. When you think about colorful bar, line and pie charts, everyone immediately thinks of PowerPoint slides. What about adding charts to a print or video project that is designed in Adobe InDesign or Premiere? While PowerPoint has robust chart and bar graph-building features, most print and video software do not.
InDesign is amazing for layout and print design, but it relies on charts and tables being important elements. The same for Adobe video editing software, Premiere. Charts, tables, and most all elements in a video are designed outside the app and imported.
And this need for externally created charts is where PowerPoint comes in. Whether you’re working on a print layout or editing a video that needs to look polished and professional, PowerPoint is ideal for building visuals that can easily be edited and exported for use in other software.
Step 1: Create a Chart in PowerPoint

All natively created charts in PowerPoint have a mini Excel sheet for the data.

And PowerPoint is truly one of the best tools for creating charts, including the option to use the data and instantly change from a bar chart to pie charts, line graphs, stacked or scatter plot. And all charts use the preset color scheme applied to that slide deck. Update the PowerPoint color scheme and all charts in the slide deck instantly update! It’s easy to style your data with colors, fonts, and labels. And since you’re doing it inside PowerPoint, it’s all very visual.
Step 2: Export the Chart as an Image for Print
Once your chart is sized and styled to what is needed in the print design, export it as an image for use in Adobe InDesign or Illustrator.
1. Click on the chart to select it.
2. Right-click and choose Save as Picture.

3. Choose PNG, which creates a static image of the chart with a transparent background.
4. Or choose SVG to create a static image of the chart that is a full vector format – great for pulling into an Adobe Illustrator project.
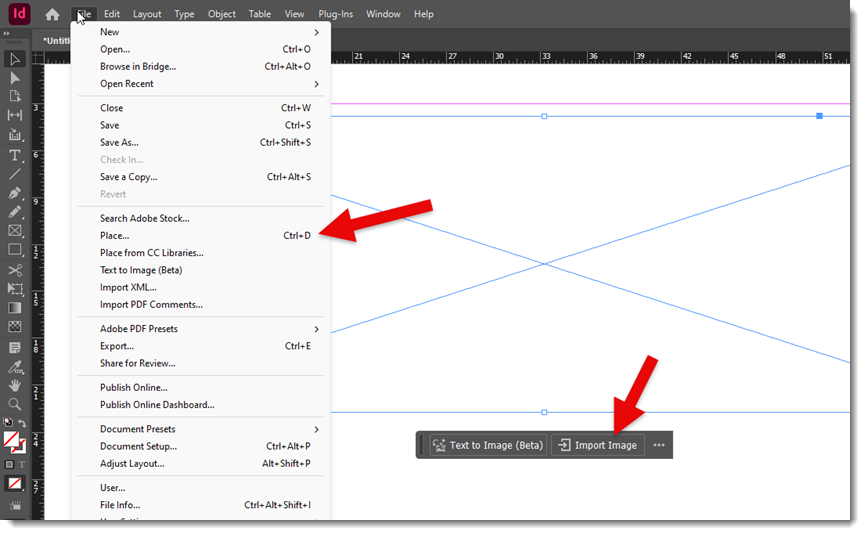
5. Import the new file into your InDesign layout like any other image.
The final result is clean and sharp, and you didn’t have to deal with other clunky chart-building tools and work-arounds.
Step 3: Using PowerPoint Charts in Premiere for Video
If you want to include charts in a video project using Adobe Premiere Pro, you’ve got a couple of options.
Option 1: Static chart image
Just like for print, export your chart as a PNG and bring it into Premiere. From here you can animate it with simple scale or opacity transitions to make the chart more visually appealing. But there is a bit more planning in the export process.
Option 2: Animate inside PowerPoint, export as video

PowerPoint has great animation capabilities, including animating charts. One option is to export the slide as a video (eg. 1920×1080 .MP4) to add to the Premiere video project. In PowerPoint go to File > Export > Create a Video. Choose either an HD or 4K format.
But the exported video will be the full slide, including the background. If the video project needs to add the chart as a composited element with other elements in the video project, the above chart example was exported as a series of 6 PNG images, added to the Premiere project and each PNG animated with Premiere’s entrance effects. Plan the animation, then in PowerPoint duplicate the chart slide, in this scenario 6Xs. Then go through each slide, deleting the elements that are not part of that stage of the animation.
Using PowerPoint as a design tool is not part of video editing training, but as a someone that has created lots and lots of chart elements for successful print design and video projects, PowerPoint is the right tool. Next time a chart is needed as an imported element for a project, PowerPoint is a go to for both great visuals and saving design time.
– Mike, and the TLC Creative Services design team