I work with PowerPoint on a daily basis and I am very honored to be a Microsoft PowerPoint MVP. We have a talented team of presentation designers at TLC Creative Services and ThePowerPointBlog is our area to highlight PowerPoint tips, tricks, examples and tutorials. Enjoy! Troy Chollar
New Podcast Episode – “No, we don’t do that”
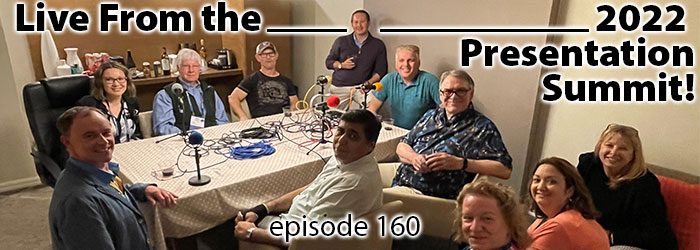
As long-time designers, there are design services that once were offered, but not offered any longer. Nolan, Troy and Sandy talk about some of those presentation design and graphic design services that they no longer offer, or sometimes never offered. And this conversation is a continuation of a conversation Nancy Duarte started at the 2022 Presentation Summit when talking about niche focus and offering. Listen here.