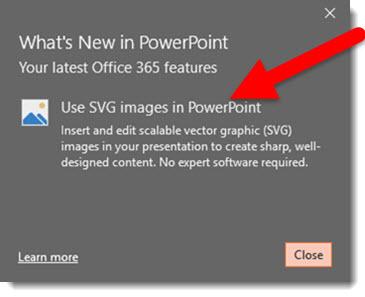
PowerPoint has always supported multiple image file formats. All PowerPoint shapes (circle, rectangle, rounded rectangle, etc.) are actually vector art elements. While PowerPoint was an early adopter of .png images (raster images with transparent background), it has definitely been slow in supporting more robust vector image formats.
Question: But why are vector images important, especially for presentations?
Answer: Flexibility and file size.
Flexibility: Vector graphics can be resized from small to large with no quality loss – which is a huge advantage in repurposing graphics throughout a presentation or other presentations.
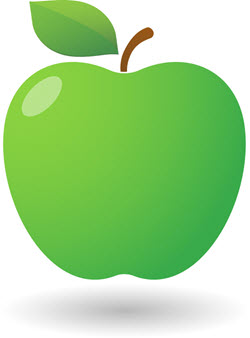
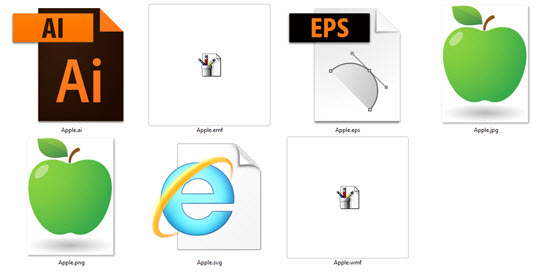
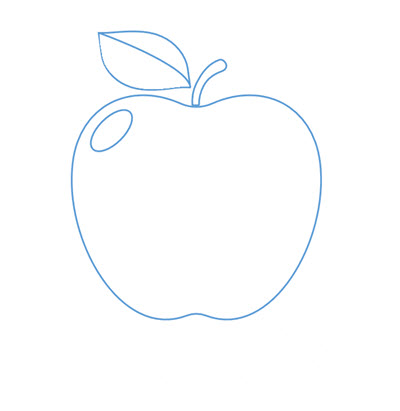
File Size: Vector graphics have a huge advantage over raster images (eg. .jpg or .png) when it comes to file size. As example we saved this image in 6 of the most common file formats.
EMF = 3.40 MB
WMF = 2.65 MB
EPS = 1.41 MB
AI = 84 KB
PNG = 54 KB
JPG = 26 KB
SVG = 5 KB
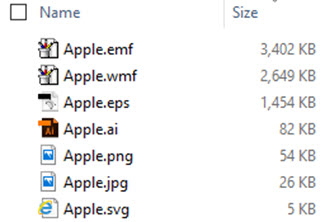
Same image, same quality on a slide, big difference for the file size. Multiply this by 10-20-80 images in a presentation and the file size can be 5MB or 250MB (assuming PowerPoint optimized rasterized images. But could easily jump to 500+ MB with oversized high res images).
Why: Vector graphics are made of mathematical paths – which means they are mathematical lines and fills not pixels. Vector format graphics can be sized and scaled from small to large without a loss of resolution. Because vector images are mathematical formulas and not pixels the file is (almost always) much smaller than raster images. But there is a difference between vector formats as you can see in the above example. .emf and .wmf are old, limited vector formats that do not handle gradients well and are the reason their file size is so large. SVG is one of the newest vector file formats to emerge and as this example shows, it handles compression great!
Troy @ TLC


