The Magic Of F4
While doing some production design on a presentation, the client – who is very PowerPoint savvy – leaned over with wide eyes and said “how are you doing that!?”

What I was doing was making the very tedious process of applying custom paragraph spacing to various text boxes throughout a presentation. How, the power of the F4 key. F4 – first introduced to me I believe by the late (and very great and very much the queen of the color red accessories) Sonia Coleman.
F4 is “repeat last command’. It is not new, but it is one of those small gems for production work that is not widely used.
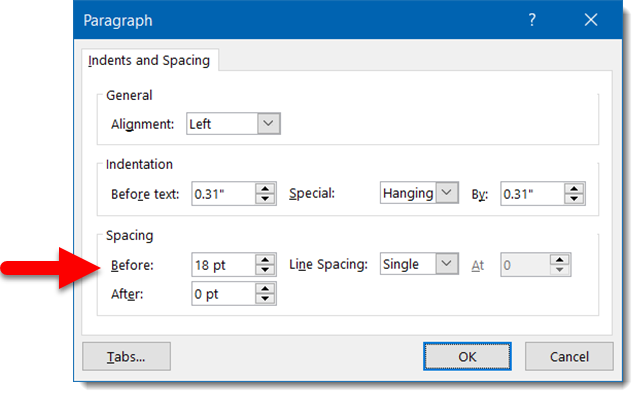
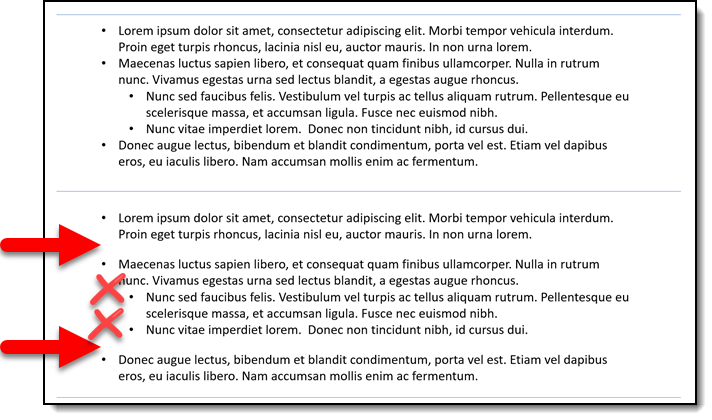
In my case I had set a paragraph of text to have a custom SPACE BEFORE of 18 pt. The key was adding space before just the primary paragraphs, not the sub-bullet paragraphs. This means the setting cannot be applied to the entire text box, and the current Paragraph Styles functionality is not modal, so must be applied to each paragraph separately.
The tedious process of applying this even just few paragraphs is a minute. Applying this setting to paragraphs throughout a presentation can be 5-10-30 minutes of many extra mouse clicks selecting the paragraph – opening the Paragraph Styles dialog – updating settings and repeating for every paragraph. BUT, do this to 1 paragraph, select the next paragraph and click F4. The last command is repeated, in this case, applying a custom paragraph style. Fly through the slides, selecting paragraphs and clicking F4 and be done with the formatting in a few minutes!
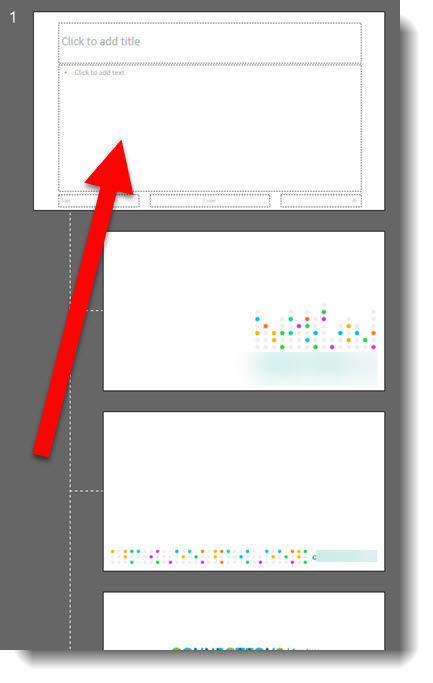
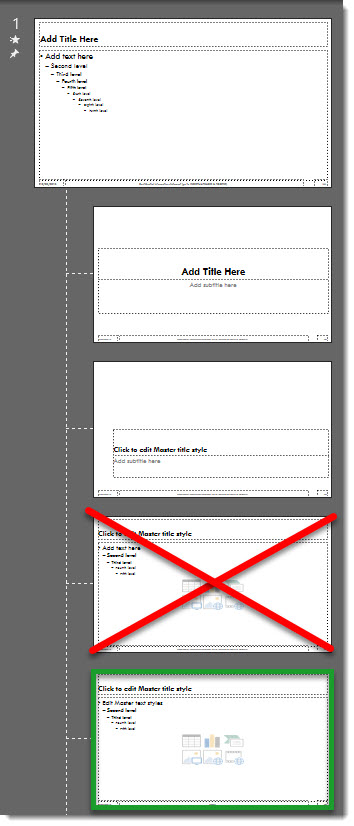
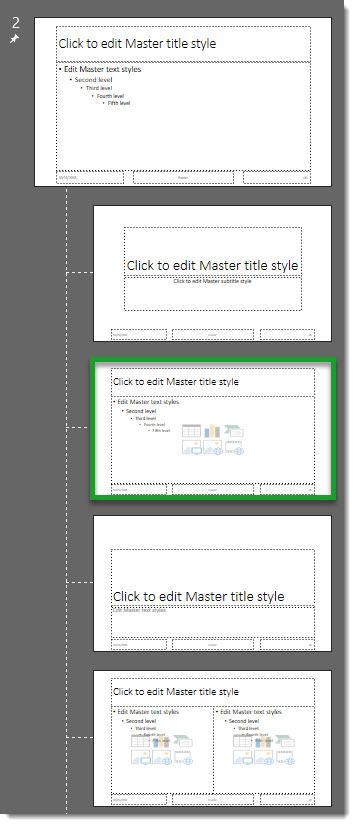
before and after example of where the above custom paragraph spacing was applied to specific paragraphs.
Troy @ TLC