My Microsoft Surface Pro Setup
I have been using the Microsoft Surface Pro since they debuted (I have not spent the money upgrading to the Surface Pro 3, but it looks great!). The Surface Pro is not my primary computer, it is not powerful enough to run everything I use on daily basis and also cannot compete with the 2TB of storage (almost all used) on my primary design laptop. But I do use the Surface Pro as my travel computer – carrying lots of project files on an external drive and using VPN access to the office server a lot, and as a backup show computer. The Surface Pro has proven it is a real computer.
(Surface Pro 2 with all of the below accessories) 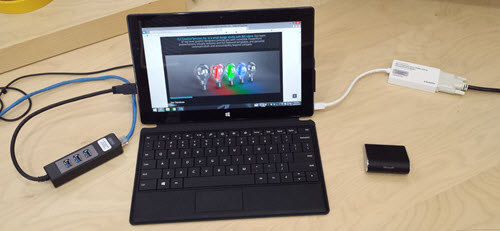
Over the past 6 months I have received a number of calls from various friends and emails about how I set my Surface Pro up and what accessories I recommend. So here is my recommendation list (note: all items apply to Surface Pro, Surface Pro 2, Surface Pro 3):
1. Classic Shell: This not just for the Surface Pro, but for every Windows 8/8.1 computer! It is free and lets your computer go direct to the “Windows 7” interface where we are all more productive and do our real work. Website link.
2. Unitek USB 3.0 hub with Ethernet (model Y-3045): The Surface Pro has 1 USB slot, which is not enough for productivity. It also has no Ethernet port for wired internet/network access. This small unit takes care of both shortcomings (note: this unit also works with MacBook Pro laptops that do not have Ethernet or enough USB ports). Amazon link.
3. Mini DisplayPort to HDMI/DVI/VGA Adaptor: carry one adaptor for all video connections! Handles HD (1920×1080) perfect and I have used every connection option (note: this unit also works with MacBook Pro laptops Thunderbolt™ Port). Amazon link.
4. Bluetooth Mouse: the Surface Pro only has 1 USB port (it is USB 3.0, but it is still only 1). Don’t occupy it, or one of you hub ports, with a mouse USB dongle, go Bluetooth.
If you are using the Surface Pro for light duty, I really like the Microsoft Wedge Mouse – Amazon link.
If you are using the Surface Pro for more daily work, I like the Microsoft Sculpt Comfort Mouse ( model H3S-00003) – Amazon link.
5. Type Cover Keyboard: the Surface Pro does not come with a keyboard, we all get to choose which one we want – and pay additional for it. First, get the Microsoft keyboard vs. third party, it just works. I have several and for real work I definitely recommend the keyboard with ‘real’ keys. The ultra thin and light touch cover keyboard does not provide any typing feedback and I have not found anyone saying it is a great experience for real work. For the Type Cover keyboard there are a few variations – I will say I prefer the version with the ‘real’ touchpad that has clickable left/right buttons. Amazon link.
(MS Surface Pro on Stage running software demo)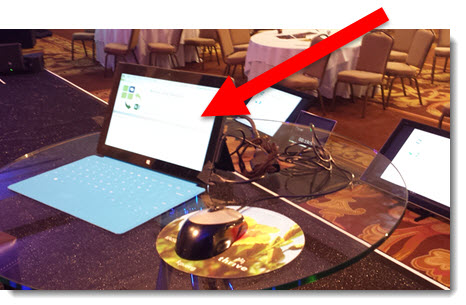
(MS Surface Pro as Backup Show Computer)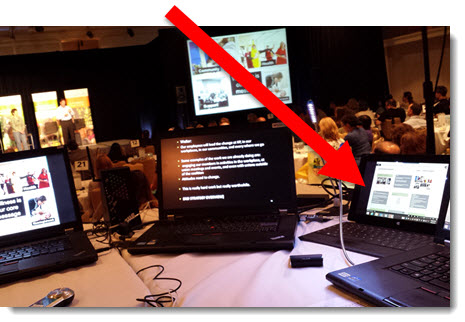
– Troy @ TLC
2014 Presentation Summit is Next Month!

This year is the 12th annual Presentation Summit, and it is being held in TLC Creative Services’ backyard (okay, next city over, but on a global scale, it is pretty much our backyard). This a great event and truly one of the few places anyone can find fantastic PowerPoint and presentation workshops and have the ability to be in a single place with the largest number of industry experts, and Microsoft PowerPoint developers.
October 12-15, 2014 in San Diego, CA. More information is available at the Better Presenting website here.
– Troy @ TLC
PowerPoint Bullet List to Timeline
A quick sample slide from a recent presentation makeover. After reviewing the content we determined the real message was an abstract timeline of tasks being promised as part of the new business setup. Rather than show a bullet list, the same information was recreated in a timeline visual.

– Troy @ TLC
Distorted Images – How To Fix Through the Ribbon
As another option to correcting images that have been stretched and distorted, the Reset Image options are available on the Ribbon. This is usually quicker way to accomplish the same thing detailed in last blog post.
Here is my stretched and distorted sample image.

To reset the image:
1. Select the image.
2. Go to the FORMAT tab, PICTURE STYLES section, and the RESET PICTURE drop down.

3. Click the triangle on the RESET PICTURE option.

4. RESET PICTURE will remove any styling, such as drop shadow, bevel, border, etc.
5. RESET PICTURE & SIZE removes any styling and reverts the image to the inserted size.
Using RESET PICTURE & SIZE the stretched TLC logo is returned to its correct aspect ratio and is no longer distorted.

– Troy @ TLC
Distorted Images – How to Fix
There has been an increase in requests for help with distorted images. I believe a big reason is the shift from 4×3 to 16×9, and images becoming stretched when the page setup is changed.
Here is the TLC image that has been inserted onto a 4×3 slide.

When I change the page setup from 4×3 to 16×9, images distort and the TLC logo looks like this:
Note: With PowerPoint 2013, there are some really great aspect ratio conversion options built in, and for PPT 2007/2010 users, there are some very helpful 3rd party add-ins that make the aspect ratio conversion much easier. All are created to help you from starting on the left and getting the image on the right:

To restore any inserted image to its original aspect ratio:
1. Right-click the image and select FORMAT PICTURE
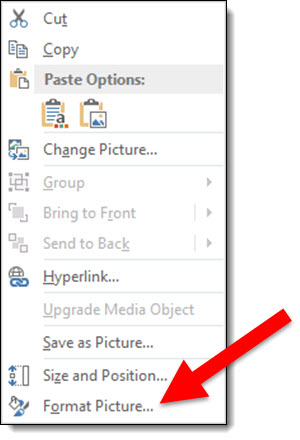
2. From the Format Picture Dialog, go to the SIZE AND PROPERTIES tab
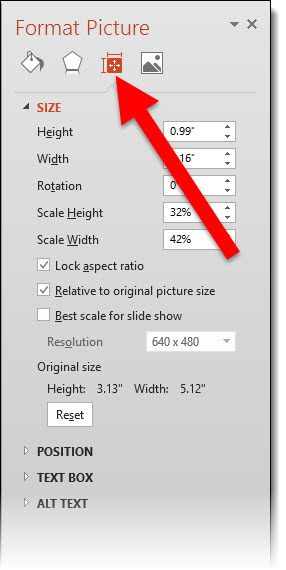
3. Click the RESET button
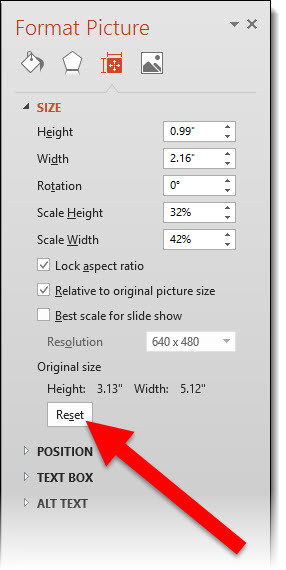
The image will reset to the original inserted size (which also means all effects – shadow, bevel, brightness are removed). Resize the image to fit the slide content area for images that look proportionally correct!
– Troy @ TLC
TLC Creative Services – Designer of the Year!
TLC is located in the wonderful Murrieta/Temecula Valley, just north of San Diego. This week, I received notice that TLC Creative Services, Inc. was selected as the Best of Murrieta “Graphic Designer” for 2014! Murrieta is a great town and we have some very talented designers in the area, at least 9 – the TLC team!

This is the 2nd year in a row TLC has received this award, and we are honored.
– Troy @ TLC
The Problem with PowerPoints Selection Pane
The Selection Pane, introduced in PowerPoint 2007 is a great (and long over due) addition. But I think the dev team was not looking at the feature from a real-world use – and has not been updated yet (sigh…).
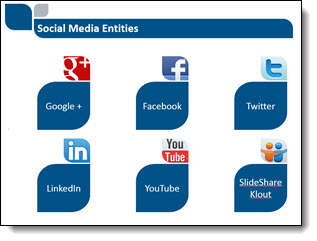
Here is my sample slide, that has many items on it. A good example of where the Selection Pane would be used.
To open the Selection Pane: HOME >> EDITING >> SELECT >> SELECTION PANE

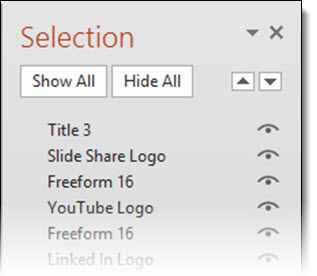
Note the on/off icon is on the right.
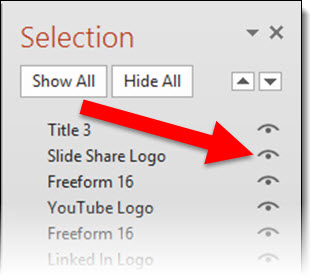
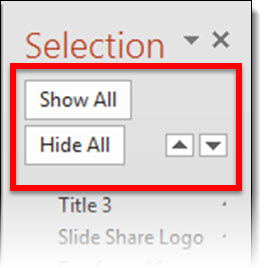
When the Selection Pane is made a smaller width, the tools at the top (Show All, Hide All, Move up/down) wrap nicely to fit the narrower layout.
When the Selection Pane is made narrower, the names do not wrap, but the on/off icon is cut off and disappears rendering that feature unusable. At the bottom is a scroller, which does allow access the on/off icon – but it requires so many additional mouse clicks and movements it is not a practical option.
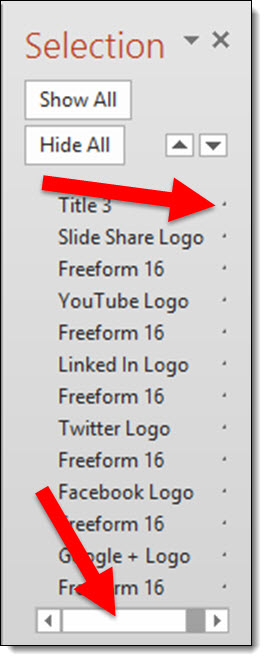
To answer the inevitable question from the MS Dev team – “why would you need to make the Selection Pane so narrow?”. In the real world, we work with different resolutions (please test the Selection Pane at 1024×768 to see how much screen real estate it needs to be functional), have several panes open side-by-side, have dozens of objects on a slide – on and off the slide area – and want to work at the largest viewable size, and many other real situations where the selection pane is in the way when so wide.
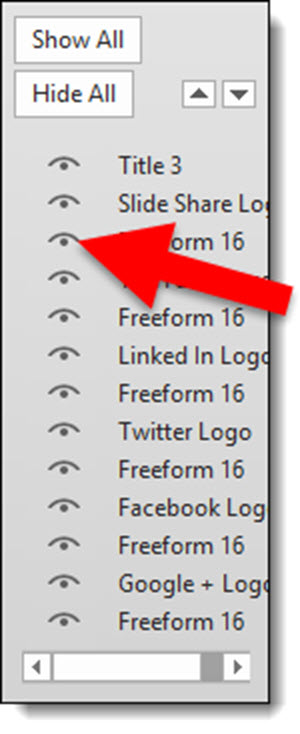
So what should the MS Dev team do? Simple: move the on/off icon to the left side and let the names get cut off.
Leave a comment about your experience with the Selection Pane tool (in PPT 2007, 2010, 2013).
– Troy @ TLC