
#9 – Export Presentation as Video
This one could easily be in my top 5, but there is so much good stuff in this version of PowerPoint it makes the top 10 list.
Yes, PowerPoint for Mac has had an export to video function for a few versions. Yes, Keynote has had an export to video function. Yes, I like everyone else has wanted, needed, hoped for this function and have invested lots of money in third party solutions. Well it is here and it works incredibly well!
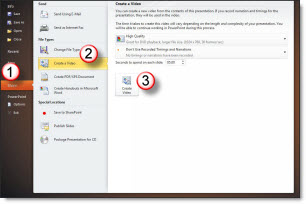
1. It is easy to do. Go to BACKSTAGE >> SHARE >> CREATE A VIDEO
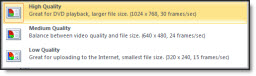
2. Pick a quality level (High Quality = 720p (1280x720px))
3. Watch the progress bar and when done, watch your presentation as a video!

Observations:
– Only exports to .wmv format
– Appears to be be frame accurate (eg. no gaps or jumps in animation)
– Troy @ TLC
#8 – Video Styles
There are so many great things when working with inserted video files in PPT 2010 this can only be an overview of some of the new tools and ways to work with them.
Here is my sample video, an abstract motion background loop:
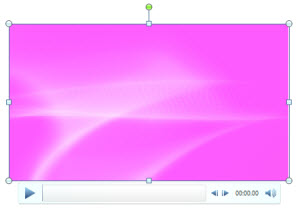
With the movie selected the FORMAT tab offers all of the custom settings:

Videos are no longer contrained to rectangles! Any autoshape can contain a movie, just select the one you want:
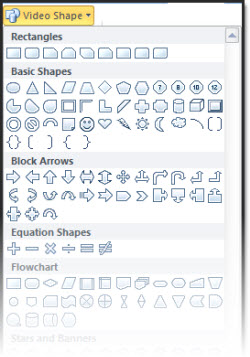
Here is my sample movie set to playback in some custom shapes:
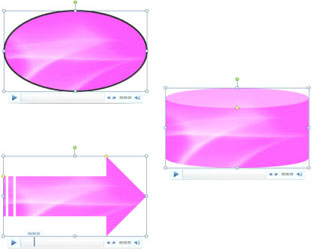
In addition the CROP TOOL works on videos now! So the next time you have a CNN news ticker running along the bottom of a video, just use the crop tool to remove it!
Almost any style options for shapes and images can be applied to videos. As example here is the RECOLOR pallet (note the pallet gives a live preview of the video in the thumbnails):
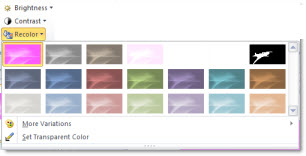
Here is the video changed to a blue from its original pink – just 3 clicks!
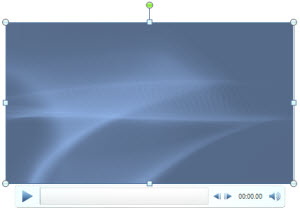
Here is the sample video with a lot of style settings applied:
– Drop shadow
– Gradient outline
– 3D perspective
– Reflection (that plays in synce with video!)

And the video played perfect, even with all of the custom styles applied.
– Troy @ TLC
#7 – Image Crop Tool
When doing a PPT Training seminar I am always amazed that people are not aware of the image crop tool and how to use it. For PPT 2010 this simple, useful tool gets a lot better!
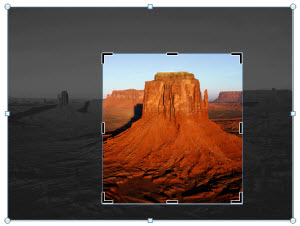
Here is my sample photo:
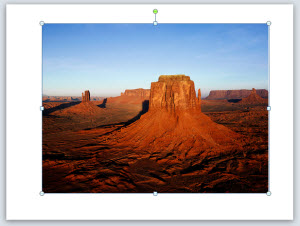
With the image selected I go to FORMAT >> CROP (okay, in reality I have added this to my QAT for faster access):
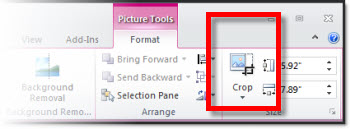
Now the image has the familiar black-dash handles for cropping – but it also has the standard dot handles…
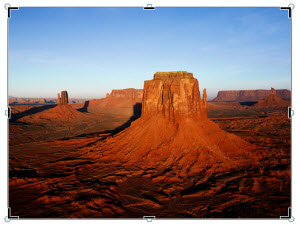
When cropping an image the non-visible (cropped) portion of the image is still visible with a dark mask:
Here is the cropped image when I click off of it (deselect it). Only the cropped image is visible:
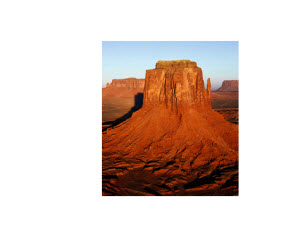
The cropping can be adjusted at any time, by selecting the image and crop tool. But the really great function is the ability to move the crop window to any position of the image! Think about setting up one image as a style guide cropped to a specific size. Duplicate the image, replace the image and move crop window to best crop the new image – but have the exact same size (visible) image.

– Troy @ TLC
#6 – Video and Audio Options
The Microsoft development team has added some really, really great usability options for working with video and audio files!
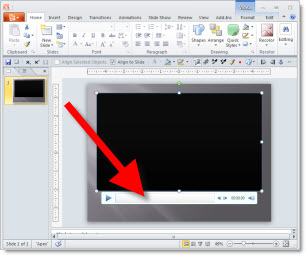
First, when a video or audio file is inserted it can easily be previewed from the edit view with full playback controls:
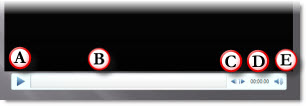
A. Play/Pause
B. Playback duration, which is draggable
C. Step forward/back (approx. 1/4 second per click)
D. Timecode
E. Volume control
In slideshow a pop-up playback bar can be activated – just move the mouse to view it (note: the pop-up playback bar can also be disabled during a slideshow (my preference)) that has play/pause, playback duration indicator (also draggable) and volume control.
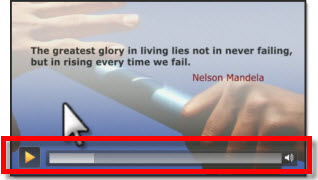
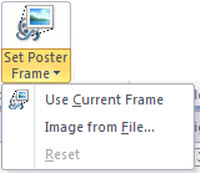
When a video is inserted it by default shows the 1st frame of the video (often black) which is called the “Poster Frame”. In PPT 2010 the Poster Frame can easily be set to any frame in the video or an external image!
Here is the new Ribbon tab to Edit video files:
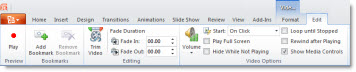
It makes many of the current options easy to find and set. It also adds some new features, like the “Trim Video” button.
The Trim Video button opens a new dialog box that most of the time replaces the need for video editing software!
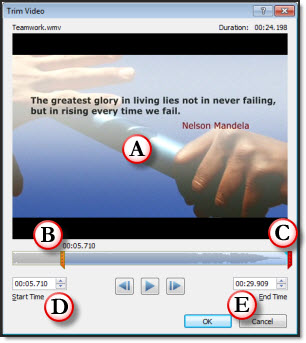
A. Playback preview
B. The orange left bar can be moved to any point and the video begins playback from there (called ‘trim’).
C. The red right bar can be moved/slide to any point, but not past the begin/orange bar, and the video ends there
D. Shows the timecode position of the begin/orange bar
E. Shows the timecode position of the end/red bar
There are even more fine tuning options for both videos and audio files. PPT 2010 really opens PowerPoint to the power of multimedia integration!
– Troy @ TLC
#5 – Thumbnail Zoom to 200%
Okay, this one will probably be overlooked by most, but to me it ranks in the top 5 new features! Looking at slide sorter view is great for storyboarding and quickly finding a specific slide – if you can read the content. Note: All screen captures are same monitor resolution and PPT window, only the zoom level changes.
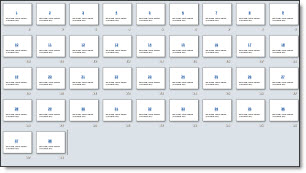
Here is my sample deck viewed in Thumbnail, or slide sorter, at 40%. Very difficult to identify content on the slides.
If your monitor is stuck at 1024×768 thumbnails viewed at 100% are discernable. But view those same thumbnails on a 1900×2000 (HD) monitor and they are small blobs of color and squiggly lines where the text is.
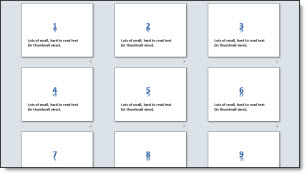
Here is the sample deck viewed at 100%, the current maximum. Large content may be legible, but the small stuff is still illegible.
But zoom in 150% or 200% and everything is legible! The zoom bar in the lower right now goes past 100% up to 200% which is great!

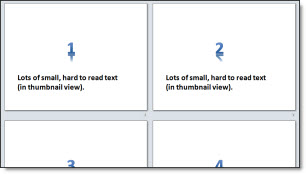
Here is the sample deck viewed as thumbnails, zoomed to the new maximum of 200%. Everything on the slide can be read and identified.
– Troy @ TLC
#4 – Slide Transitions
Transitions also benefit from #1 – Performance. In my pre-beta version there are a number of new transitions that are really exciting!
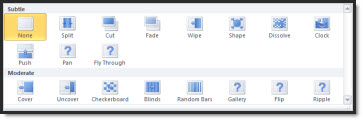
– Pan (my new animation favorite!)
– Gallery
– Flip
– Ripple
– And the full application will have more new transitions than just these!
 Video is converted to low-res .gif “movie”. Note on the PAN transitions the background stays in place while the content moves/transitions!
Plus the legacy transitions also get some fantastic updating. As example the WIPE, CLOCK, RANDOM BARS, transitions leads with a soft gradient edge. The DISSOLVE and CHECKERBOARD transitions are screens full of soft edged squares (that I might use again after ignoring since 2004).
The interface has been updated too. First, Transtions now have their own tab (no longer shared with Animations).

Almost all of the adjustments are controlled directly in the Ribbon (vs. opening a separate dialog):
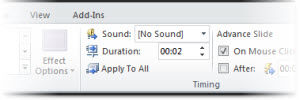
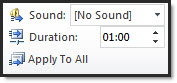
We now have precise control over animation duration, ranging from a full minute:
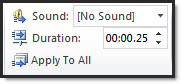
To a very quick 1/25th of a second:
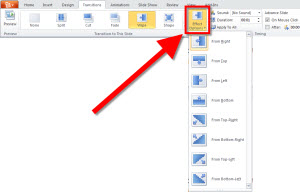
The updated interface also limits the list of transitions by adding any transition options in the new EFFECT OPTIONS menu. Here I have WIPE selected and I can choose the direction from the drop down menu.
Just another GREAT feature that adds new features and improves the existing.
– Troy @ TLC