I work with PowerPoint on a daily basis and I am very honored to be a Microsoft PowerPoint MVP. We have a talented team of presentation designers at TLC Creative Services and ThePowerPointBlog is our area to highlight PowerPoint tips, tricks, examples and tutorials. Enjoy! Troy Chollar
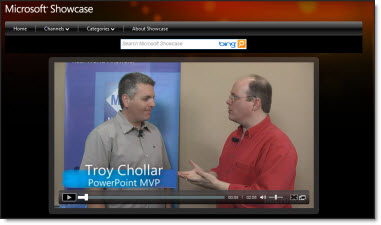
PPT 2010 Video Use Interview with PPT MVP Troy Chollar
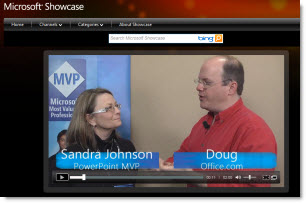
Here is a quick interview I did at the Microsoft MVP Summit. We talked about video options in PPT 2010 and I used samples slides from my Winter Olympic presentations. See it here.
– Troy @ TLC