Coming soon to a Windows based computer! The rollout is slated for February through March 2022; ML-Noise Suppression.
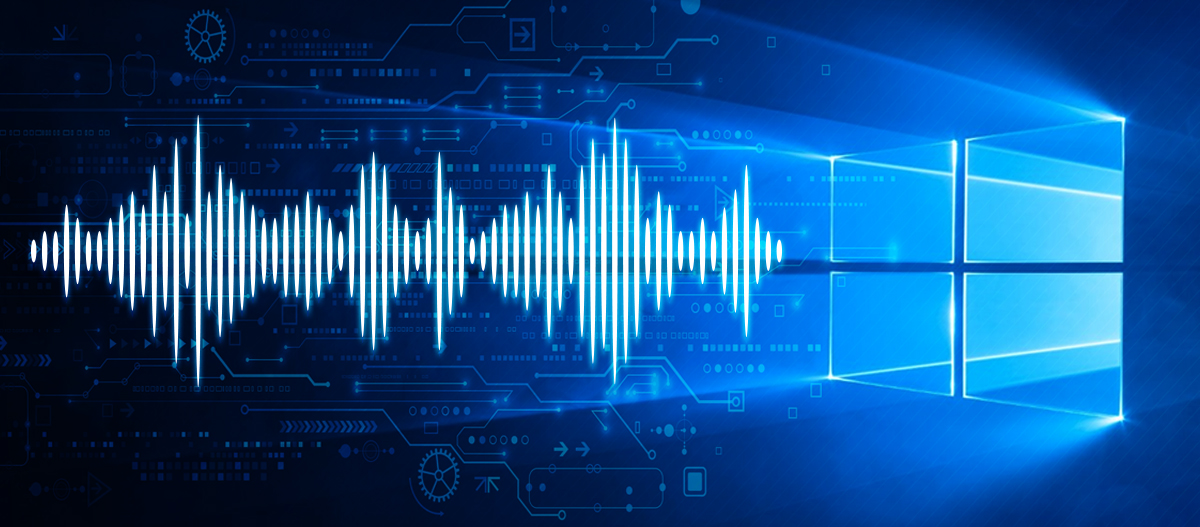
What is ML-based noise suppression?
When researching this new Windows feature the phrase “ML-based noise suppression” was used a lot. So I had to identify what it was. It is “Machine Learning based noise suppression”, or AI (Artificial Intelligence). This feature is not entirely new. ML-based noise suppression was released earlier in Windows as an option users could turn on, but with this rollout it is now enabled by default.
How does it work?
The simple description is “ML-based noise suppression considers any non-speech signal picked up by the microphone as noise which should be suppressed.” Microsoft says “[our] noise suppression feature works by analyzing an individual’s audio feed and uses specially trained deep neural networks to filter out noise and only retain speech. While traditional noise suppression algorithms can only address simple stationary noise sources such as a consistent fan noise, our AI-based approach learns the difference between speech and unnecessary noise and is able to suppress various non-stationary noises, such as keyboard typing or food wrapper crunching.” The newest feature to this system is that “non-speech” also now means background music.
Where do we see it?
I am not entirely sure where this new background music suppression will show up. It is currently integrated into Microsoft Teams Desktop App for video and audio calls. I can see this being leveraged within PowerPoint’s record feature, and potentially by other applications (e.g. Zoom or other live microphone apps).
This is the notification seen in a Microsoft Teams meeting or call if the ML-based noise suppression is activated:

How do we turn it off?
If there is an option to turn on or enable, High Fidelity (music) Mode, that tells the machine learning system to allow music to be included.
The Microsoft Office Blog has a nice article written by one of the PM’s here.
Troy @ TLC