2020 became a major restart.
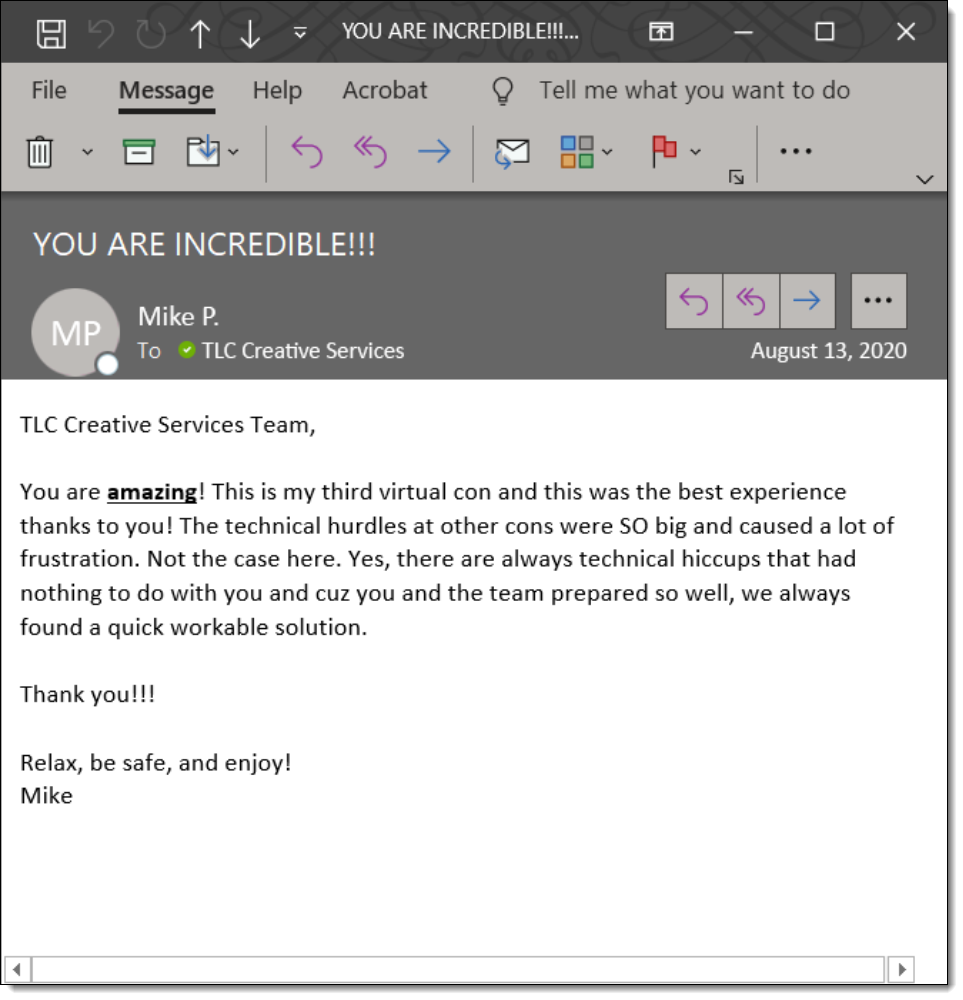
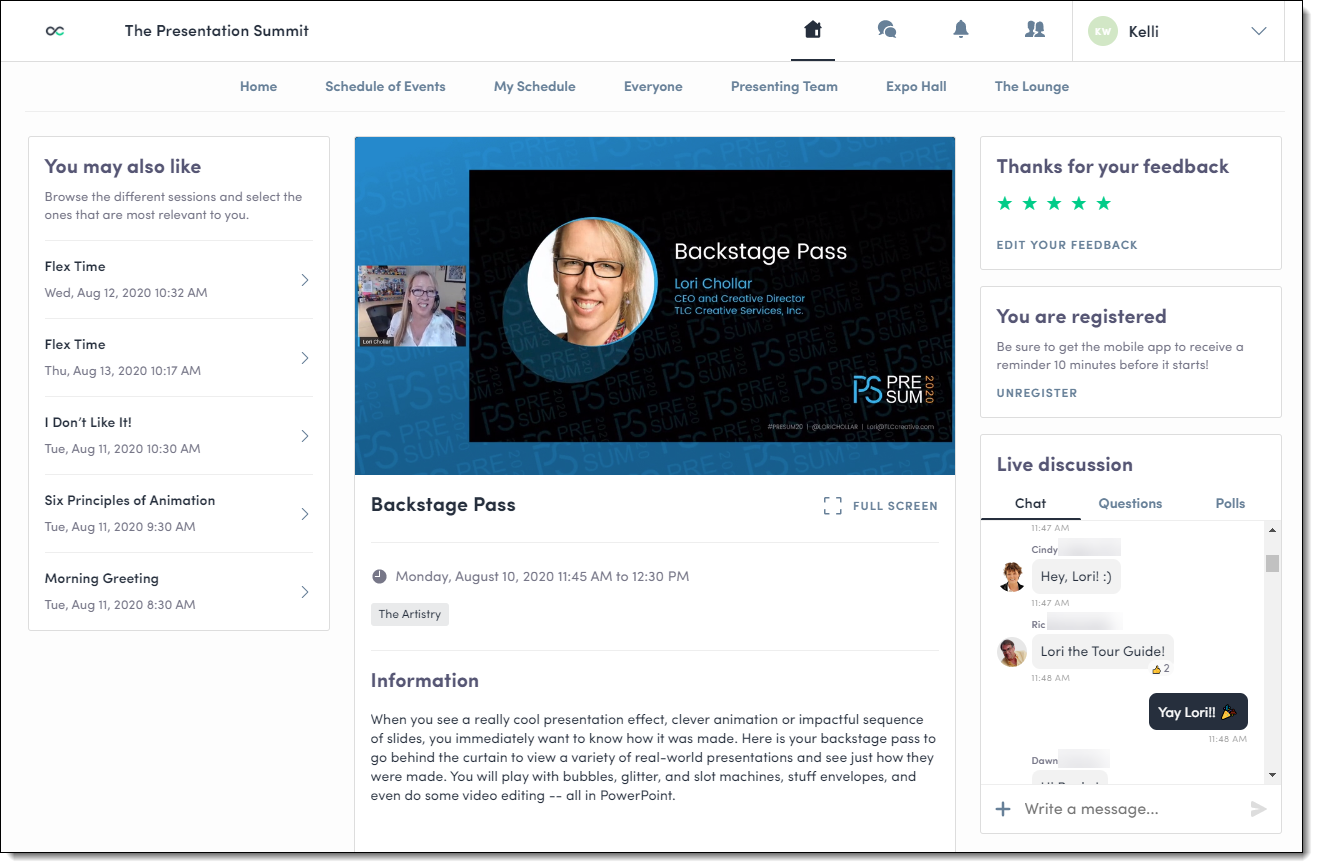
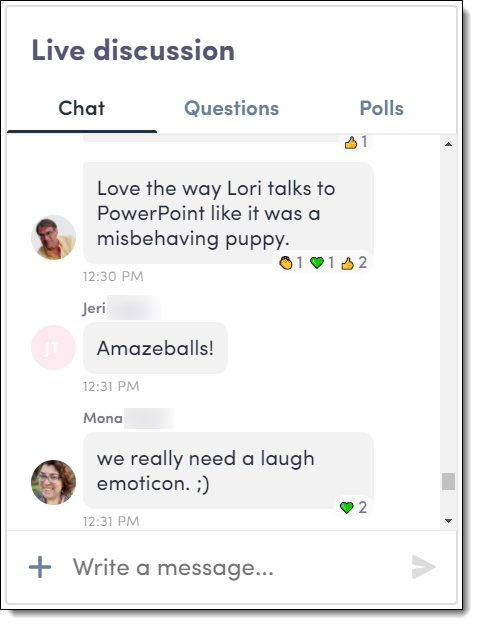
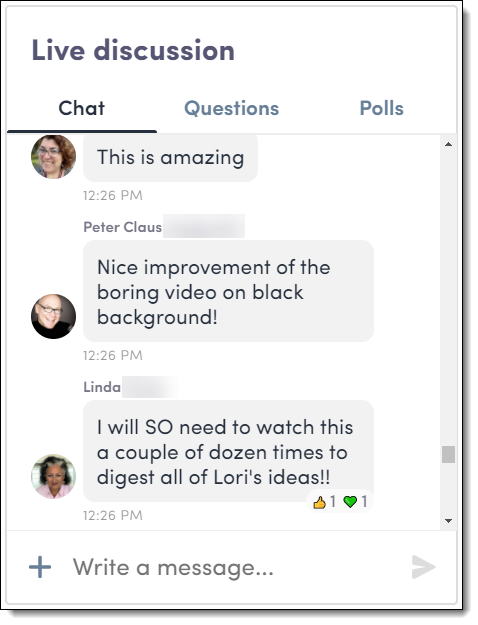
We restarted TLC Creative Services with a new offering: virtual corporate events on a secure, scalable, and highly visual customizable platform. With the loss of nearly 100% of live events, we had time and a team of talented people to focus on the VXP Meeting Platform. And, we continued to provide presentation design, template development, and graphic design services (though like most of the world, at a reduced volume of requests).
2021 is time to restart The PowerPoint Blog!
Here, The PowerPoint Blog, went on an unofficial hiatus. More things to focus on than time allowed. Business development, platform development, and client requests came first. The PowerPoint Podcast came next and many other TLC Creative projects went on hold – including our time here.

Ideas
This is not to say my list of presentation examples, PowerPoint tutorials, and resources stopped. The list of blog topics has continued to grow for literally a year and it is now overflowing! The TLC Creative team is still busy (thankfully!), and The Presentation Podcast is going strong (with topic planned into 2022). The VXP meeting platform is less in a development stage and is now a stable functioning offering. All of these things make May 2021 the time to restart The PowerPoint Blog.
Welcome!
If you are new here, welcome! and search the archives. There are 1,ooo’s of blog posts (seriously, there are a lot, spanning back to 2006!) with lots of great how-to tutorials, examples of presentation design, and reviews of presentation design resources.
If you are a long time visitor, welcome back! Sorry for the pause, but the world gone crazy with a global Pandemic forced reshuffled priorities. Now we are focused here, on The PowerPoint Blog once again 🙂
your friend,
Troy Chollar