The PowerPoint® Blog

I work with PowerPoint on a daily basis and I am very honored to be a Microsoft PowerPoint MVP. We have a talented team of presentation designers at TLC Creative Services and ThePowerPointBlog is our area to highlight PowerPoint tips, tricks, examples and tutorials. Enjoy! Troy Chollar

New PowerPoint Page Number Print Feature!

A new feature snuck into PowerPoint unannounced (PowerPoint for Windows, Mac version coming soon, mobile/web versions – uncertain), and it is either fantastic or a frustration, depending on what you need! 


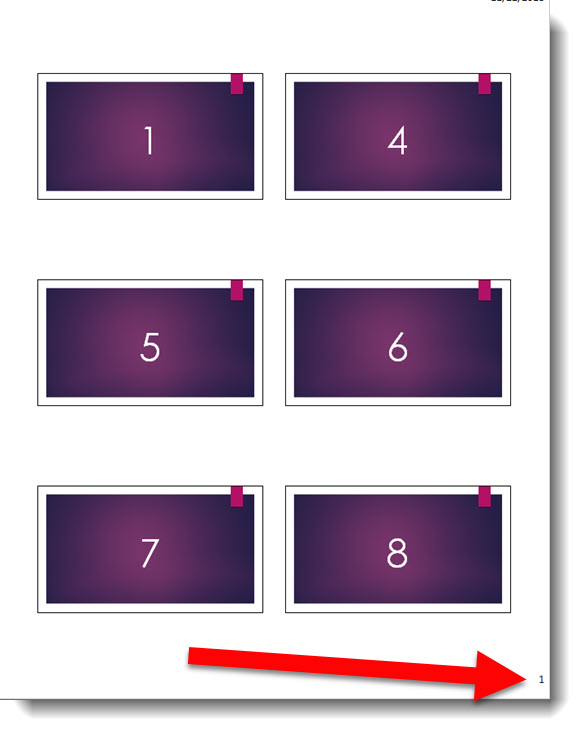
Traditionally making a print of slides for reference was a bit confusing as to what slide number was being referenced. We had the print page number, but this 6-up layout meant manually counting slides to know which slide number the thumbnail represented.
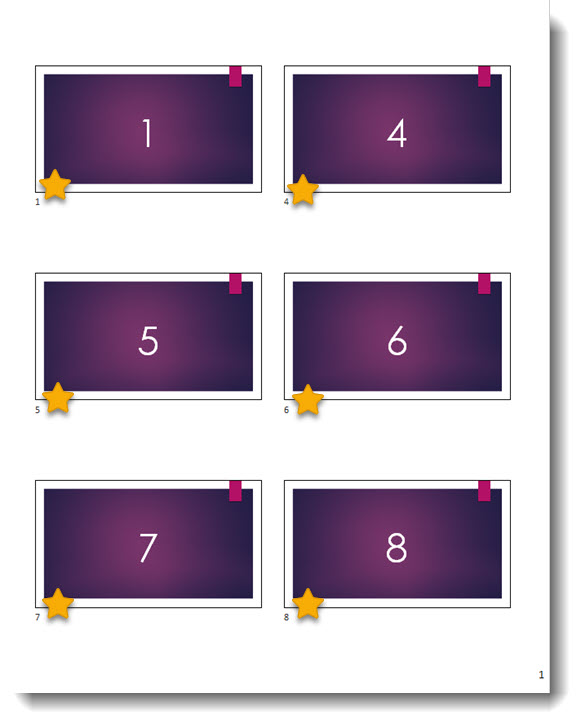
But now there is an option to add slide numbers outside the thumbnails!!
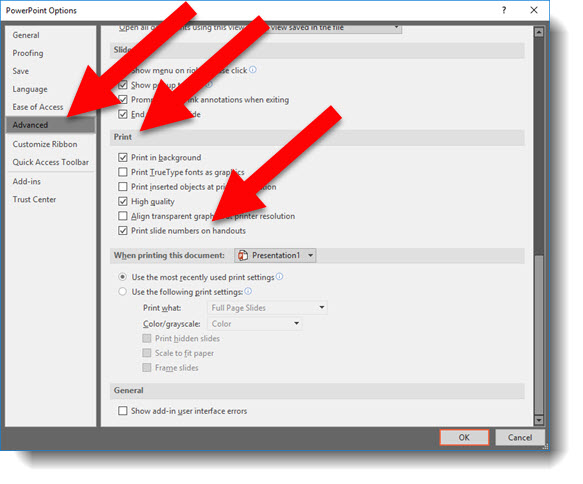
This feature has been turned on by default with a  recent Office update (note: I am currently running the Insider Fast, or Monthly Targeted, build and have not verified if this feature has rolled out to all update cycles – if you do not see it, it is coming soon). Go to FILE > OPTIONS > ADVANCED > PRINT > PRINT SLIDE NUMBERS ON HANDOUTS
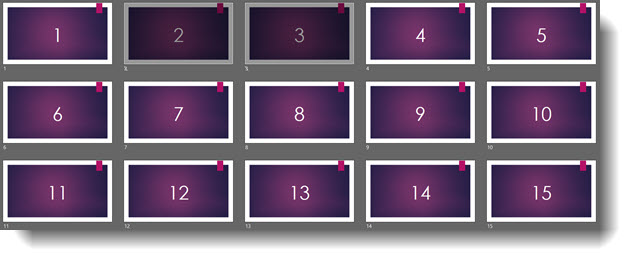
Let’s look at this feature a bit closer and a scenario where it may not be as helpful as you had hoped. Here is my sample slide deck, 15 slides and 2 slides (#2 and #3) hidden.
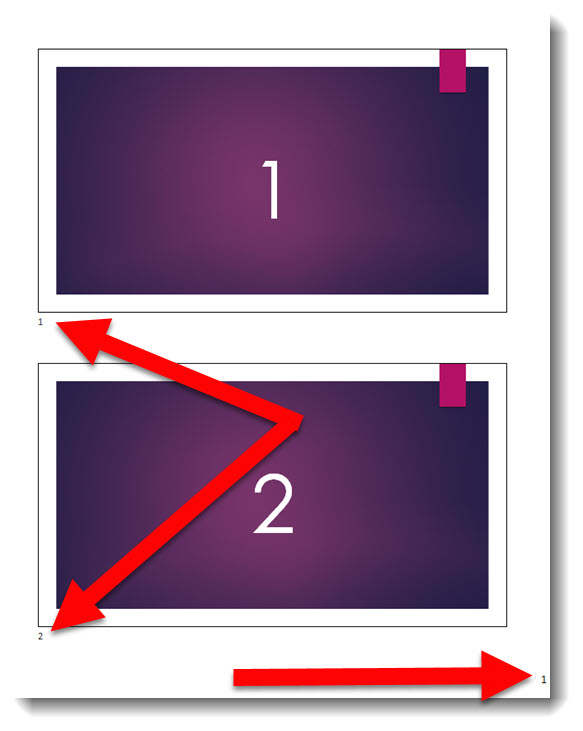
Printing this slide deck as a 2-up handout WITH hidden slides included looks like this. We have the print page number and the thumbnail slide numbers look perfect:
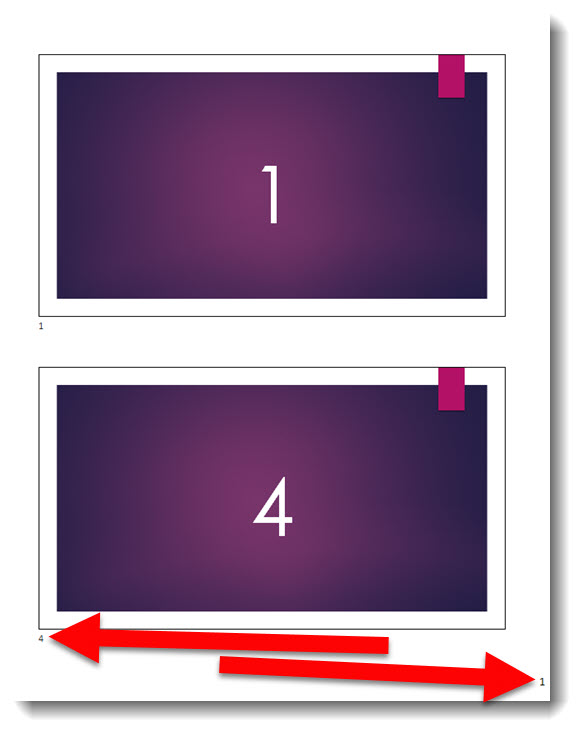
But if we do not print the hidden slides, things may be a bit confusing. The print page number is still perfect, but the thumbnail slide numbers match the actual slide number not the slide show number. The hidden slides still count as numbers to the print out jumps from slide 1 to slide 4:
Good? Bad? Confusing? Helpful? Not Helpful?

I find the all of the above to be possible answers. The way I am explaining the thumbnail page numbers is they are the slide number, not the slide show number. So if you need to manually jump to a specific slide in a presentation – while presenting, that is the number to use. If you are looking to confirm how many slides are in a presentation, this may not be the accurate number (if there are hidden slides in the deck).

Troy @ TLC
By |2018-11-26T12:44:19-08:00November 26th, 2018|PowerPoint, Software/Add-Ins|

Happy Thanksgiving Animation

[KGVID]https://thepowerpointblog.com/wp-content/uploads/2018/11/unnamed-file.mp4[/KGVID]

Happy Thanksgiving everyone! Enjoy time with family and full of fun and food 🙂

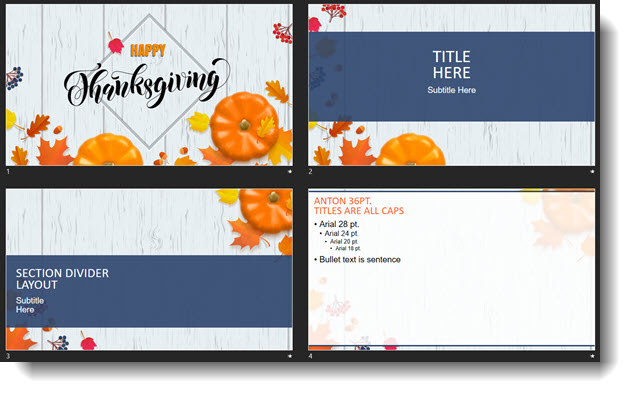
Thanks to Christie on the TLC Creative presentation design team for creating a fun Thanksgiving themed PowerPoint animation – it only took 82 animations for the above animation!

[KGVID width=”484″]https://thepowerpointblog.com/wp-content/uploads/2018/11/unnamed-file-1.mp4[/KGVID]

Troy @ TLC

By |2019-10-28T15:40:59-07:00November 22nd, 2018|Portfolio, PowerPoint|

The Presentation Podcast Episode #66 Released Today!

A new episode of The Presentation Podcast with Troy, Nolan, and Sandy is available today! Check out the latest episode, #66 – Scope Creep and the Boiling Frog.

  • All Presentation projects all have parameters; what is needed, when it is needed, who needs to approve, how you will be paid. Project scope can be very simple or very robust. One thing that is almost inevitable, the project scope changes before the final design piece is approved. Join Troy, Sandy, and Nolan as they talk about how they setup project scope, and stories of Project Scope that slowly expanded throughout the project timeline.
By |2018-11-19T13:12:01-08:00November 20th, 2018|Resource/Misc|

Make it ALL CAPS

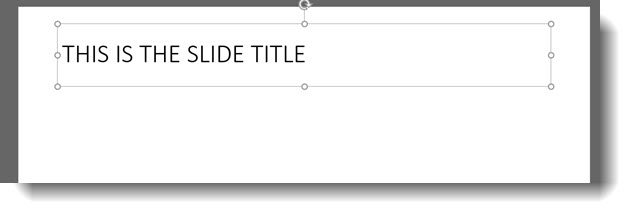
“How Did They Do That? When I type into the title text placeholder, all of the text is automatically ALL CAPS.”

When developing a template or custom layout, this is a great way to help everyone using the template with consistent formatting.

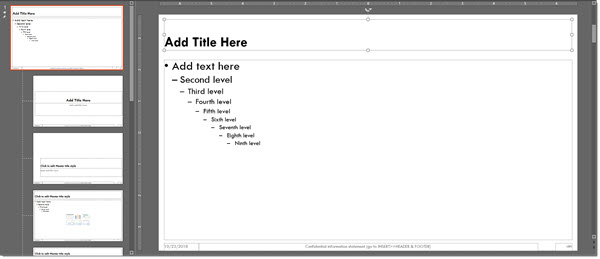
Go to the Master Slide or specific Master Layout and select the title text placeholder.


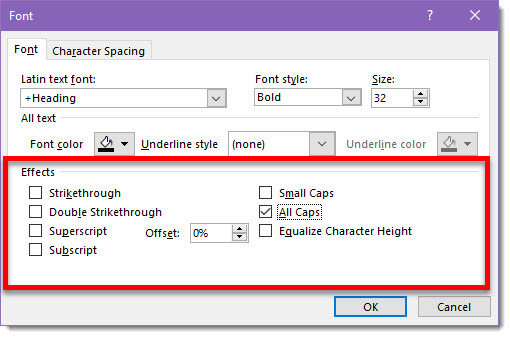
On the HOME tab, in the FONT section, click the FONT DIALOG icon.

From the FONT dialog, check the ALL CAPS option, and OK.

That’s all the programming needed. That text placeholder will now be ALL CAPS text as it is added.

-Troy @ TLC

By |2018-11-11T13:52:54-08:00November 14th, 2018|Tutorial|

Placeholder Prompt Text – Make it Helpful

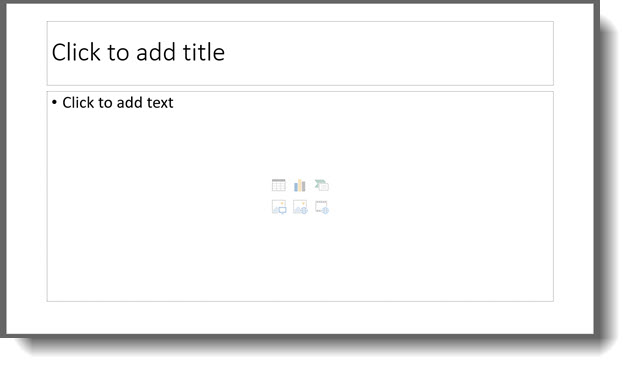
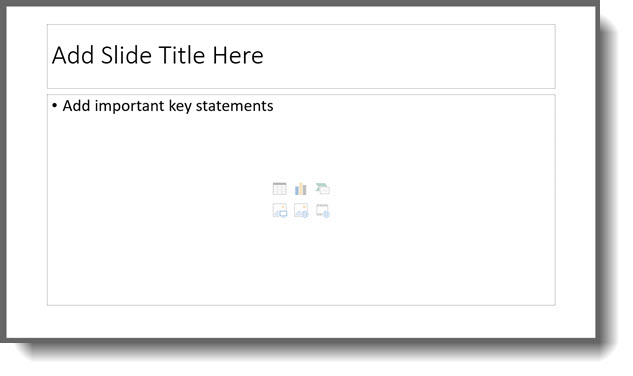
Every new slide, with text placeholders, have some informational prompt text to let users know it is available.

But the prompt text does not need to be the Microsoft supplied text! The prompt text can be updated to personalize to the audience, topic, or content needs.

-Troy @ TLC

By |2018-11-12T05:57:11-08:00November 12th, 2018|Tutorial|

Quick Access to Slide Master

This is a re-post from earlier this year, originally posted on June 08, 2018.

The Master Slide is where as presentation designers we try to keep clients away from. But as a designer, this is a fantastic shortcut to accessing the master slide!

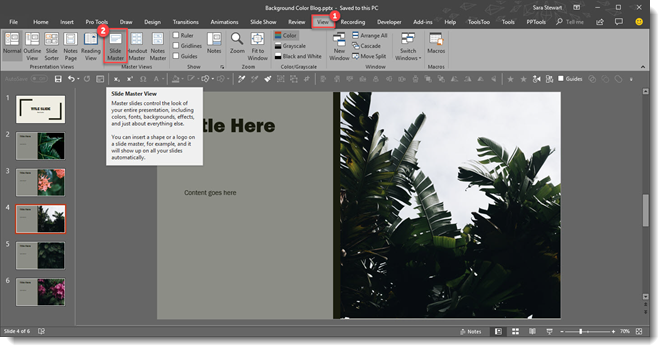
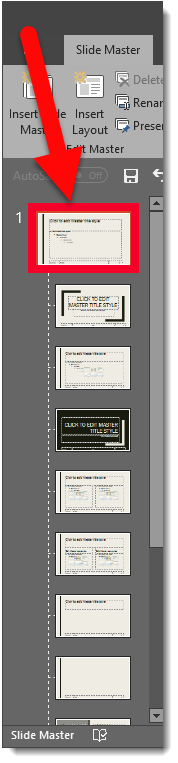
As example, we want to change the background color across all slides. Easy, just update the Master Slide. The typical way of doing this is  View > Slide Master and the Master Slide view opens with that layout selected.

Directly to the Master Slide 1

However, we need to change the background color on the Master Slide, not the Master Layout. So now we need to scroll up and select the Master slide at the top. Too many steps for a busy presentation designer!

A quick and easy shortcut to achieve going directly to the Master Slide is to hold SHIFT + DOUBLE-CLICK on the NORMAL VIEW icon in the lower right bar.

Directly to the Master Slide 3

This is will automatically open the master to the top slide where you can quickly update all slide backgrounds.

Here it is in action, 1 click (okay a double-click) access to the Slide Master.

[KGVID]https://thepowerpointblog.com/wp-content/uploads/2018/06/unnamed-file-3.mp4[/KGVID]

Troy @ TLC

By |2019-11-06T21:55:21-08:00November 9th, 2018|PowerPoint, Resource/Misc|

Things Get Corrupted – Fix it with a Fresh Layout

Funny things can happen to PowerPoint Master Layouts; we have found layouts susceptible mystery bullets being added to text placeholders, layouts jumbled, fonts not working and many other annoying format problems. The mystery can be unravelled by delving into the file XML files – or, we can hack the process by replacing the corrupt layout with a new version.

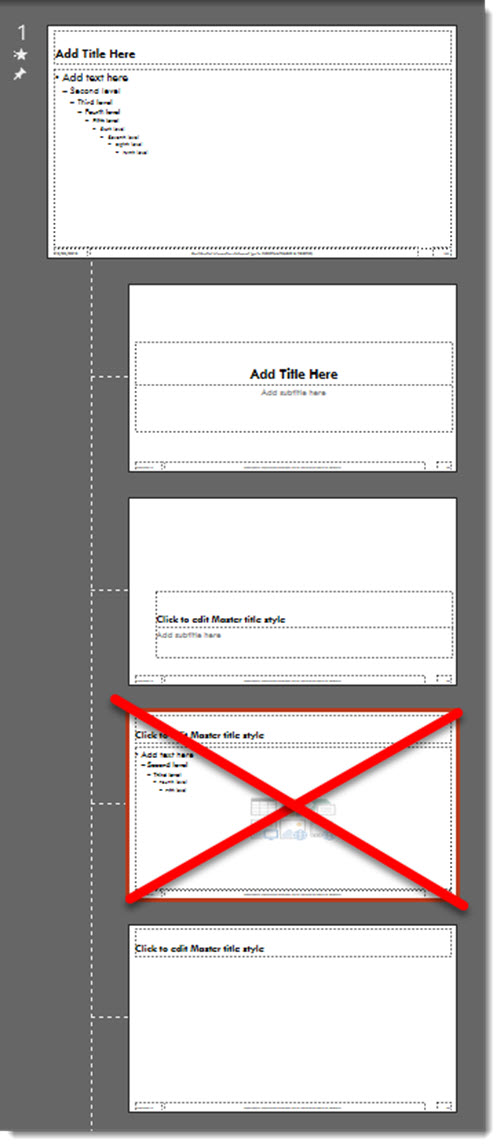
The really is no fixing a master layout that has gone bad. For this example we are saying the TITLE AND CONTENT Master Layout has become corrupt.

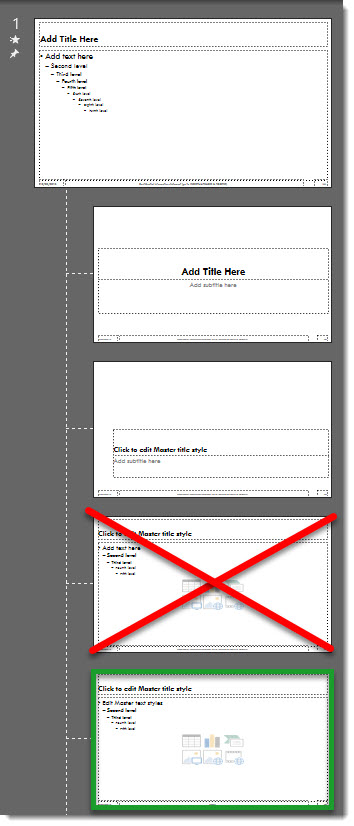
Our solution is deleting the bad layout and replacing with a fresh layout of the same name from another file, such as an earlier version of the same template, or from the Microsoft Default template.

First, we need to delete the Master Layout, so all slides that are assigned to it need to be deleted or assigned to another Master Layout.

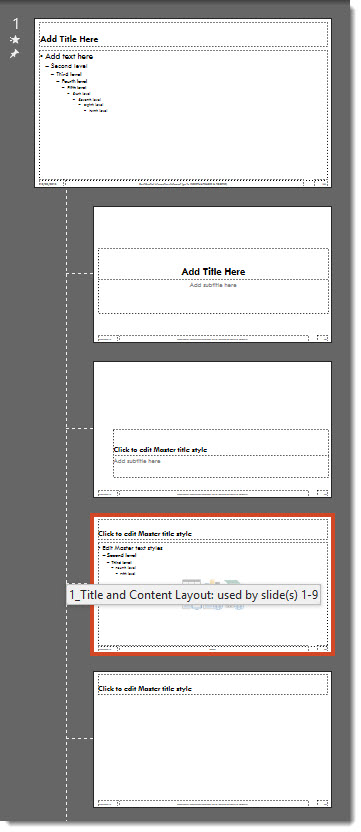
Then Open the Master Slide view and delete the corrupt layout (which means the layout that has mystery formatting issues that cannot be resolved – it is XML corrupt).

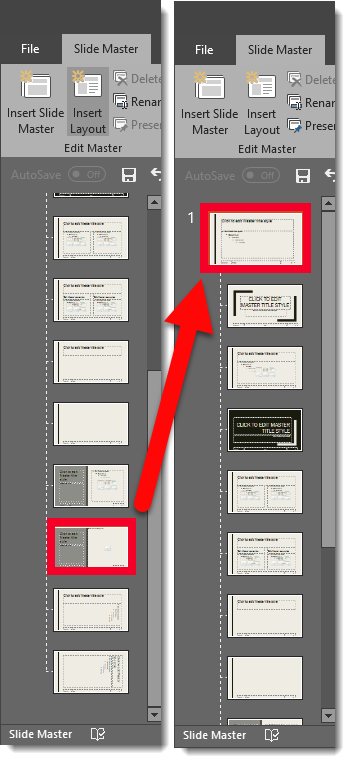
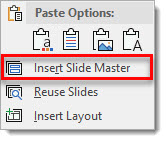
Now the hack, insert a new Slide Master by right clicking and selecting “INSERT SLIDE MASTER”. 

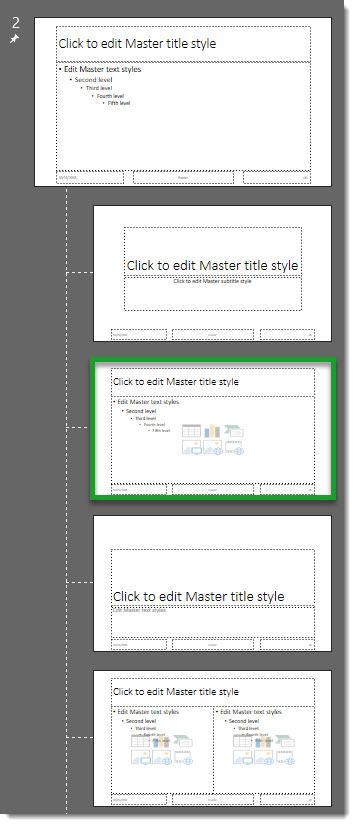
From the new Microsoft default Master Slide, find its TITLE AND CONTENT layout.

Drag the fresh layout TITLE AND CONTENT layout from the new master to the original Master Slide to replace the corrupt layout deleted earlier.

Note: the new master layout will pick up the Master Slide attributes, but it may need customization to match the template layout needs. The good news it has a fresh XML coding behind it and what was bad is now gone!

Troy @ TLC

By |2018-11-03T21:16:51-07:00November 5th, 2018|Tutorial|

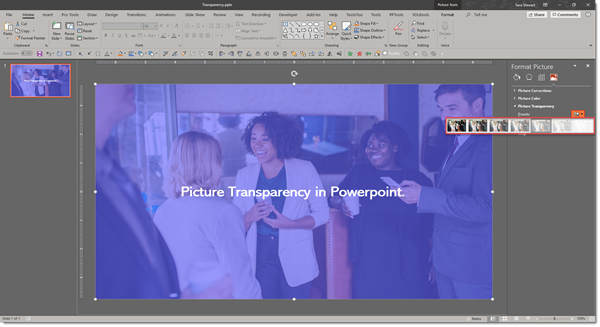
Image Transparency!

Until recently, pictures in PowerPoint didn’t have a transparency setting for photo/raster images. Transparency could be adjusted on shapes, and for creative presentation designers, a shape fill could be set to be a photo, which would then let the transparency to be adjusted (lots of work, but a hack solution!).

As of late October 2018, image transparency is a real thing in PowerPoint Office 365 version!

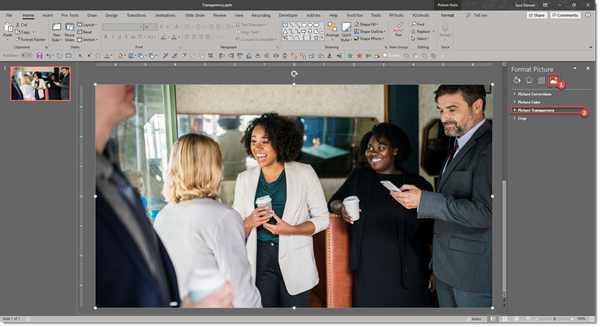
When an image is selected, there is a new TRANSPARENCY tool on the ribbon.

  1. Format tab
  2. Transparency in the Adjust section
  3. Preset transparency options, or click “Picture Transparency Options”

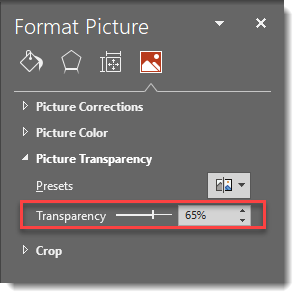
On the format pane, the Transparency options allow the amount of transparency to be adjusted. Go to Format Picture > Picture > Picture Transparency.

Here is an image  on a blue background slide. First it is the default opaque (0% transparency) and then  semi-transparent (30% transparency).

Troy @ TLC

By |2019-01-31T14:32:56-08:00November 2nd, 2018|Tutorial|
Go to Top