It Takes A Lot Of Images To Convey A Message
I am preparing material for a PowerPoint/Design course and this is screen capture of my images folder from a recent project. My message is that a presentation is more than bullet points and an image can be more effective. I practice that message and this is shows the number of images prepared in Photoshop for a recent presentaiton.
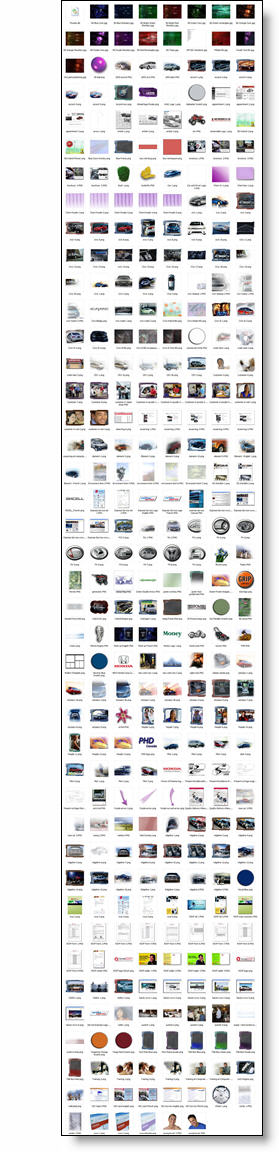
– Troy @ TLC