PowerPoint

A Better Way to Hide Slides

Quick, which is the hidden slide!?
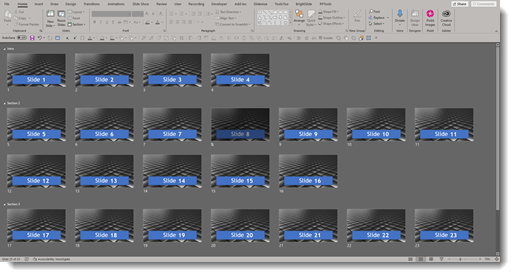
PowerPoint does not make it easy. There are visual indicators; the page number has a (thin, small) line through it and the slide itself is (faintly) dimmer than the others. And this is if you are in PowerPoint slide sorter view. On a printout, if the hidden slides are included in the printout, there is NO indicator if a slide is included in the slideshow or skipped because it is hidden.

Back in September 2016 I shared my solution, a .png image overlay to visually show when a slide is hidden (if you need a 4×3 version of the hidden overlay, find it on the Sept. 2016 blog post here).

Jump to present day 2021 and 4×3 is not the size presentations we create any longer. So here is an update with a 16×9 version of our Hidden Overlay image.

With the Hidden Overlay .png it is much easier to know which slides are hidden (hint: the slide on the left is the hidden one 😊).

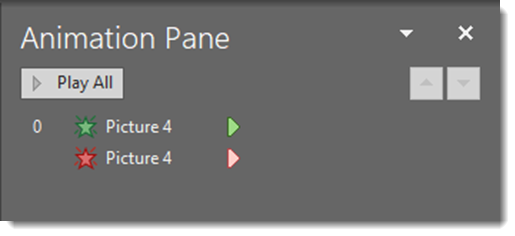
One issue that comes up with adding the Hidden Overlay, if you manually go to this slide, everyone sees a giant “Hidden” across the slide. This is overcome with a preset animation that makes the hidden image not show up to the audience. Download the sample slide and try it.
Download the 16×9 Hidden Overlay .png here.

Download a slide with the Hidden Overlay and disappear animation preset here.

Troy @ TLC

By |2021-06-12T13:28:58-07:00June 28th, 2021|PowerPoint, Resource/Misc|

What is PowerPoint Autofix?

Auto Fix is a new native PowerPoint feature that is designed to help align content on slides more quickly.

Auto Fix can help automatically align, uniformly resize, and distribute elements and straighten the connectors between them. It is pretty magical (okay, really good coding). But it is only currently available if using PowerPoint for the web


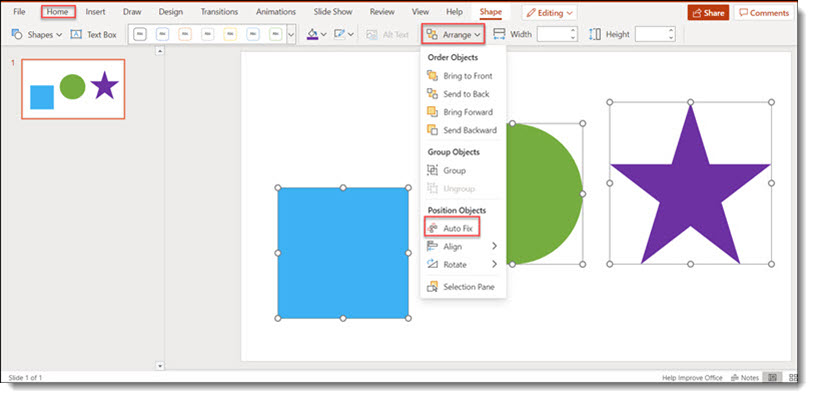
Select the objects (images, shapes, text boxes) > go to the HOME tab > SHAPE > ARRANGE > AUTOFIX

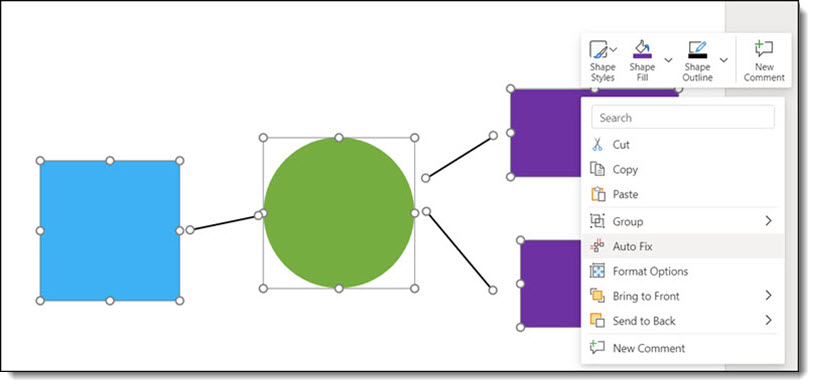
Or, find Auto Fix button with a right click. Select the shapes > right click one of the shapes > AUTO FIX is half way down the options available.

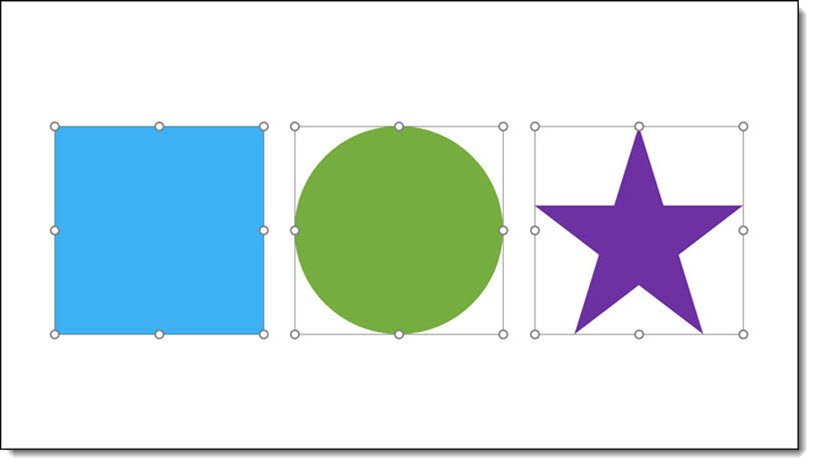
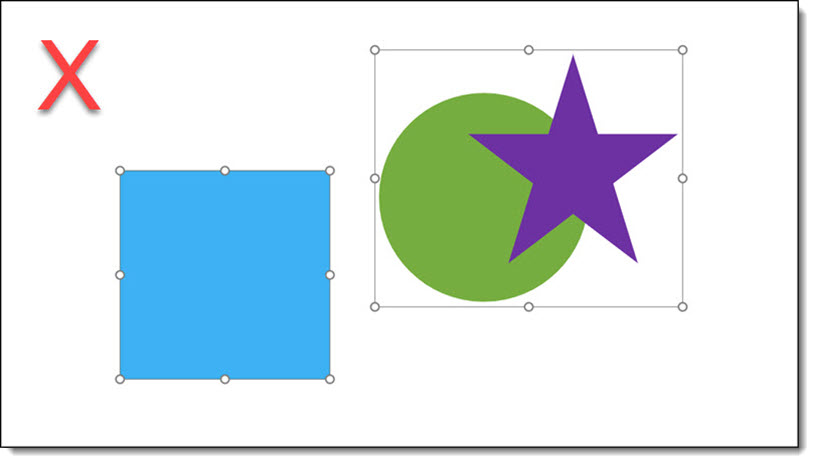
As example, here are 3 randomly placed shapes on a slide.

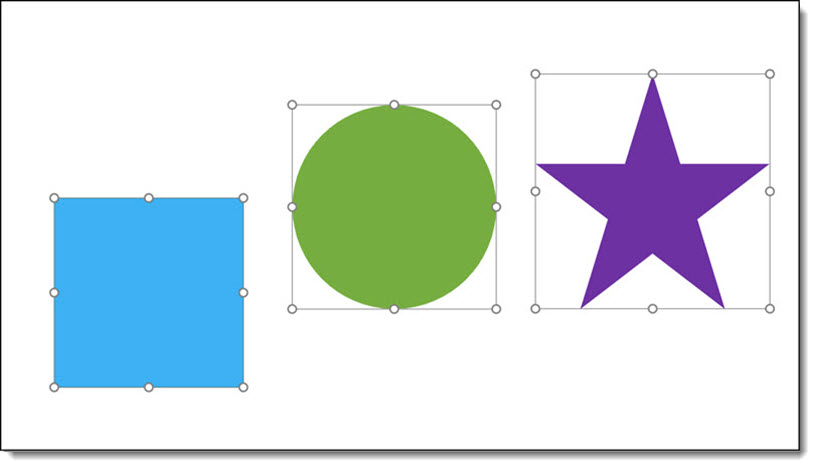
After selecting all three shapes and running Auto Fix, this is what PowerPoint provided – vertically aligned, equal spacing between objects and centered on the slide:

One note, Auto Fix currently does not work with SmartArt, group shapes and elements that overlap.

Another recommendation is to use Auto Fix on smaller groups of elements to get their positioning and alignment updated, then adjust any additional elements either with another Auto Fix run, or manually position for the final layout.

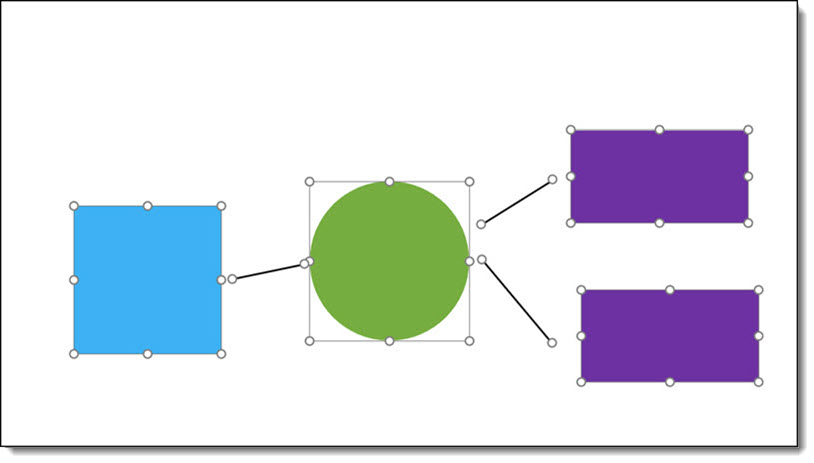
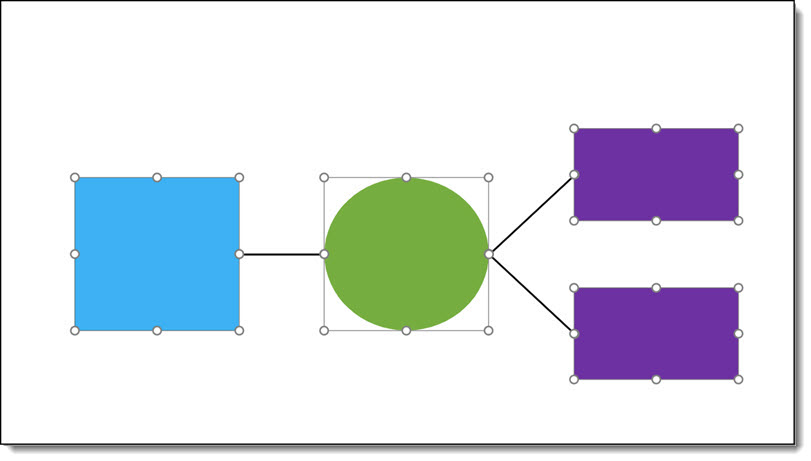
One more Before & After example of something a bit more complex.  The bottom aligned layout was created by Auto Fix in a single click:

Christie @ TLC

By |2021-06-01T10:56:03-07:00June 25th, 2021|PowerPoint|

PowerPoint Recommends What File You Want to Open

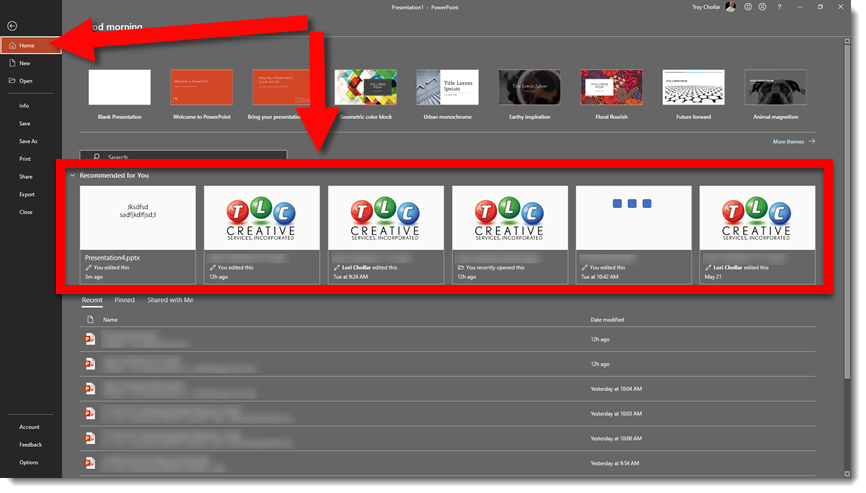
Microsoft 365 has a new AI integration. When you go to File > Home, there is a list of presentation files that PowerPoint has determined you want to open now.

This feature should be available on all 365 versions (Windows, Mac, mobile and web). Go to FILE > HOME > RECOMMENDED FOR YOU section. Based on your workflow, Office’s AI algorithm lists the presentation files it feels you are most likely to want to open now!

The Recommended for You list is only presentations that are stored on Teams/OneDrive/SharePoint. So any files you have on your local computer or local company network are not included. And it is not a list of just the 6 most recent files you have opened. I open dozens of presentations files each day (okay, I open 50+ presentation files each day, but currently about a dozen+ are hosted on Teams and show up in the Recommended for You area). The far right file in the list is dated May 21, which was over a month ago vs the other presentations in the list, but it was a similar topic and was amazingly similar to the topic I was working on…

The only confusing thing about this feature is that it is not a part of the File > Open information.

Troy @ TLC

By |2021-06-11T10:27:58-07:00June 23rd, 2021|PowerPoint|

How Big is This Image?

Looking at an image on a slide, it is not easy to know what the original image size is. Is it HUGE, adding unnecessary file size? Or is it tiny and not going to display well? There is a quick and easy way to figure out original image sizes within in PowerPoint:

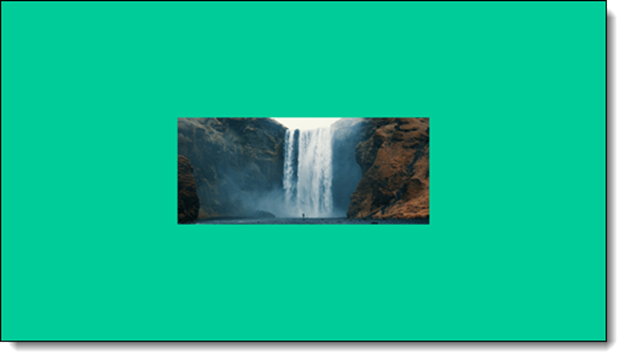
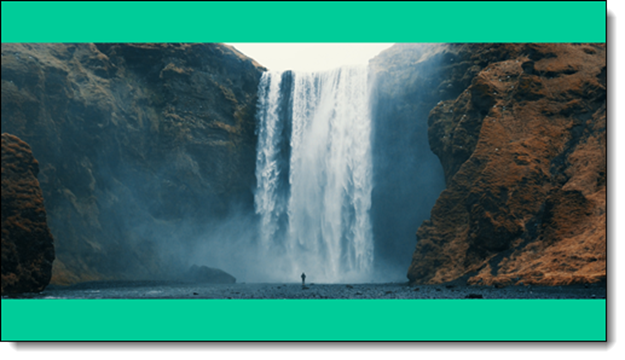
On this example slide, the image is on the slide relatively small. But is this its real size?

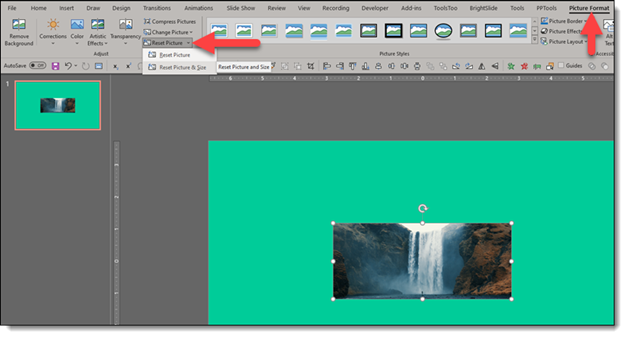
To visually see the true size of the image, go to the top menu and click the Picture Format tab, then select the “Reset Picture” dropdown, and choose Reset Picture and Size

Once the picture has been reset, it will size to its real size. With this example, the image was MUCH larger than its displayed size (which depending on animation needs, could be okay to keep as is)

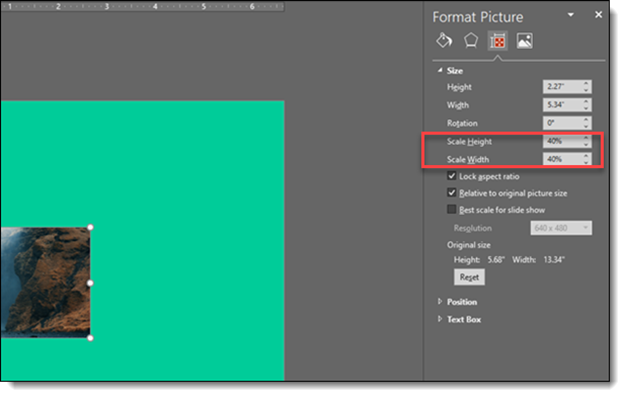
If you are “numbers” person, click on any image. Go to the “Size and Properties” tab in the Format Picture settings. Look at the Scale Height and Scale Width percentage. For our example image it shows the small image is displayed at only 40% of its original size. That tells us the image is much bigger, could easily fill the slide at its native 100% size – or it is bigger than needed for the slide and adding to the file size of the presentation.

Just a few tricks of where to look, or what to do, to know if the image on a slide is what you need as far as its file size.

Jake @ TLC

By |2021-06-14T11:38:09-07:00June 14th, 2021|PowerPoint|

PowerPoint Custom Color Schemes and “Indian Jones”

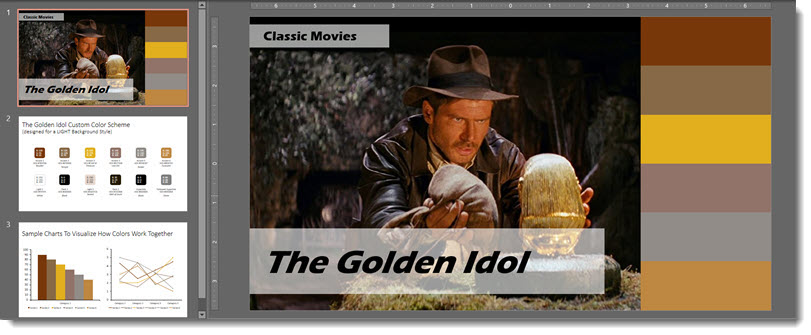
Our final custom PowerPoint color scheme is inspired by the classic trilogy of Indian Jones. The PowerPoint slide shows the reference image, the color chips, and you will need to download the PowerPoint file to enjoy the creative color naming.

Indiana: Warm yellow tones, set as a monochromatic scheme. Colors taken from the main character clothing and the objects in the surrounding background.

Download the PowerPoint deck with preset color scheme here.

By |2021-05-08T12:35:12-07:00June 11th, 2021|PowerPoint|

PowerPoint Custom Color Schemes and “Princess Bride”

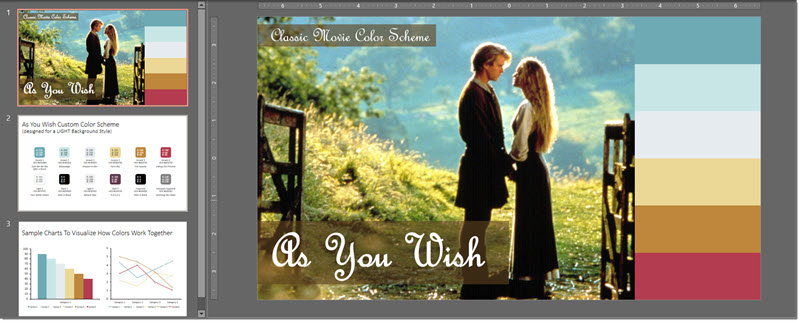
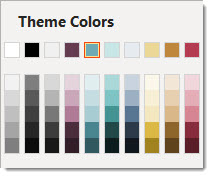
Part 4 of our internal design exercise is the very classic movie Princess Bride. The PowerPoint slide shows the reference image, the color chips, and you will need to download the PowerPoint file to enjoy the creative color naming.

Princess Bride: Soft, light colors for an analogous scheme. Colors taken from the main characters and the surrounding background.

Download the PowerPoint deck with preset color scheme here.

By |2021-05-08T12:36:39-07:00June 9th, 2021|PowerPoint|

PowerPoint Custom Color Schemes and “Beetle Juice”

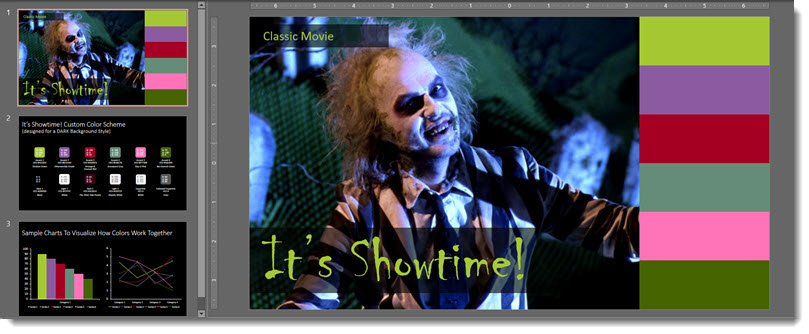
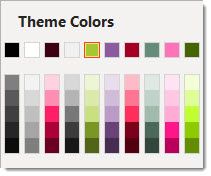
Part 3 of our internal design exercise is the classic movie Beetle Juice. The PowerPoint slide shows the reference image, the color chips, and you will need to download the PowerPoint file to enjoy the creative color naming.

Beetle Juice: A mixture of muted and bright colors. Greens and purple taken from the main character and background objects. Other colors are not pulled directly from the image but are complimentary to the movie’s aesthetic and undertone.

Download the PowerPoint deck with preset color scheme here.

By |2021-05-08T12:36:43-07:00June 7th, 2021|PowerPoint|

PowerPoint Custom Color Schemes and “Splash”

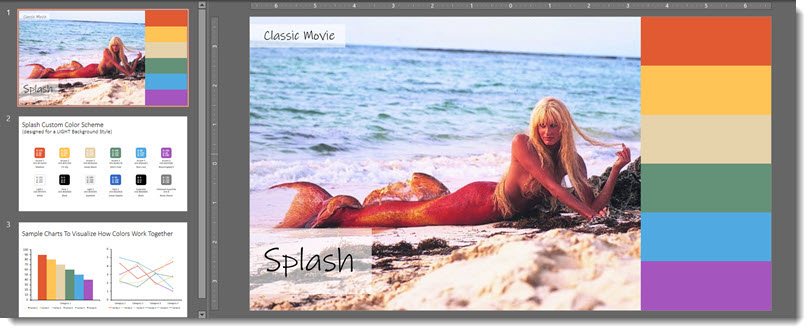
Part 2 of our internal design exercise is the classic movie Splash. The PowerPoint slide shows the reference image, the color chips, and you will need to download the PowerPoint file to enjoy the creative color naming.

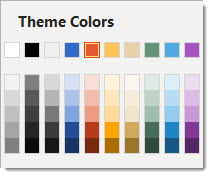
Splash: Vintage, warm rainbow tones. Inspiration from reds and yellows of the fin and tan of the sand. The cool tones taken from the different hues of the ocean.

Download the PowerPoint deck with preset color scheme here.

By |2021-05-08T12:36:48-07:00June 4th, 2021|PowerPoint|

PowerPoint Custom Color Schemes and the Movies

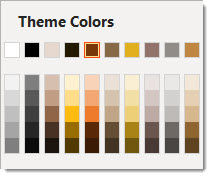
As an internal design project we explored creating custom PowerPoint color schemes (that can also be applied to other Office apps such as Excel and Word). A custom color scheme (this is not a full tutorial) is created by selecting a master slide (if there are multiple master slides in a presentation, each can have their own preset color scheme) and going to DESIGN > VARIANTS > COLORS > CUSTOMIZE COLOR.

For this internal exercise, the design team picked a “classic movie”, found a reference image, and assembled a color scheme that they felt aligned with the movie. The results were so good, we had to share a few of the creations! This is a 6 part blog series, highlighting 6 classic movies (note, “classic movie” as interpreted by our design team!) and the corresponding custom PowerPoint color schemes. And, each will be downloadable 🙂

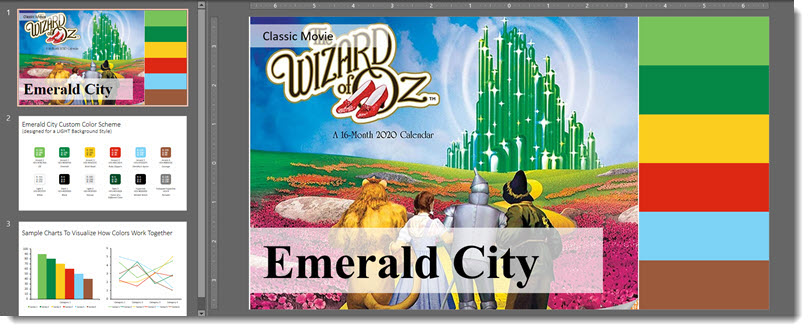
To start things off, from Christie, is a true classic – the original Wizard of Oz.

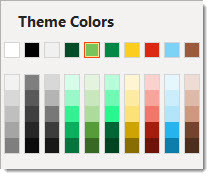
Wizard of Oz: warm saturated tones. Greens and yellow taken from the main focal point of the emerald city and yellow brick road. The reds, blue and brown mainly from Dorothy’s aesthetic, hair, dress, and shoes.

Download the PowerPoint deck with preset color scheme here.

By |2021-05-08T12:37:29-07:00June 2nd, 2021|PowerPoint|

PowerPoint Adds Ability to Lock Objects!

Adobe Illustrator’s “Lock Object” has been something I have dreamt about having in PowerPoint for years. Well it has finally happened!

Here is my example slide. Lots of overlapping images. I am certain everyone can think of several reasons the ability to lock one, a few, or all of the objects in place so they cannot be accidently moved would be a good thing.

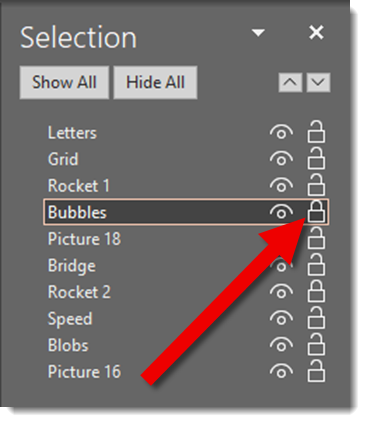
For this example I want to lock the upper right image from being able to be moved. It is labelled “Bubbles” in the Selection Pane.

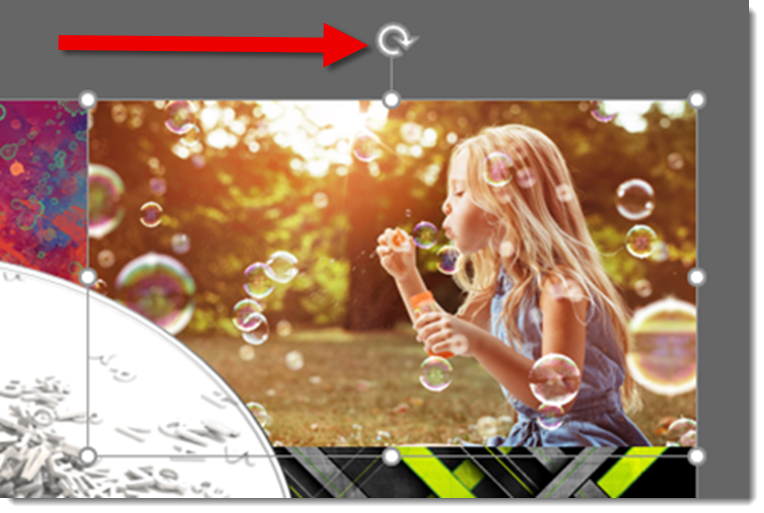
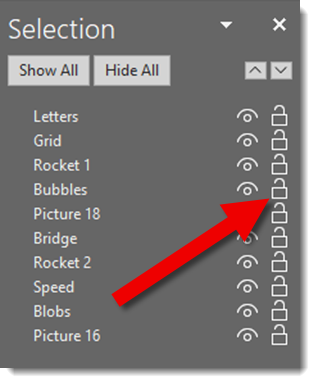
In the selection pane to the right of the visibility icon is a new padlock icon. Currently the “Bubbles” image is unlocked. That means selecting it the standard modified handles are seen, but I want to focus on the rotate modifier.

To lock any object – image, shape, text, media, etc., just click the padlock icon.

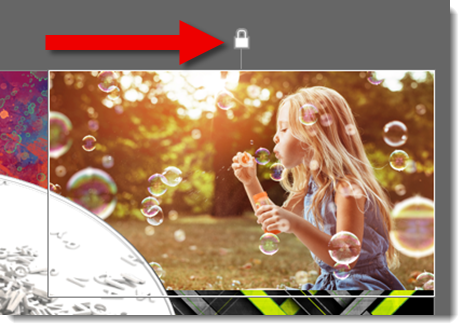
The object can still be selected, but it cannot be moved, resized or altered. The rotate modified is replaced with a lock modifier.

This is a huge improvement to PowerPoint’s editing! Some additional observations:

  • Locked objects still have animation applied (and a locked object can have new animations applied to it).
  • Locked objects can be turned off using the Selection Pane visibility icon.
  • Objects on the slide level can be locked.
  • Objects on the Master Slide and Master Layouts CANNOT be locked.
  • Placeholders, on slides, can be locked.
  • Z-order of locked objects can be changed (eg. “bring to front” works).
  • Anyone that can edit the slide can unlock an object (if they open the Selection Pane).


Troy @ TLC
By |2021-05-17T16:55:43-07:00May 19th, 2021|PowerPoint|
Go to Top