Webinar by Troy – PowerPoint 2013, What’s New, Better, and Different
AudioSolutionz has asked me to present a live webinar on PowerPoint 2013. It will be this Wednesday, February 19 at 10am PT/1pm ET.
I have a large list of features that are new for the application, the designer, and the presenter.
Knowing where the PowerPoint 2013 new features are, how to turn them on, and how to use them can be a frustrating experience of trial and error. This is a one-stop overview the new features demonstrated and explained. Session Highlights:
• Learn what is new with video: playback, export and usable formats
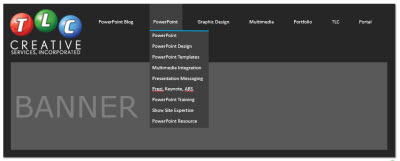
• Discover 6 menus that are no longer pop-up dialogs – and have added formatting features
• Instantly apply any color on the screen to a shape or text in 2 clicks!
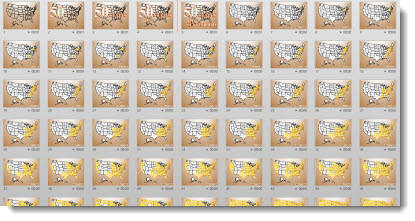
• Explore all the new slide transitions
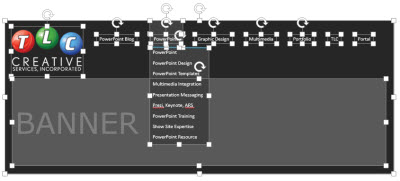
• What are Smart Guides, and what is “Equidistant?” – they are both in PowerPoint 2013
• Widescreen is now the default, but it is not the same as the old widescreen
• Presenter View is now useable
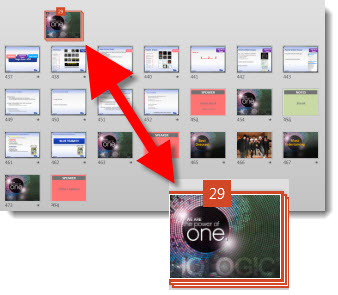
• Learn how to zoom in on a slide – during a presentation
• and more, plus Q&A
Details and registration is here.
Use the promo code “Troy 20” for a $20 discount.
– Troy @ TLC