Is PowerPoint’s Eyedropper on Your QAT?
Ever struggle with color matching within your PowerPoint slides? Maybe you want your text to match a logo, or you need a shape to blend in seamlessly with a background image. Whatever you need it for, PowerPoint has a simple but powerful tool that lets you pick up and reuse any color on your slide.
What is the Eyedropper Tool?
The Eyedropper is a color matching tool that grabs the exact hue from any visible element on your screen. It might be from a shape, an image, a logo, or a background. It is easy to use and guarantees your designs stay colorfully consistent.
Accessing the Eyedropper tool can be a bit tedious, because it takes a few steps. You have to open the Format tab, click on the Fill Color, Font Color, or Outline Color dropdown (depending on what you’re changing). Then choose Eyedropper from the menu. Not too difficult, but it does take a few clicks.
But First, Add the Eyedropper Tool to Your QAT:
If you use the Eyedropper tool regularly, we suggest adding this feature to the Quick Access Toolbar (QAT) at the top of your PowerPoint window.
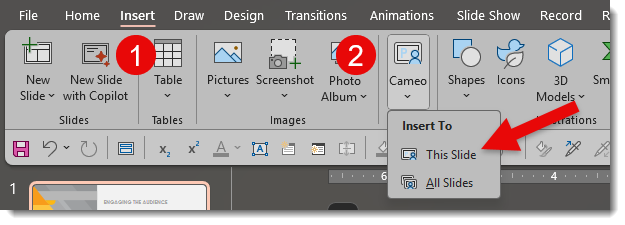
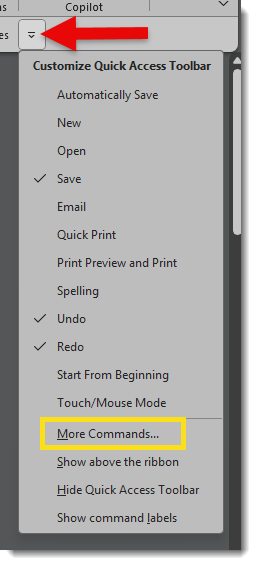
1. Click the small dropdown arrow at the far right of the Quick Access Toolbar.
2. Choose More Commands.
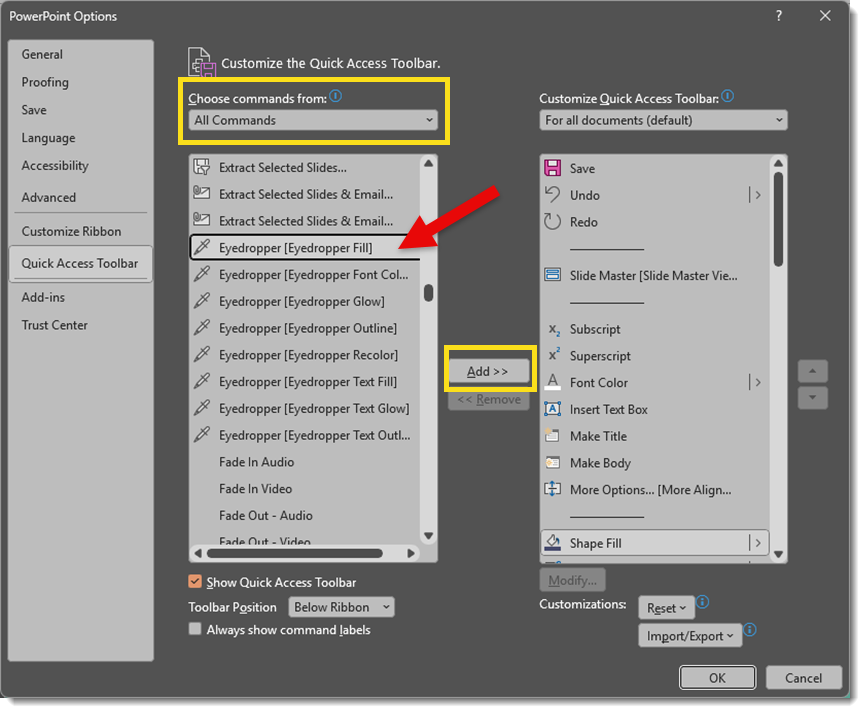
3. In the new window, set the “Choose commands from” options to All Commands.
4. Scroll down and select Eyedropper (Eyedropper Fill in this case), then click Add >>
5. Click OK.
Now the Eyedropper tool is just one click away. No need to go through tons of color menus every time you need it!
Note: You can move the position of where the Eyedropper tool appears on your QAT by moving it up or down in the “Customize the Quick Access Toolbar” menu using the up and down arrows on the right.
Once you have the Eyedropper tool added to your QAT, you’ll wonder why you didn’t add it earlier!

The Eyedropper allows you to capture a fill color from any element on the slide – whether it be from an image, another shape, or even text:
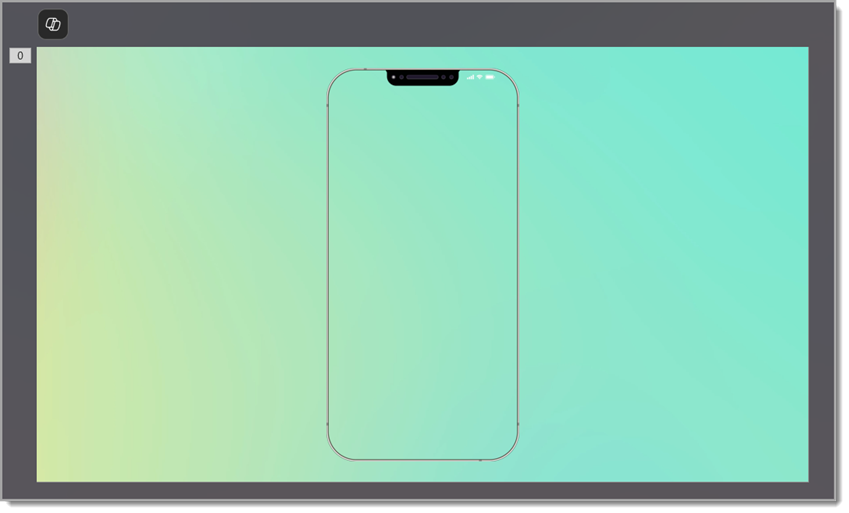
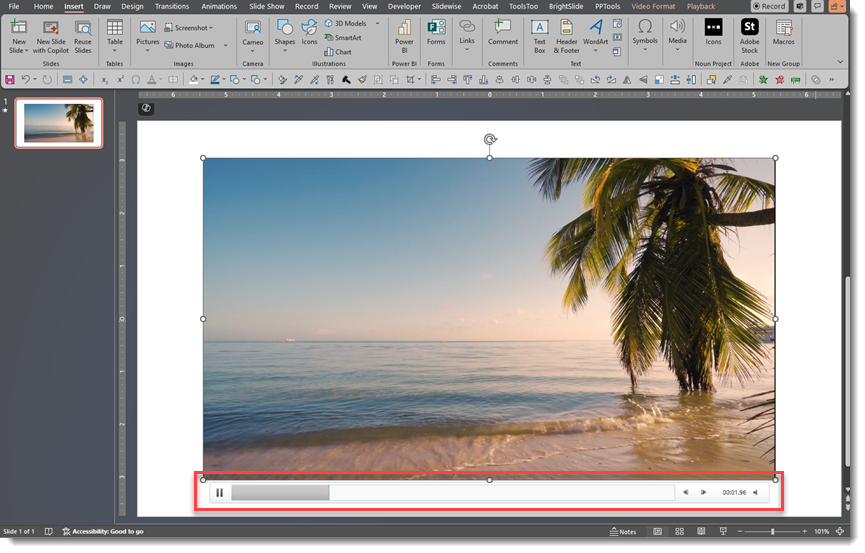
Extending Photo Backgrounds
Here, we have inserted a square photo, but we’d would like to extend it to fill the whole frame.

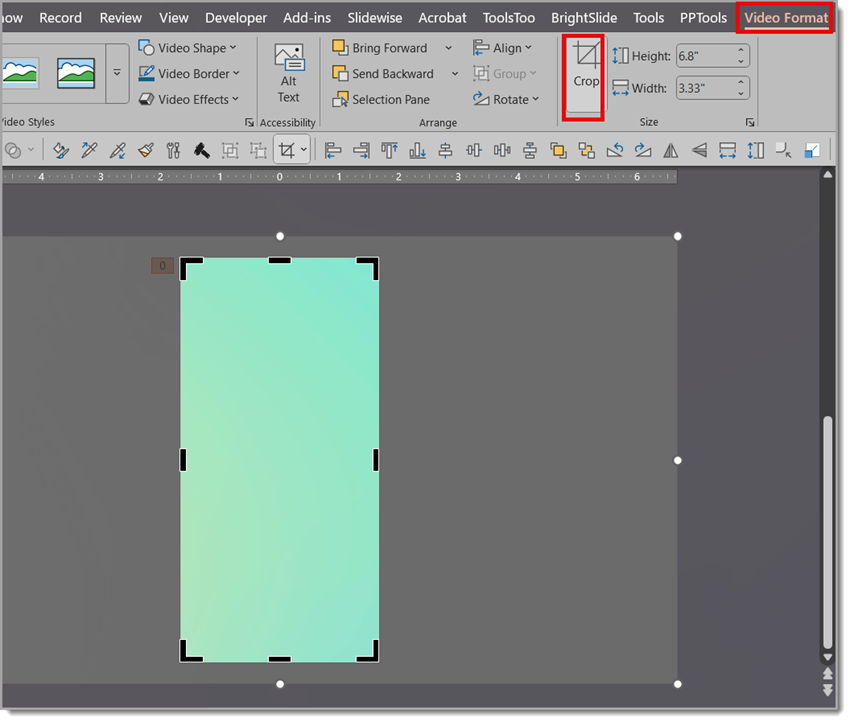
1. Select the image and click Crop from the Picture Format tab.
2. Drag and extend the crop area to fill the entire slide (trust us on this!).
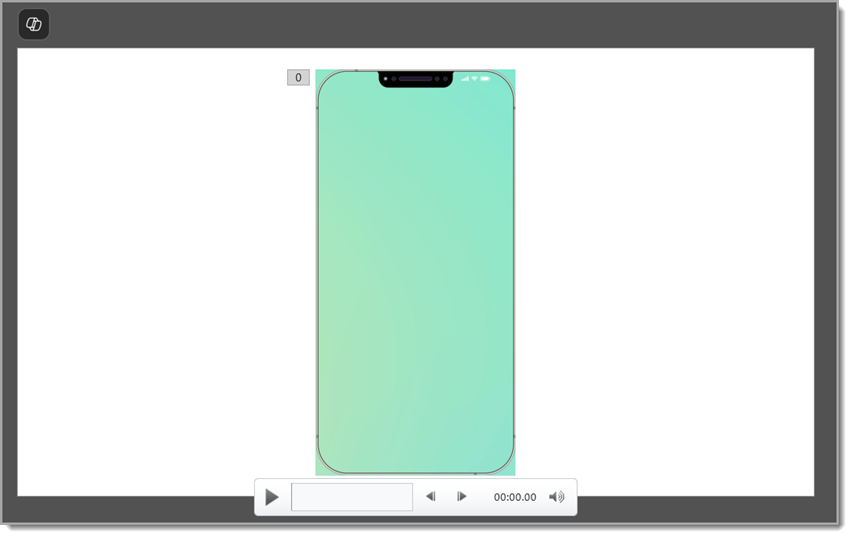
3. Select and utilize the Eyedropper from the QAT and pick a color from the edge of the image’s background.
4. Done! You’ve created a seamless, solid background color.
What About a Color I Like from Outside PowerPoint?
No worries! PowerPoint gives you the option to move the Eyedropper off the slide screen and onto something else open on your desktop. Borrow a color from a website, an image, or a document. In the example below, and in honor of the 50th anniversary of Jaws, we are picking up a hue from the movie’s color palette, which is a separate image I have open on my desktop.

Again, select the Eyedropper tool from the QAT. This time, however, click and hold down the mouse button. Now, drag the cursor off the PowerPoint workspace and onto the desired color object.
Final Thoughts
Color matching just got a whole lot easier! The Eyedropper tool may be small, but it is an essential and powerful tool when it comes to slide design. Once it’s on your Quick Access Toolbar, it’s even faster to use and helps you stay on-brand and visually consistent with minimal effort.
-Mike and the TLC Creative Design Team