Adobe Stock Image Service
For TLC Creative Services’ design projects, we have multiple stock asset subscriptions for images, video, music, etc. I recently noticed Adobe has a new stock image option called “Adobe Stock.” Being an Adobe Creative Cloud subscriber, I was excited that this may be a new CC benefit – which it is, and is not.

Adobe Stock is a new service that offers royalty-free, high quality photos and graphics. Currently Adobe lists a library of 40 million “world-class, curated images and graphics.” The image selection is very high quality, but many images are the same (or very close) to those found on other services (which is not necessarily bad). I was hoping to find it an included option with Creative Cloud subscription (wishful thinking), which it is not (reality). It is a separate paid service that can be added to a Creative Cloud subscription.
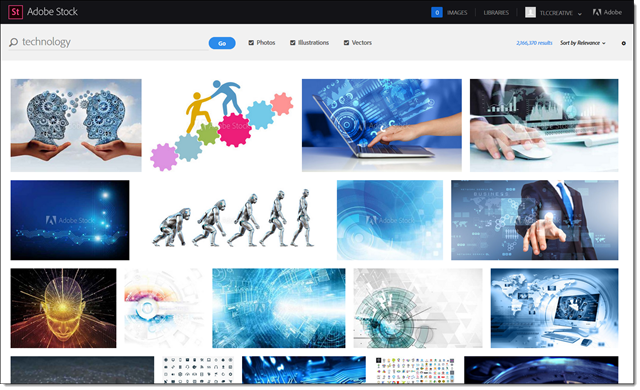
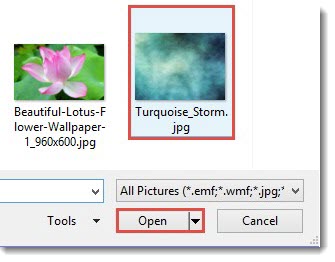
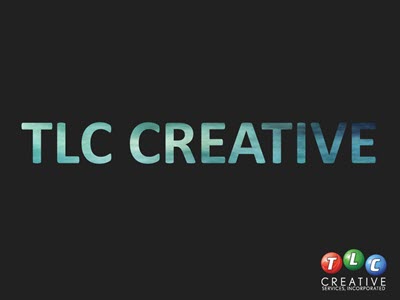
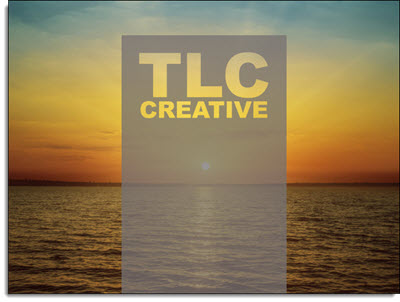
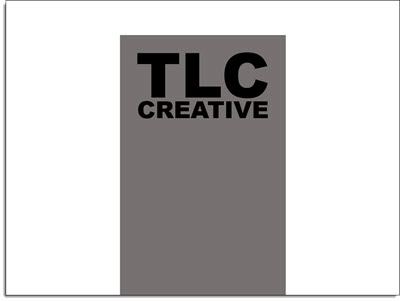
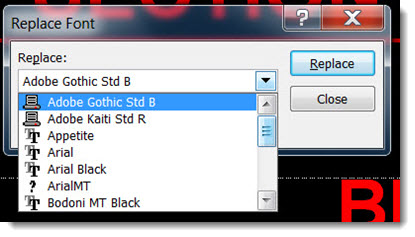
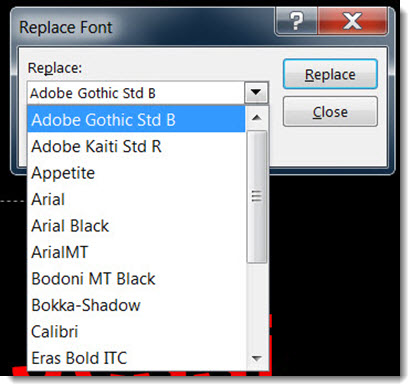
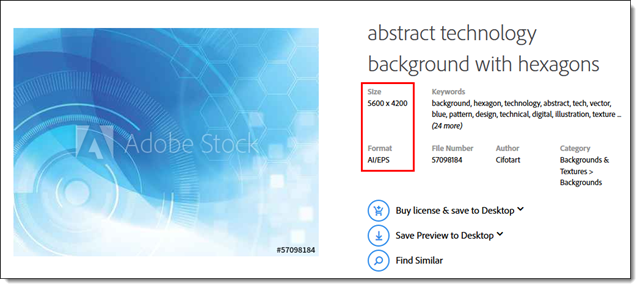
One interesting difference from other services is there is only one size available, BIG. File formats are .jpg or .eps. The other big differentiator from other services is images can be managed directly from Photoshop, Illustrator, and InDesign using Libraries. Watermarked preview images are saved directly to your Adobe CC account’s library as they are added to work. If you decide to purchase, it can done directly inside the app AND the watermarked images are automatically updated to the high res, non-watermark version (which is a pretty fantastic feature!).
Cost:
- $30 monthly for 10 images. Unused images will rollover for up to 120 images. Additional images cost just $2.99 each.
- The other plan available is $200 a month for 750 images.
Will we be adding Adobe Stock to TLC Creative Services’ options? Not immediately. The cost (for the 750 images per month) is competitive with what we are currently using. When subscription services are up for renewal, Adobe Stock will definitely be one of the options to consider.
– Troy @ TLC