A Look Back to The Noun Project Used Directly Within PowerPoint
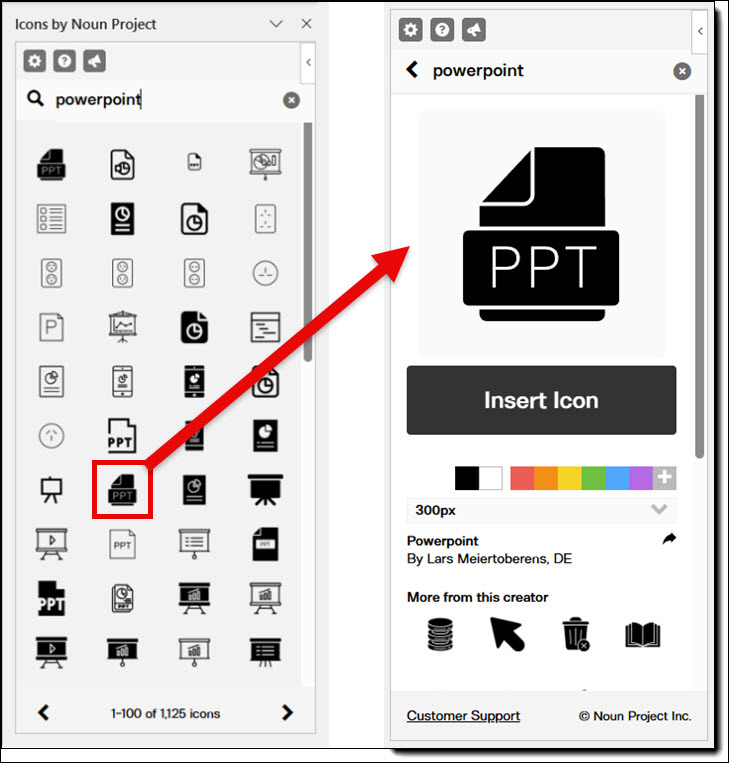
1,000,000+ vector icons are ready to drop straight into your slides while you are working in PowerPoint. And, honestly, what is not to love about that?! Anyone who has gone down the rabbit hole of searching for “the right icon” knows just how much time it can consume. So, being able to grab exactly what you need without leaving PowerPoint is a game-changer.

Way back in 2018, we shared a post about The Noun Project: a ridiculously low-priced subscription that gives you access to a vast library of icons. And since our blog post, The Noun Project has added so many more icons, photos, illustrations, and other creative assets as add-ons.
The Noun Project PowerPoint add-in was the focus of the original post – how it was a treasure chest of icons you could access and add as vector art, all within PowerPoint. That post still holds today. You can check it out here: Noun Project Add-in.
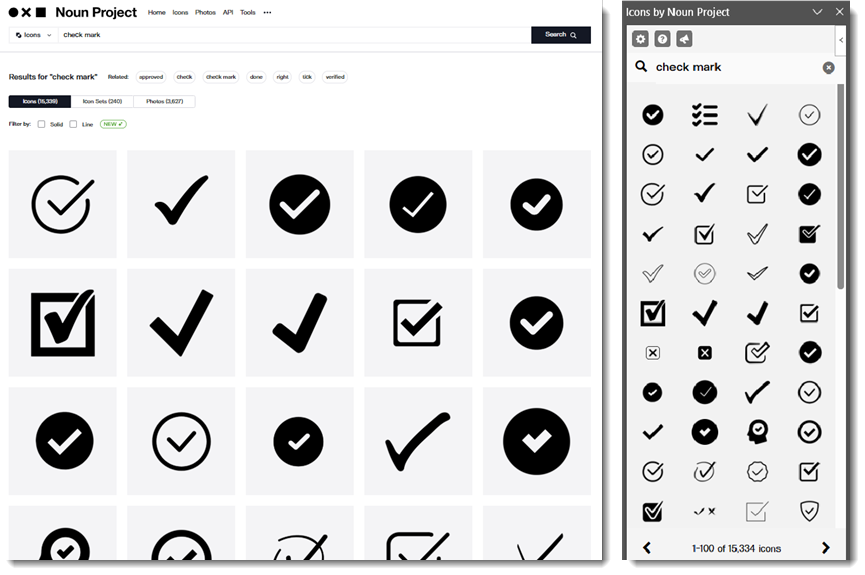
Since then, Microsoft has rolled out its own built-in icon library, accessible from PowerPoint, Word, and Excel – and it is a really solid collection of vector icons. Even with that, our team has never uninstalled the Noun Project add-in. We use it all the time. The sheer variety of its now 8M+ icons makes it worth it! Need a super specific icon? You’ll probably find it. Want a full set of icons that match each other in style? You’ll find that too. And because everything is vector, in .SVG file format, you can resize, recolor, and tweak them however you need – directly in PowerPoint!
At the end of the day, the Noun Project add-in just makes life easier. It keeps the design process moving and cuts out all the back-and-forth of hunting for the perfect slide design assets. PowerPoint’s icons are great, but having access to millions more right in the same place? That is something we are not giving up anytime soon.
Learn more about The Noun Project at https://thenounproject.com.
-The TLC Creative Design Team