Snagit Panoramic Capture – Even Easier!
Techsmith’s Snagit app is a must-have at TLC Creative. Literally everyone from the design team, to IT manager, to Project Coordinator and Accounting department – everyone has Snagit installed on their computer and uses it daily (note: TLC Creative maintains an Enterprise license for Snagit. It is a great value – and no sponsorship to endorse it!).
![]()
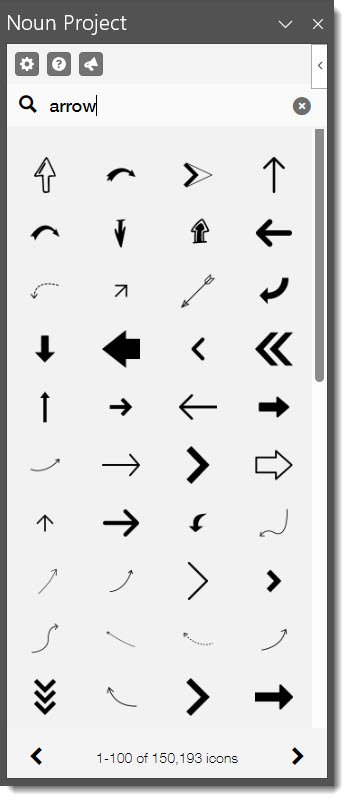
One of the go to features is Snagit’s ability to capture documents or webpages that are longer, or wider, than your screen. Start an image capture, scroll as long as needed, and Snagit creates a super long, or super wide, image! For many years the access has been a series of click; expand the task bar, right-click the Snagit icon, go to Presets, and select SCROLLING CAPTURE. (TIP: on my computer setup I added a custom hotkey in the Snagit app and created a button on my Stream Deck to launch that hotkey, making it nearly instantaneous to start a Snagit Panoramic Capture)

TIP: long images, like webpages or apps, are great to use on PowerPoint slides and animate under an image of a computer screen or mobile phone!
TIP: capture extra wide Excel documents using this feature!
Well, Snagit at some point in the past year eliminated the need for something like my Stream Deck hotkey by adding Panoramic Capture as a button directly on its capture bar!

Christie on the TLC Creative design team takes us through how to get this new shortcut. And demonstrates how to use it.
In order to use this new feature, Snagit must be updated to Version 2024.2.4, or higher.

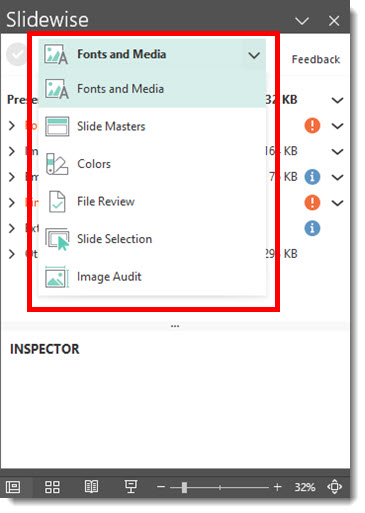
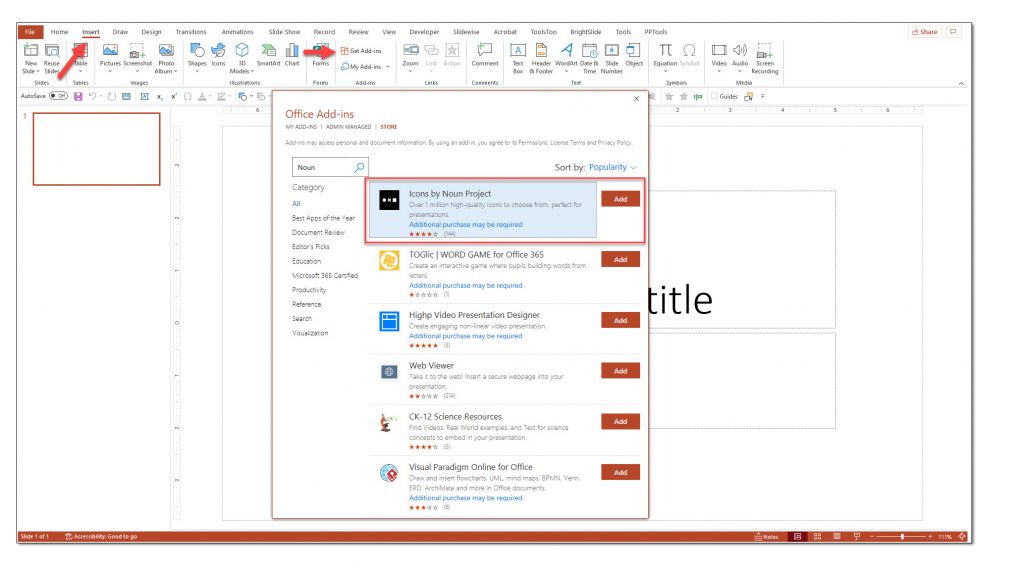
Updated Capture Dialogue Box:
- Capture an image with Snagit by using the PRINT SCREEN button on your keyboard
- A new dialogue box will appear with several capture options
- 1. Image, 2. Video, and the new 3. Panoramic ratio, then info about the pixel size of the capture, reset and close options.

- What we are excited about is the “new” Panoramic Capture button on the Snagit dialog.

TIP: the pixel width and height, and position, of the capture can still be adjusted before the capture type is selected.
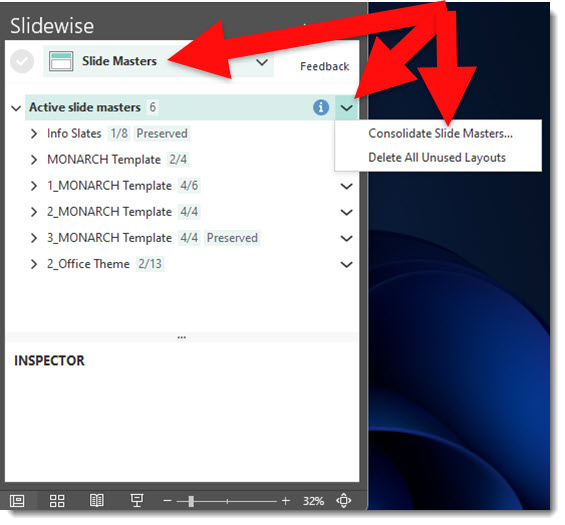
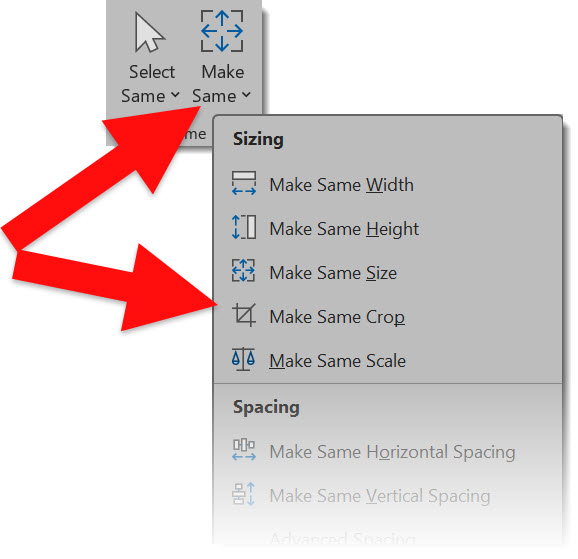
- Click the PANORAMIC CAPTURE button and choose to scroll down vertically or horizontally to the right.
- When all of the content is added to the small Snagit capture thumbnail, click DONE.

- Depending on how big the capture is, a progression bar with cute clipart and phrase tells you how things are going for the image to process.

- When processing is complete the Snagit editor opens showing the image.
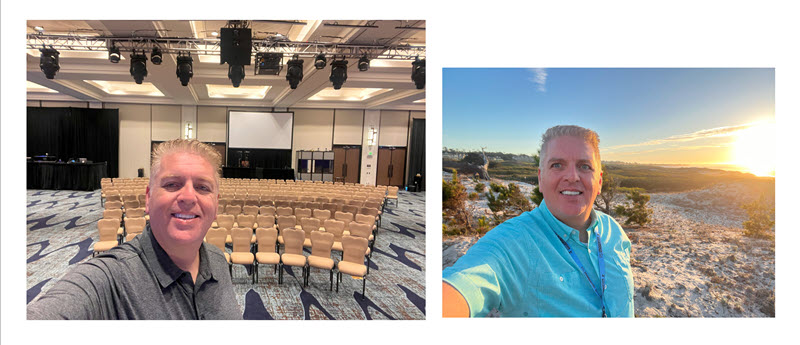
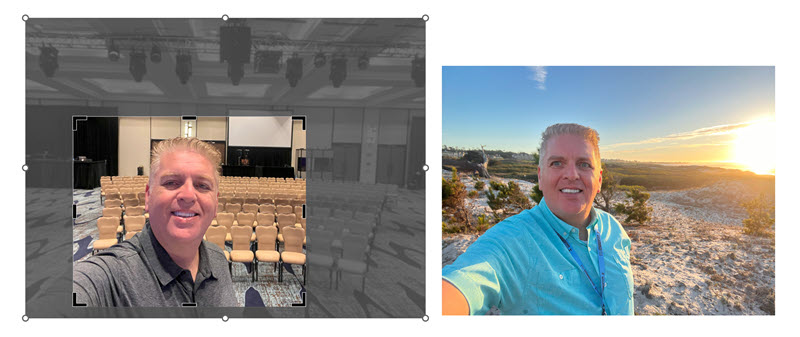
- Modify the image here (crop, add callouts, merge with other images, etc. – Snagit is powerful and full of useful editing tools).
- Here is my example vertical panoramic capture of the TLC Creative website – as one long image. The capture process took around 25 seconds to create this image – and no needing to manually stitch separate captures together!