Sketched Outlines (Part 2)
I wanted to create a Part 2 to the PowerPoint Sketched Outline tool and share a more advanced shape consideration with using the Sketched outline styling. In this case, what happens when you use the Merge Shapes tools to create a new shape – and those shapes already have the Sketched outline styling applied?
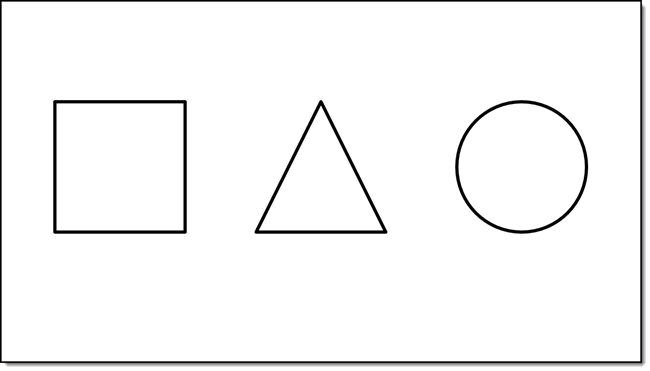
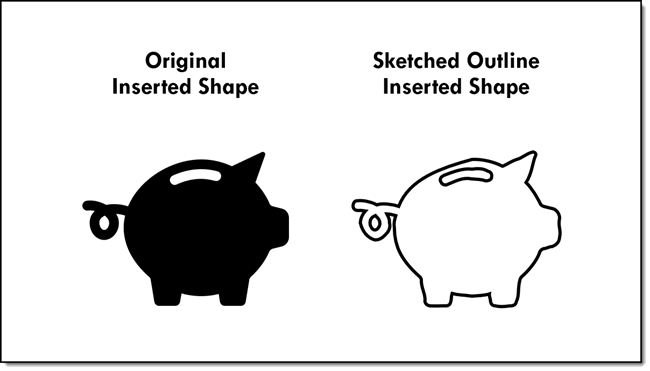
1. For this demo, I am inserting two 2 PowerPoint shapes
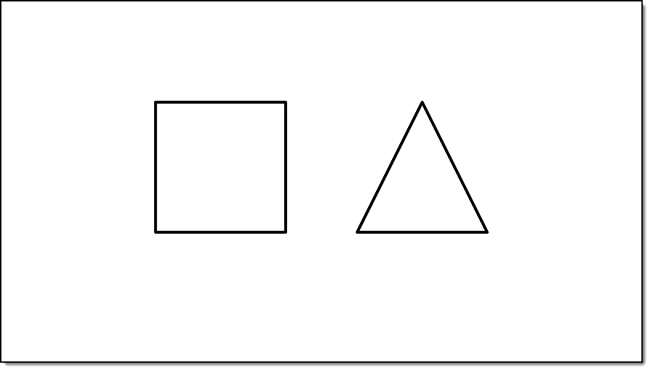
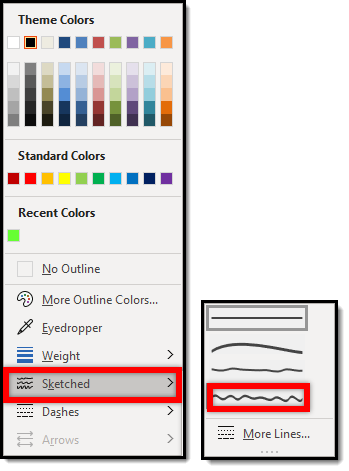
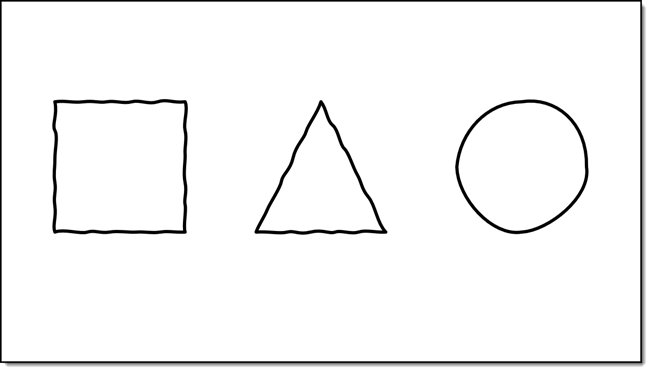
2. Apply a Sketch Styling to both shapes

3. Then combine them by using the PowerPoint MERGE SHAEPES “Union”
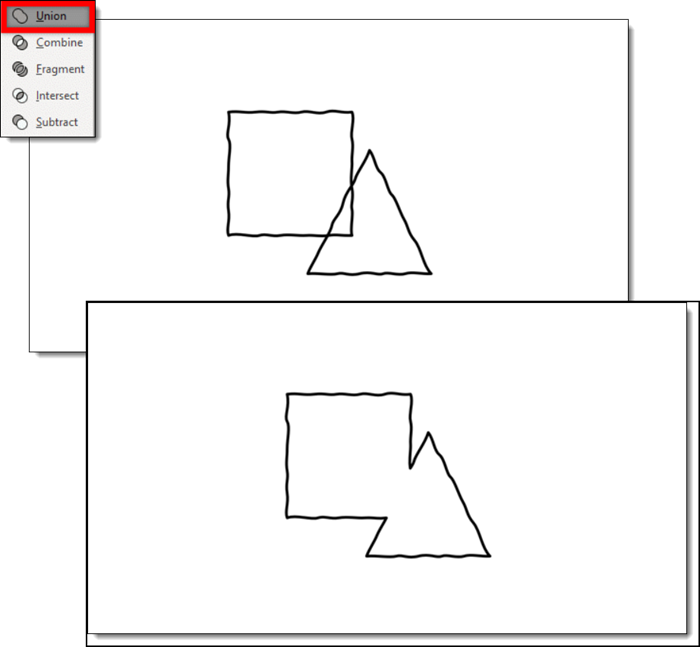
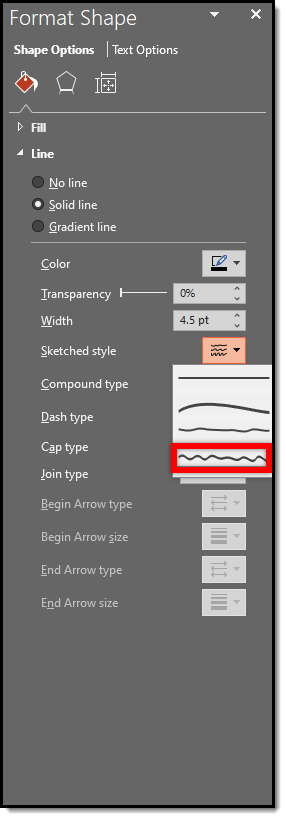
4. The new shape, which looks great, does have the Sketched outline permanently applied. Selecting the straight line optioncannot be selected to revert it back to smooth/straight lines.
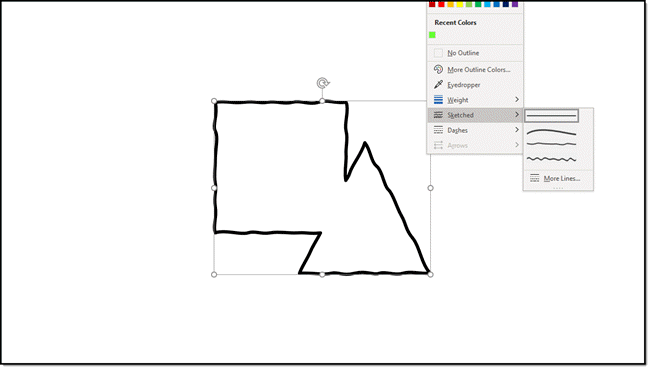
5. The way to avoid this permanent styling is to pre-plan. Before merging the two shapes together change the outline to the smooth/straight outline. Then re-apply the sketched outline styling to the new (merged) shape.
Troy @ TLC