Multiple master slides are fantastic! But every now and then you have a presentation with multiple masters and go to use one that you know is a part of the file and it’s not to be found – ahhh! Well you can prevent this from happening by first assuring that all master slides are set to be preserved – which is another way of saying ‘do not delete, even if not used’.
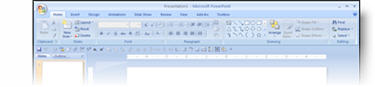
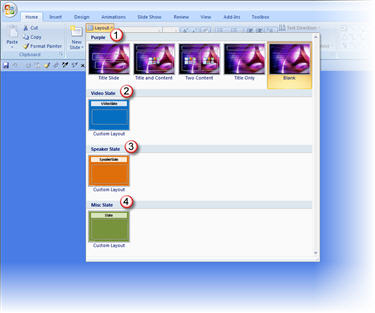
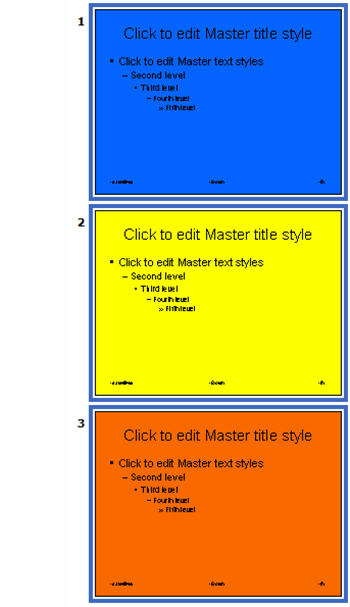
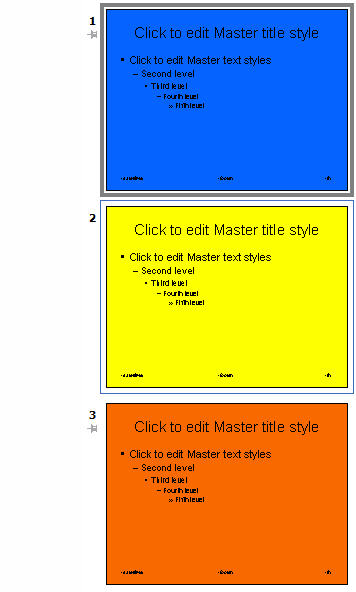
Here is my sample presentation with 3 master slides:
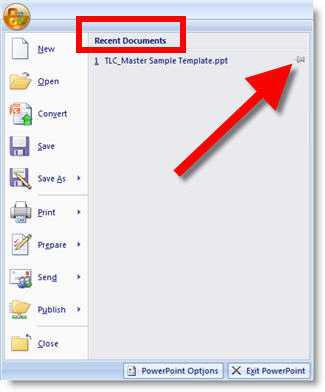
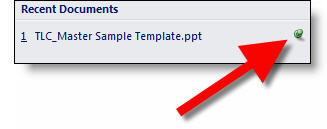
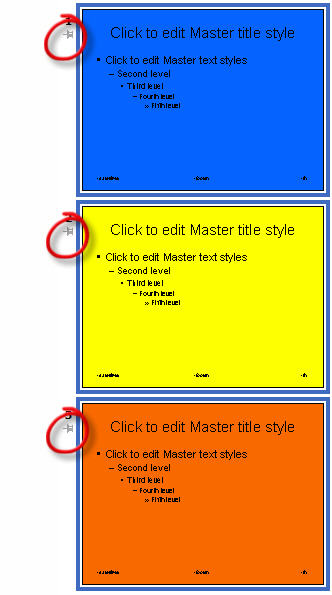
Notice that master slides 1 and 3 have a little thumbtack icon:

This indicates the master slide is preserved and will not be deleted unless you specifically remove it (that is good!). There are 2 easy ways you can preserve a master slide and add the thumbtack icon to it.
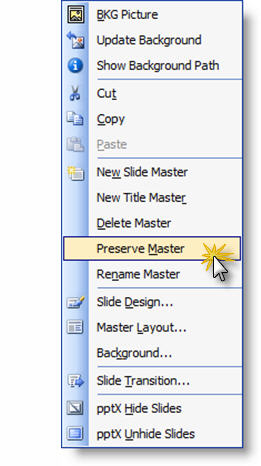
1. Use the ‘Preserve Master’button on the master slide toolbar:

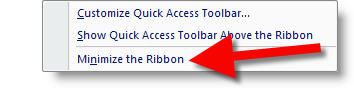
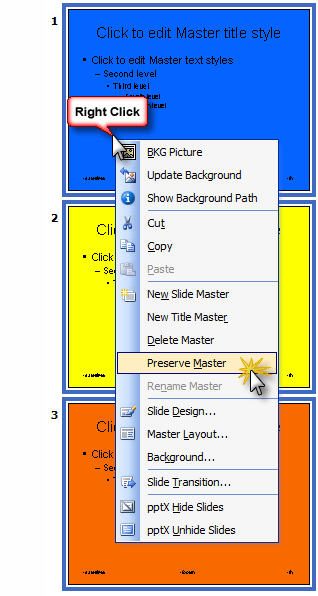
2. Right click the master slide and from the pop up menu choose ‘Preserve Master’.
– Troy @ TLC