
Distorted Images – How to Fix
There has been an increase in requests for help with distorted images. I believe a big reason is the shift from 4×3 to 16×9, and images becoming stretched when the page setup is changed.
Here is the TLC image that has been inserted onto a 4×3 slide.

When I change the page setup from 4×3 to 16×9, images distort and the TLC logo looks like this:

Note: With PowerPoint 2013, there are some really great aspect ratio conversion options built in, and for PPT 2007/2010 users, there are some very helpful 3rd party add-ins that make the aspect ratio conversion much easier. All are created to help you from starting on the left and getting the image on the right:

To restore any inserted image to its original aspect ratio:
1. Right-click the image and select FORMAT PICTURE
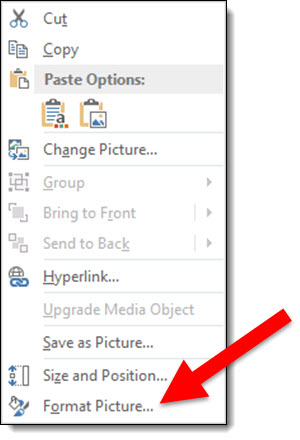
2. From the Format Picture Dialog, go to the SIZE AND PROPERTIES tab
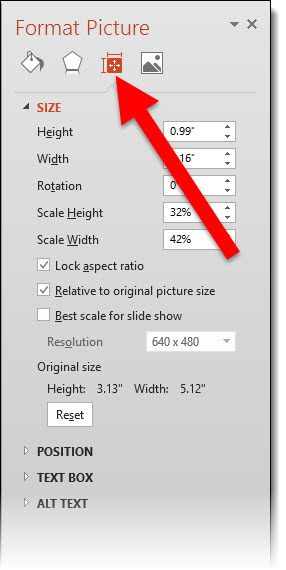
3. Click the RESET button
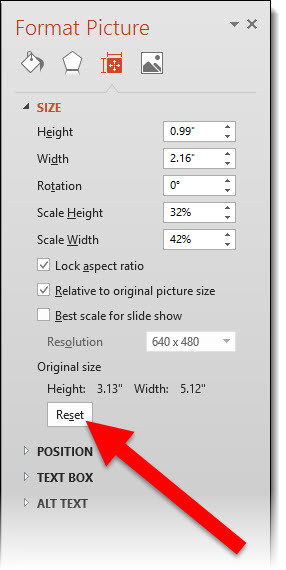
The image will reset to the original inserted size (which also means all effects – shadow, bevel, brightness are removed). Resize the image to fit the slide content area for images that look proportionally correct!
– Troy @ TLC
TLC Creative Services – Designer of the Year!
TLC is located in the wonderful Murrieta/Temecula Valley, just north of San Diego. This week, I received notice that TLC Creative Services, Inc. was selected as the Best of Murrieta “Graphic Designer” for 2014! Murrieta is a great town and we have some very talented designers in the area, at least 9 – the TLC team!

This is the 2nd year in a row TLC has received this award, and we are honored.
– Troy @ TLC
The Problem with PowerPoints Selection Pane
The Selection Pane, introduced in PowerPoint 2007 is a great (and long over due) addition. But I think the dev team was not looking at the feature from a real-world use – and has not been updated yet (sigh…).
Here is my sample slide, that has many items on it. A good example of where the Selection Pane would be used.
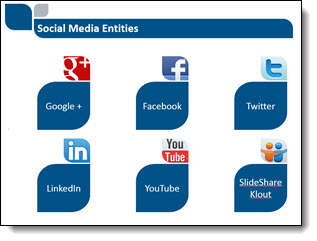
To open the Selection Pane: HOME >> EDITING >> SELECT >> SELECTION PANE

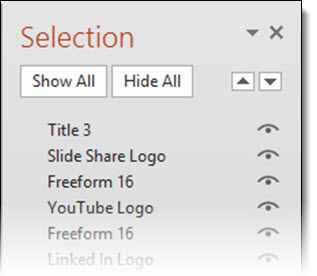
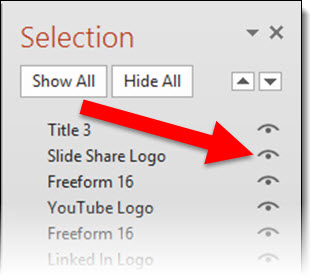
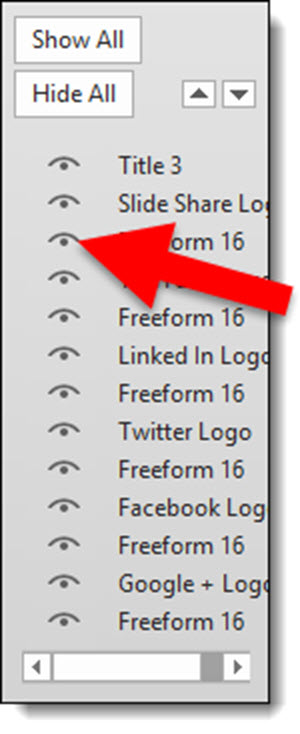
Note the on/off icon is on the right.
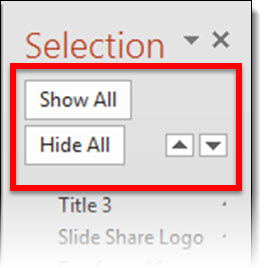
When the Selection Pane is made a smaller width, the tools at the top (Show All, Hide All, Move up/down) wrap nicely to fit the narrower layout.
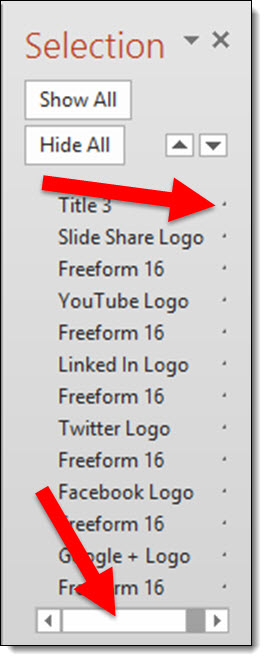
When the Selection Pane is made narrower, the names do not wrap, but the on/off icon is cut off and disappears rendering that feature unusable. At the bottom is a scroller, which does allow access the on/off icon – but it requires so many additional mouse clicks and movements it is not a practical option.
To answer the inevitable question from the MS Dev team – “why would you need to make the Selection Pane so narrow?”. In the real world, we work with different resolutions (please test the Selection Pane at 1024×768 to see how much screen real estate it needs to be functional), have several panes open side-by-side, have dozens of objects on a slide – on and off the slide area – and want to work at the largest viewable size, and many other real situations where the selection pane is in the way when so wide.
So what should the MS Dev team do? Simple: move the on/off icon to the left side and let the names get cut off.
Leave a comment about your experience with the Selection Pane tool (in PPT 2007, 2010, 2013).
– Troy @ TLC
Before & After: Bullet List to Process Diagram
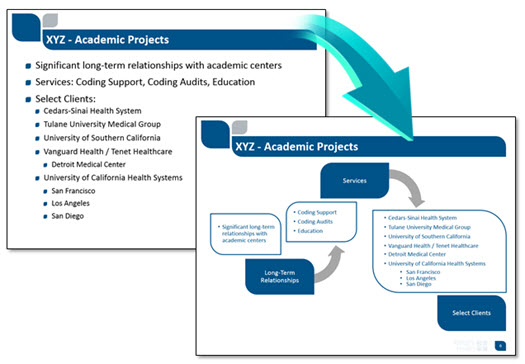
Here is a quick Before-and-After slide. The original slide deck was primarily all bullet list text. TLC reviewed all content and proposed layouts that minimized the bullet list format and provided more visual layouts of the same content. For this slide, in going over the content with the client, we learned the bulleted text was really the talking points for a discovery process, which we happily converted into a process diagram layout. Same message, same content, but visual layout!
– Troy @ TLC
Sample Slides
Just a few slides from a recent project. Sorry, I cannot show the dynamic animations on each of these or the full presentation. But it is great to showcase slides where we get to really develop everything. On these, TLC dropped out the background on all vehicle images and created layers of content that can be separately animated in for the final slide layouts.

– Troy @ TLC
Is That Straight Line Really Straight…?
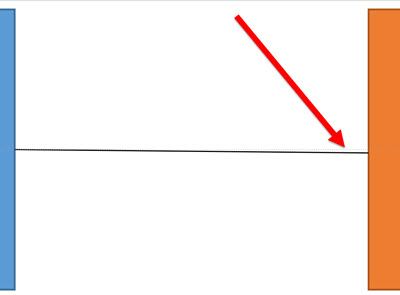
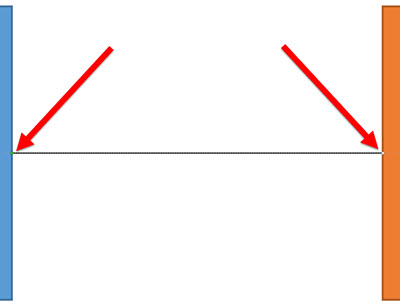
The snap-to-grid, Align to anchor point and random placement of PowerPoint lines can, at times, become frustrating. When reviewing a slide layout, I am often looking at lines and trying to determine if they are straight. For example, after looking at this simple layout, I question whether the line connecting the two boxes is straight or just an optical illusion.

When we zoom in and add a guideline to see what is straight – the connecting line is very slightly off. Not a big deal when viewed as a small image here on the blog. But enlarge this diagram to fit a 40′ wide screen and this small inaccuracy is big!
One of my go to PowerPoint add-in sets is from ToolsToo.

These two tools are in the SHAPE TOOLS section: MAKE LINE HORIZONTAL and MAKE LINE VERTICAL.
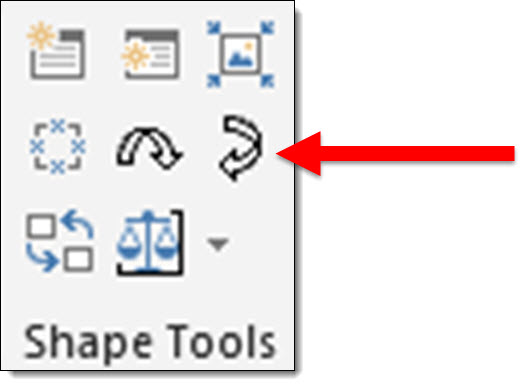
Two clicks and I know a line is straight. Select the line, click the horizontal or vertical button and no matter what the line is snapping to, it is set to a straight line on the 0 or 90 degree axis!
– Troy @ TLC
Mockup Everything for Presentation Images
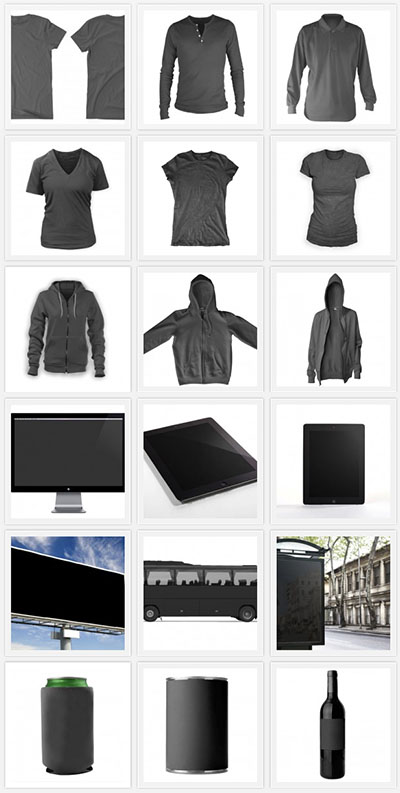
Mockup Everything is a web-based application that lets us quickly create custom graphics with images embedded in iPads, t-shirts, iPhones, magazine covers and many other objects.

TLC staff designer, Michelle, spent some time working with Mockup Everything’s website and wrote up this great overview tutorial on using it.
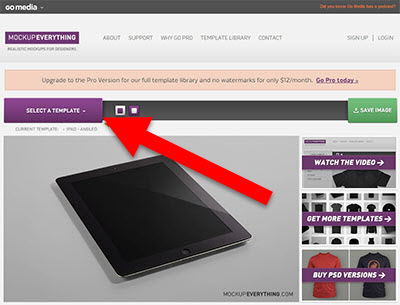
1. To get started, click on SELECT A TEMPLATE on the homepage to choose one of the free templates to work with.
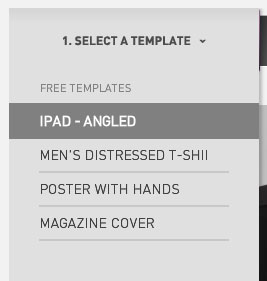
2. For this tutorial, I selected the IPAD – ANGLED template to place our design on.
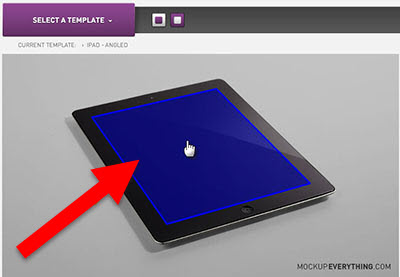
3. Hover over the image of the iPad until you see a blue area highlighted, then click the blue highlighted area to open the import image dialog.
4. Select the image from your computer that you want to place on the template, and click Open.
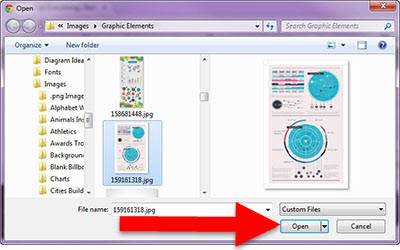
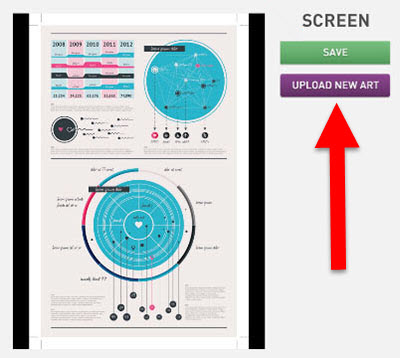
5. Verify that you have selected the correct image by clicking SAVE (or select UPLOAD NEW ART to change the image), and the image will be placed on the template.
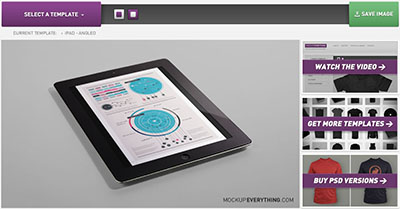
6. My image is not the exact size of the template’s area for the ipad screen, so I am changing the background color behind the image. Select the small square on the left, and choose a color, there are options to use a preset color or an eyedropper tool.
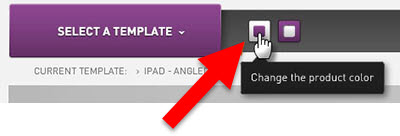
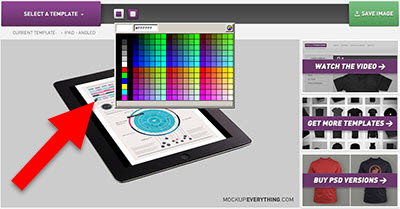
7. Now, I want to change the background image of the template itself by clicking on the other small box, and I will use white as our background.
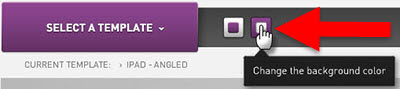
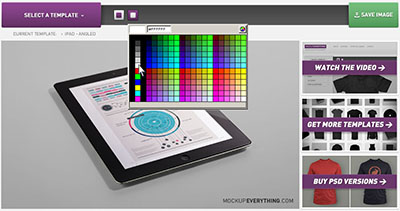
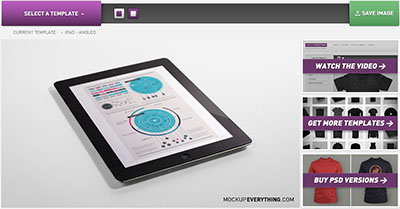
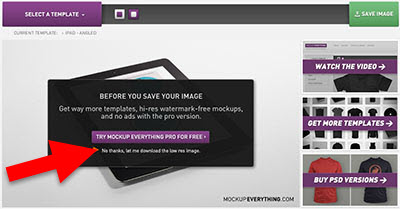
8. To save the custom image, click SAVE IMAGE. If you are using the free version of Mockup Everything, there are options to upgrade for a higher quality resolution and size image. For now, I am just clicking No thanks, let me download the low res image to save the image at a resolution of 72 ppi and a size of 750 x 422 pixels, which is good for most presentation design needs.
9. Once saved, I have an image like the one below ready to insert into PowerPoint.
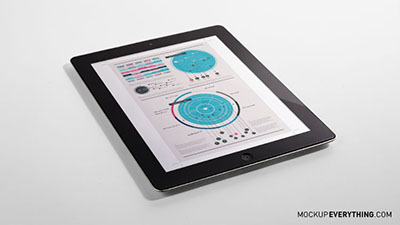
10. There are some great options in the free templates options on Mockup Everything.

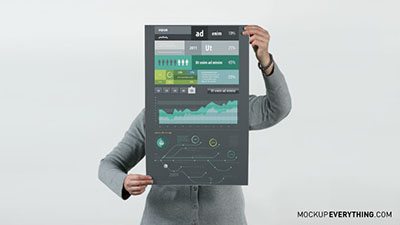
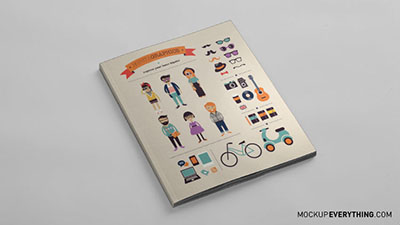
11. The PRO version of Mockup Everything is $12 per month and has many more objects, angles and options such as: men’s, women’s, baby and youth apparel, books, magazines, posters, envelopes, business cards, bags, boxes, vinyl records, CD cases, and much more. There are even templates for skateboards, snowboards, different technological devices, outdoor scenes (such as billboards and buses), and beverage containers.
– Michelle @ TLC