
Theme or Source – Your Choice
When moving slides from one presentation to another, the slide formatting (based on the master slides) is your choice – if you use the Paste Dialog.
1. From any presentation, copy the slides either in the left pane or slide sorter.
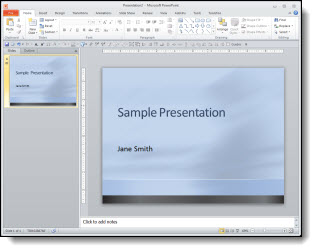
2. Go to the presentation where the slides are to be added and paste them in.
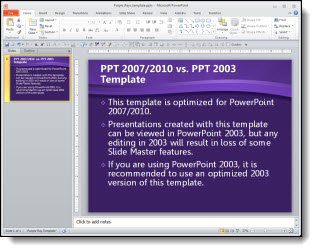
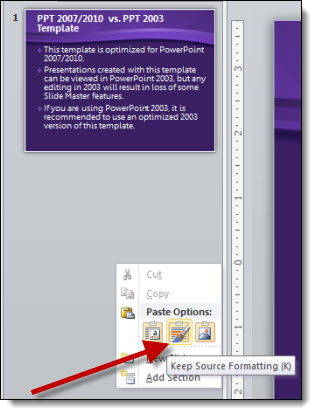
3. To paste, click where new slides are to be added and right-click. From the pop-up dialog, under “Paste Options” select “Use Destination Theme.”
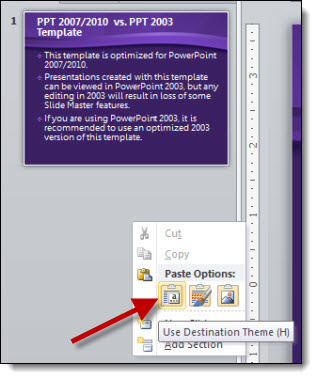
4. The pasted slides will take on the formatting from the master slide set in the presentation:
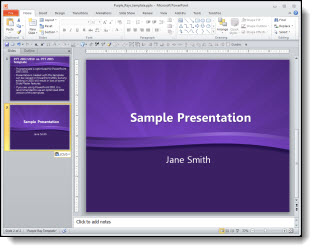
5. Or you can choose “Keep Source Formatting:”
6. With “Source Formatting” the new slides retain their orginal master slide and formatting:
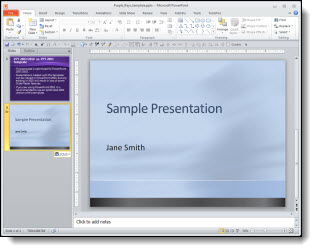
The choice is yours!
– Troy @ TLC
Creating the % Number Gradient Style
Here is the example slide from the previous post (download link below).
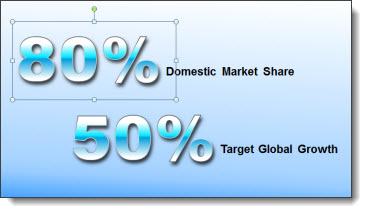
Here is a quick how-to on creating the custom text style. The “regular” text is Arial, 24 pt, bolded. The stylized text is Arial Black, 125 pt, bolded, drop-shadow, outline and gradient fill (so think BIG)
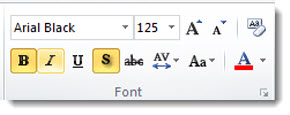
To create the gradient fill:
1. Type = Linear (= one direction)
2. Angle = 90 degree (= top to bottom)
3. Gradient Stop 1 = white, position 28%, transparency 05 (solid)
4. Gradient Stop 2 = bright cyan, position 46%, transparency 05 (solid)
5. Gradient Stop 3 = muted blue, position 48% (very close to the other blue), transparency 05 (solid)
6. Gradient Stop 4 = white, position 75%, transparency 05 (solid)
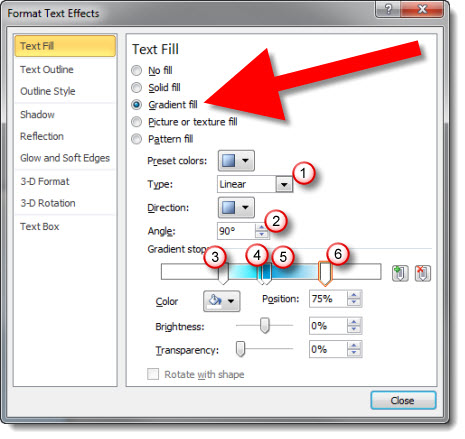
To see this gradient in PowerPoint (2010 is my recommendation for gradients (over 2007)), download here. (43K)
– Troy @ TLC
Bullet List (Boring) or Stylized Text (Dynamic!)
Here is a typical slide from a presentation:
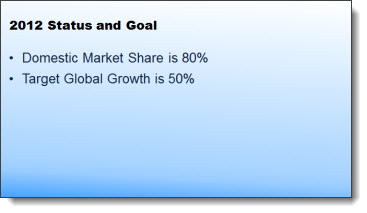
And here is the slide makeover:

The stylized text and layout make for a dynamic visual of the simple text. Further, the custom gradient and text treatment was then used throughout the presentation as a core design element.
– Troy @ TLC
HAPPY NEW YEAR 2012!!

Created in PPT 2010 in less than 5 minutes – download here. (51K)
2012 is going to be a great year – and the regular blog posts resume this week!
– Troy @ TLC
Really Nice 3D Icons Created in PPT
Here is the end result:

This great 3D icon was developed entirely in PowerPoint 2010. Using standard shapes, 3D Perspective and the Shape Combine tools.
Here are steps to create:
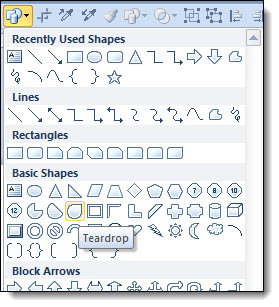
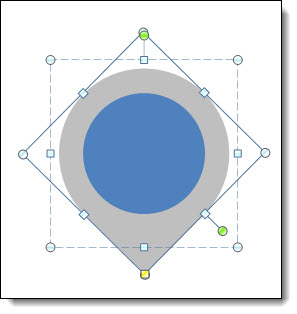
1. Insert the tear drop shape from the shape menu.
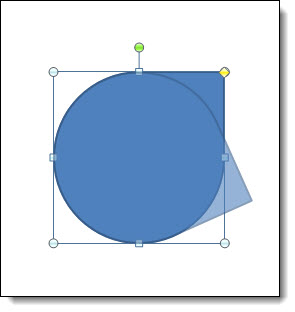
2. Rotate the shape until the point is pointing down.
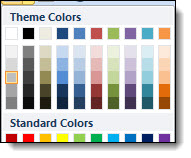
3. Change the color to a gray, and remove the outline.
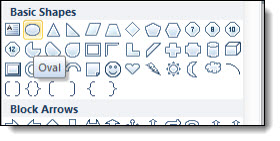
4. Insert an oval shape, holding down shift to make it a perfect circle. Holding ctrl, it will expand from the center and place in middle of the tear drop shape.
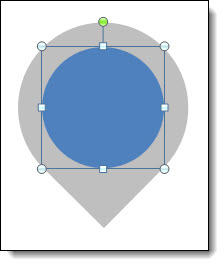
5. Remove the outline from the circle, if there is one.
6. Select both shapes and group.
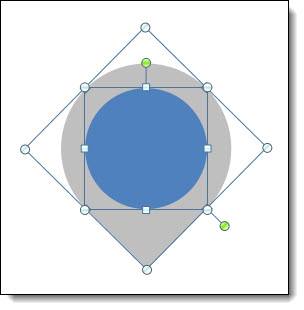
7. For the 3D rotation, we will need the group selected.
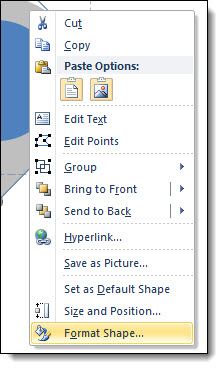
8. Select “off axis 2 left.”
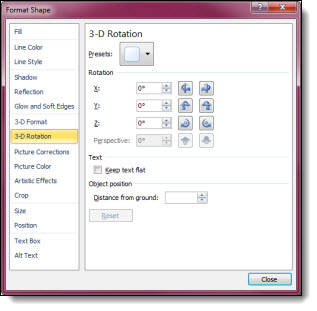
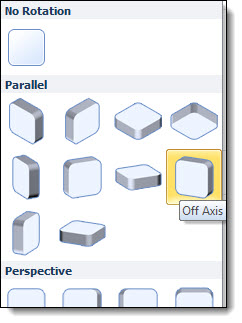
9. For the 3D effects, we only need the tear drop shape selected.
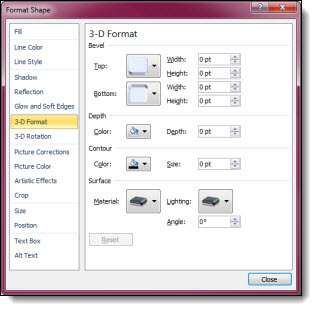
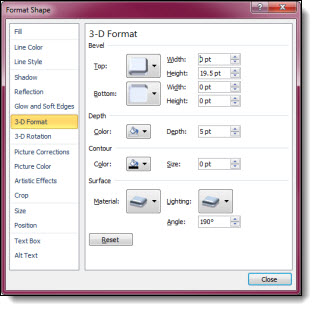
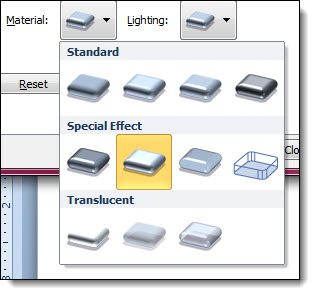
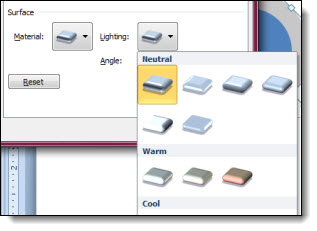
10. Height: 19.5 pt, width 0 pt, depth 5 pt, material special effect >> soft edge, lighting >> three point, angle 190.
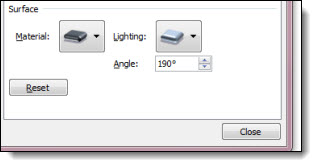
11. Now you have a 3D tear drop shape.
Opening “Stinger” Video
Design requests are always diverse and some things can still be developed more dynamically in video editing vs. PPT. TLC Creative Services did slide makeovers for all the presentations at this meeting, but I spent some time in the video edit suite to develop this quick animation to kick off one of the meeting segments.
[youtube src=”https://www.youtube.com/embed/buUOoE7jucc?rel=0″]
– Troy @ TLC
Showsite Setup in 30 Seconds
This is a fun video I created that shows a mid-size show being loaded in (setup) I was the graphics/PowerPoint designer and operator on (thanks to Paul Chrisope of Video Resources for sharing the photos).
[youtube src=”https://www.youtube.com/embed/5Y7mAk4x5ZE?rel=0″]
Check out the next post were I show how the video was created with PPT.
– Troy @ TLC