
Baseline Shift/Offset Any Text, Any Amount
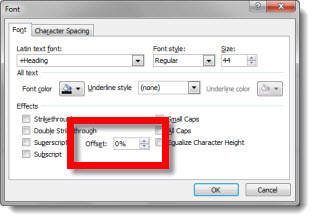
If you need a custom super-script registration mark, or special text layout, using the OFFSET option can be the solution. Select text to adjust, open font dialog, and customize the Offset box.
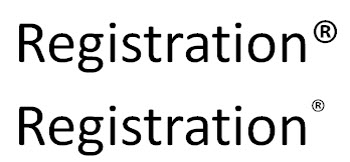
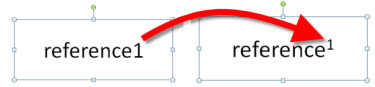
Here is the standard super-scripted registration mark and a customized registration:
Another use of the text offset can be custom layouts such as this:
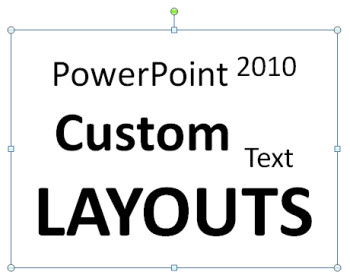
Note: I am not saying this is a good layout idea, just that it is possible all within one text box.
– Troy @ TLC
Hawaii 2011 – Time to Leave
I interrupt the tutorial series on Baseline Shift to say goodbye to Hawaii (the Big Island) as I fly back today. I know lots of people that do not look forward to the winter months (they generally live in snow areas), but meetings tend to be in great, warm, places during the winter. So I look forward to the winter each year (Cabo San Lucas, Hawaii, San Francisco, Florida and a family ski trip to Utah for the 2011 Winter)!
– Troy @ TLC
Baseline Shift = “Offset”
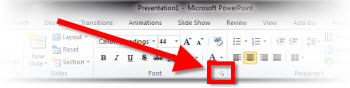
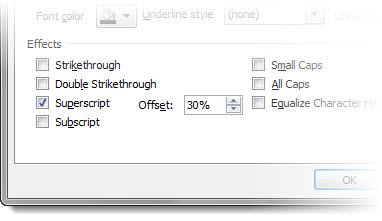
When a super-script or sub-script is applied, there is actually an automated adjustment to PowerPoint’s OFFSET function. To access, highlight text and click the arrow on the bottom right of the FONT group to launch the FONT DIALOG BOX.
Super-script text is a 30% baseline shift/offset and sub-script text is a -30% baseline shift/offset.
– Troy @ TLC
What is Baseline Shift?
Baseline shift = “To move a selected character up or down relative to the baseline/level of the surrounding text.“
Baseline shift is an essential typography fine tuning function. The most common use of it in PowerPoint is when a super-script or sub-script is applied to text. For example, here is my sample text:
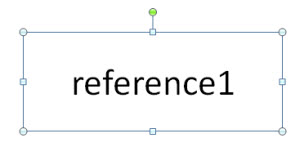
After applying the super-script function, the number 1 is raised up higher than the text next to it – the baseline has been shifted.
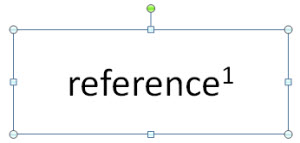
– Troy @ TLC
Collapse the Ribbon
Sometimes having a bigger work area makes designing slides easier. A larger monitor or higher resolution monitor is an option, or just temporarily removing the ribbon is an easier option.
Standard ribbon (taking up screen realestate)

Collapsed ribbon (with more screen realestate for the design work)

– Troy @ TLC
Using BackGround Removal and Blur Tools (by Ric Bretschneider)
PowerPoint MVP Ric Bretschneider added a great tutorial to his personal blog this week called “The PowerPoint Blur Trick”.
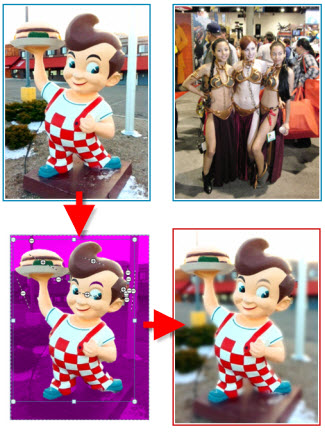
The image effects are done by combining the Background removal tool, duplicate images, and the Blur tool – all really good ways to achieve ‘Photoshop’ images direct in PowerPoint.
Check out the full tutorial here.
– Troy @ TLC
Animation Using Super Wide Panoramic Photo
Using the panoramic image from the previous post, here is a sample animation. Actually the audience sees a continuous animation, but from the designer view is a series of slides that use Slide Transitions for the animation effect.
1. Insert panoramic image (it is almost 5Xs the width of a slide)
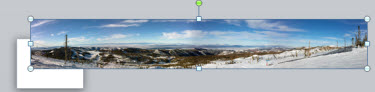
2. Position it by using the Align tools. (1) Align left. (2) Align Middle.
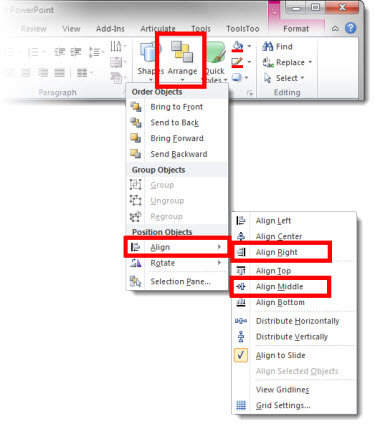
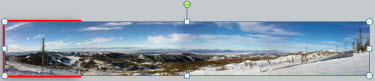
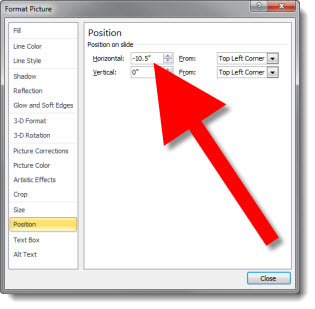
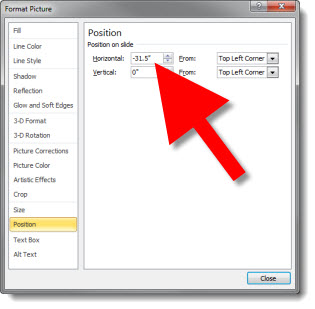
3.Duplicate the slide. Right-click the image >> Format Picture >> Position (left pane) >> set Horizontal to -10.5″ (right pane)

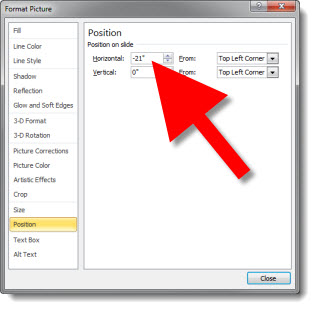
4. Duplicate the slide and repeat process to set horizontal another 10.5″ to the left (-21″)
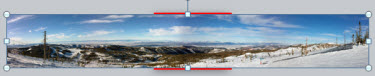
5. Duplicate the slide and repeat process to set horizontal another 10.5″ to the left (-31.5″)
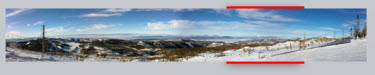
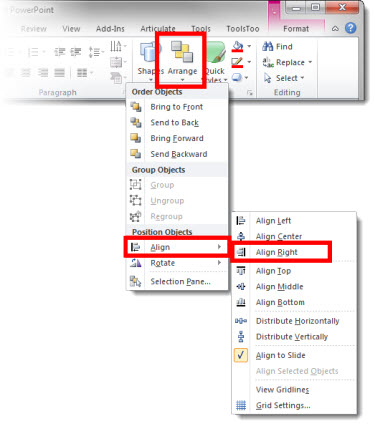
6. Because the image is not exactly another 10.5″ wide, go to HOME tab >> ARANGE >> ALIGN >> ALIGN RIGHT

7. Select all 5 slides and set the slide transition to WIPE

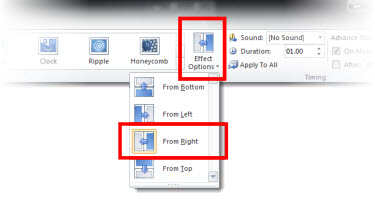
8. With all 5 slides still selected adjust the slide transition – TRANSITIONS tab >> EFFECT OPTIONS >> FROM RIGHT, so the slide transitions visually act as the on-click animations.
The result is a slide show that lets you pan through image from left to right. Download this presntation here.
– Troy @ TLC