Line Spacing PPT 2003 vs 2007
The new line spacing tools were a bit confusing until I figured out how to correlate the new layout to the more familiar PPT 2003 tools.
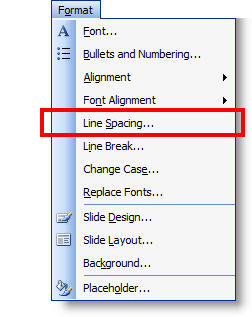
To access line spacing tools in PPT 2003 – go to FORMAT >> LINE SPACING.
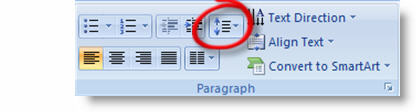
To access line spacing tools in PPT 2007 – go to the HOME tab >> PARAGRAPH section >> LINE SPACING button.
In PPT 2003 there are 3 options: Line Spacing – Before – After. In PPT 2007 there are a number of tools combined into one interface (which is good).
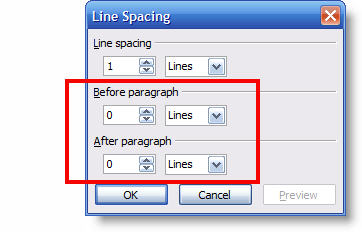
All 3 of the PPT 2003 options are in the lower section. Using the BEFORE and AFTER tools are intuitive and work the same in both versions. But LINE SPACING offers a number of options:
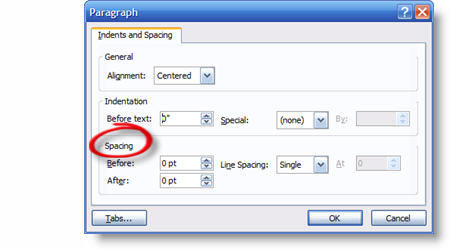
For me the key was figuring out that MULTIPLE is the same as PPT 2003’s LINE SPACING tool.
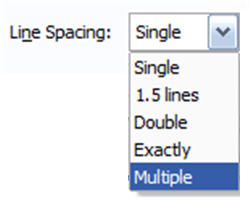
To use, select MULTIPLE. The “at” number is the same as the number in PPT 2003’s tool.

The confusing part is the default number in this box is 3, which is much larger than the typical .5 to 2 range. Adjust to something like .9 and you should see results you are expecting.
– Troy @ TLC