PowerPoint For Peace
We often forget as individuals we can do a lot to make this world a better place and spend time waiting for the change to happen. Here is an initiative to prove it to ourselves that we can do as much as anyone to promote peace.
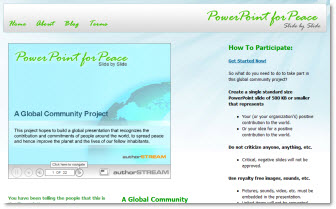
Glenna Shaw and Geetesh Bajaj, both PowerPoint MVPs have started a unique initiative “PowerPoint for Peace”, a Global Community Project. The project just last week and is building a universal presentation that recognizes the contributions and commitments of people from around the World to improve the planet and the lives of our fellow inhabitants.
authorSTREAM.com is being used as a platform and participating is very easy. Just create a single slide that depicts a contribution that helps make the World a better place to live in (must contain your name/group/company and be uploaded using the authorSTREAM link).
See it and participate here.
– Troy @ TLC