powerpoint

Using PowerPoint Creatively

Some amazing results can be achieved by using PowerPoint creatively. This slide developed by the TLC Creative Services design team is a great example.

To develop this slide, we started with this mountain range image.

Using PowerPoint Creatively 1

Then, we used PowerPoint’s Remove Background feature to eliminate the sky area.

Using PowerPoint Creatively 2

Then we searched VideoBlocks for a timelapse clouds video and selected this video.

By positioning the video behind the mountain range image, we did not worry about the green grass and horizon (they are still there in the above slide, but hidden by the mountain).

Using PowerPoint Creatively 3

Last step was adding the stylized text. Complete!

Troy @ TLC

By |2025-01-02T13:23:05-08:00November 28th, 2017|Portfolio|

PowerPoint Illustration – Thanksgiving Cornucopia!

Amber, on the TLC Creative design team, loves Adobe Illustrator and PowerPoint. We challenged her to build a full vector illustration in PowerPoint. The result is an amazing Thanksgiving cornucopia!

  • 478 slides
  • Everything about the cornucopia (took me 3 times to get that spelled correct!) developed inside PowerPoint
  • Exported as a video with no transition and .01 second timing to create the stop motion animation effect

Thanksgiving Cornucopia


Have a wonderful Thanksgiving with friends and family!

Troy @ TLC


By |2025-05-28T16:09:59-07:00November 23rd, 2017|Portfolio, PowerPoint|

Animated Timelines Using Pan and Wipe Transitions

Continuing from the last post, here is the same timeline, more traditional transitions and on-slide animations. See below for examples of animated timelines using pan and wipe transitions.

Like the previous timelines, both of these effects use the same 9 slides (with slide #1 being the info/title slide).

Animated Timelines Using Pan and Wipe

Unlike the Morph transition timelines, both of these effects have no content off slide, but do have a number of animations on each slide.

Animated Timelines Using Pan and Wipe

Pan From Left Transition (+ on-slide animations)

[KGVID]https://thepowerpointblog.com/wp-content/uploads/2017/11/unnamed-file-3.mp4[/KGVID]

Wipe From Left Transition (+ on-slide animations)

[KGVID]https://thepowerpointblog.com/wp-content/uploads/2017/11/unnamed-file-4.mp4[/KGVID]

Troy @ TLC

By |2019-10-28T10:06:52-07:00November 16th, 2017|Portfolio|

Animated Timelines Using Morph

This is a demo of using the Morph transition to achieve a great visually animated style. This is also a real client project, with all details cleansed for public viewing. We used 2 different Morph transition options to achieve different visual effects so we could show the same timeline twice during the meeting with different animation styles (Full disclosure: Each Morph option needed different slide layouts for the effect to work, which is detailed below). The key to these animated timelines is there are NO animations used anywhere on the slides, all motion is achieved solely with PowerPoint’s Morph transition effect.

Option 1: Morph by Character

[KGVID]https://thepowerpointblog.com/wp-content/uploads/2017/11/unnamed-file.mp4[/KGVID]

The slide deck is 9 slides (slide #1 being the info/title slate).

Animated Timelines

To achieve the motion effects, the transition for each slide is Morph > By Character and 1 element off-slide (that animates into place on the next slide)

Animated Timelines

Option 2: Morph by Object

[KGVID]https://thepowerpointblog.com/wp-content/uploads/2017/11/unnamed-file-1.mp4[/KGVID]

The slide deck is also 9 slides (slide #1 being the info/title slate).

Animated Timelines

But the off-slide content (that animates into place on the next slide) planning and layout is more extensive for this visual effect.

Animated Timelines

Troy @ TLC


By |2019-10-28T09:51:46-07:00November 14th, 2017|Portfolio|

Informational Slides – 2 Timeline Layout Options

For this project, we developed wonderful, stylized, information slides – over 150 in the final Sales Deck. For this blog post, I am pulling one example of 2 timeline layout options where our design team provided slides showing different ways to layout the provided content.

Timeline Layout Options 

Timeline Layout Options

In this case, we did not completely understand the intent of the slide so developed the timeline with two different layout styles, each supporting a different visual message. Our client provided input on the intent, we modified one option and moved on to the next layout question.

Troy @ TLC

By |2017-10-10T12:59:23-07:00November 9th, 2017|Portfolio|

The Presentation Podcast Episode #41 Released Today!

A new episode of The Presentation Podcast with Troy, Nolan, and Sandy is available today! Check out the latest episode, #41 -“Presenter Notes.” 

Presenter Notes: what are they, are they needed, what is the best way to create them, where is the best place to create them? So many questions for such a useful presentation tool. Yes, there are less helpful ways of creating, formatting and using Presenter Notes. No, there is no perfect way to create, format or use Presenter Notes. Troy, Nolan and Sandy share their notes about using Presenter Notes.

By |2017-11-07T12:31:52-08:00November 7th, 2017|Resource/Misc|

A 3-Scene PowerPoint Halloween Movie

Wanda on the TLC Creative design team created this amazing PowerPoint Halloween Movie. Just like a movie plot, it has 3 scenes. Each is a slide, and each seamlessly transitions from one to another (watch the video, there is no clear distinction of when the action transitions from one slide to another!).

PowerPoint Halloween Movie

If you are at the office, caution – fun Halloween themed soundtrack accompanies the animation fun!

[youtube src=”https://www.youtube.com/embed/fxV-LajWQlw”]

Each slide has a very long animation pane. This is the top part of the slide 1 animation:

PowerPoint Halloween Movie

Troy @ TLC

By |2017-10-26T14:10:12-07:00October 31st, 2017|Portfolio, PowerPoint|

WeCompress – NXPowerlite’s Online Version

The guys at Neuxpower recently invited us to beta test a new online compression tool called WeCompress. We found using this online tool is simple, easy and provides impressive results on par with the desktop version of NXPowerlite (review of NXPowerlite here). And the good news is, wecompress is now publicly available for use!

Overall we found WeCompress an impressive online tool – and it is FREE to use! While our tests below show it is not as robust as the NXPowerlite desktop app, it provides a great option for everyone trapped in a corporate world of “we do not allow add-ins or utility apps to be installed.” 

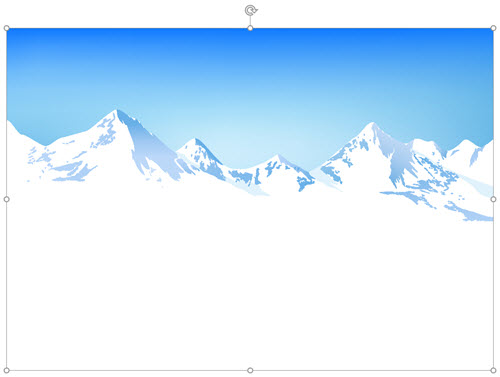
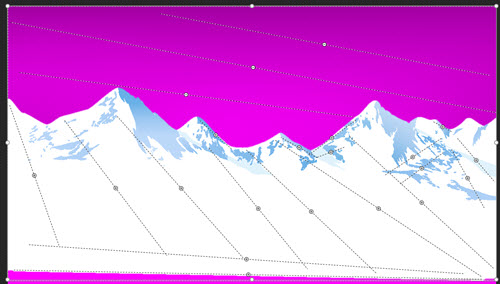
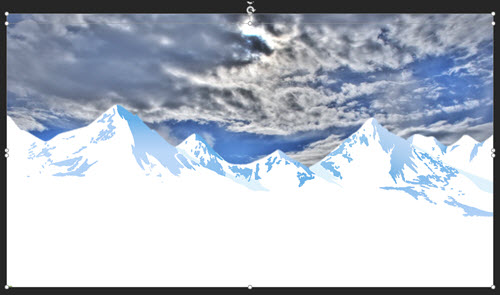
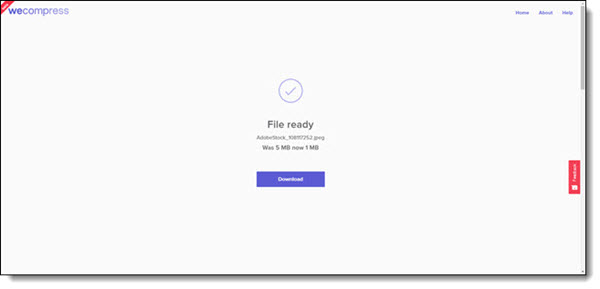
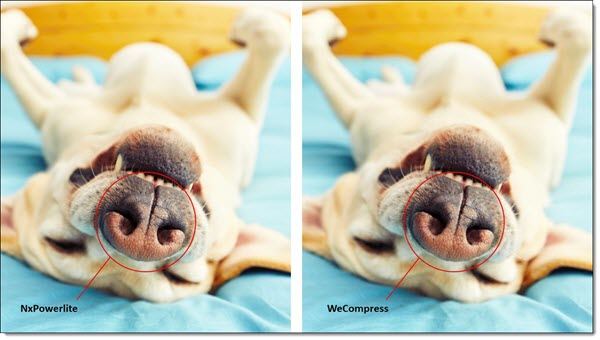
Our first test was optimizing this high-res .jpg image. WeCompress reduced the file size by 4MB and maintained image quality (for use on a 1920×1080 monitor).

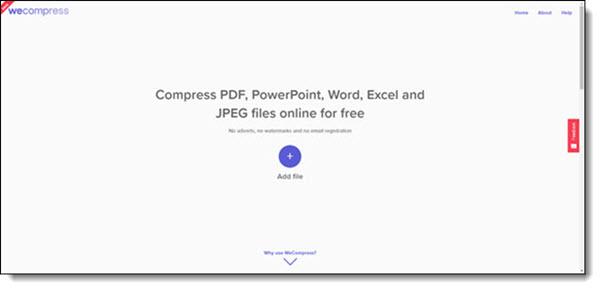
To use, go to WeCompress and just drag and drop your file to get started.

The upload and download time is dependent on your internet connection, but the actual compression/processing time was on par with the desktop NXPowerlite processing (eg. fast).

WeCompress has a clean online app design and it’s easy to use. But it does lack a few things in comparison to the desktop NXPowerlite app. The biggest difference is the ability to customize settings. For example, TLC Creative’s standard compression is custom settings optimized for 1920×1080 HD display. Other areas custom compression settings are important to us are when working on 4-6-8K output files (although the desktop version is currently limited to a 3480x2160px resolution base).

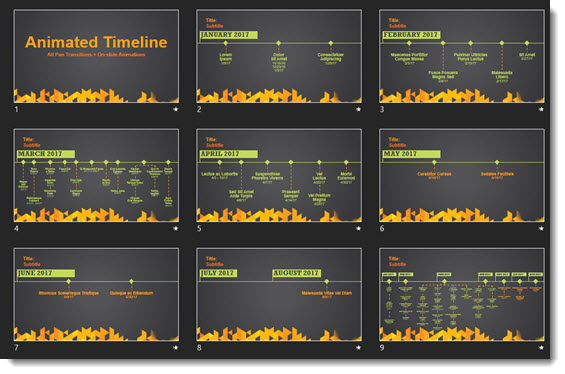
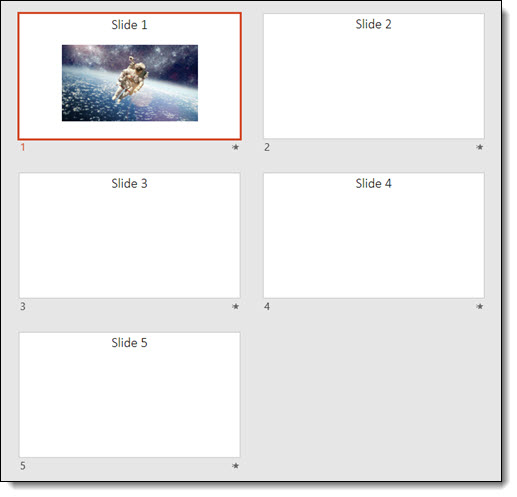
For comparison, here is our 10 slide sample deck which we optimized with WeCompress, NXPowerlite’s default compression setting, and our “TLC” custom NXPowerlite compression settings.

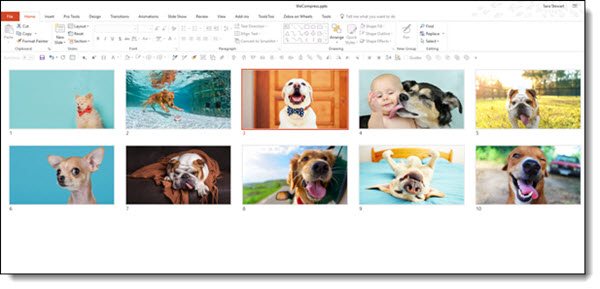
The original file, with purposefully oversize images, is 14.9 MB.

Running the file through WeCompress adjusted the file to a helpful 642 KB (and maintained good image quality, but a bit lower than we really want).

NXPowerlite (Windows v7.1.5) using its default PRINT compression gave us a 4.68 MB file (and image quality we approved of).

Optimizing with our “TLC” custom compression setting (1920×1080, JPG quality 9) gave us a 3.39 MB file (and image quality we approved of).

We then tested with another test file. We optimized a 10 slide PowerPoint file with close up, detailed high res images. Using NXPowerlite with our TLC HD compression settings, the file went from 16.8MB to 3.76MB, with image detail quality that met our standards.  

Uploading the same file to WeCompress reduced the file a lot – down to 674 KB! But image quality was below our standards (Note: compressing same file with NXPowerlite’s SCREEN default was comparable, creating a 1.15 MB file – a default setting we never use).

Aside from WeCompress’ limitations, the two tools have similar compression speeds and results. But WeCompress is FREE and does not require any install permissions. Neuxpower’s NXPowerlite has been the TLC Creative Services go-to compression solution for several years and we definitely recommend booking their new WeCompress online option to add to your toolbox.

Troy @ TLC

By |2017-10-13T11:46:21-07:00October 26th, 2017|Software/Add-Ins|

Video Across Slides (Sort Of)

Unbeknownst to the world, Microsoft somehow enabled video to play across slides again! This is something I have been requesting since the release of PowerPoint 2010, when video-across-slides stopped working. But don’t get too excited, there are limitations in using it today.

First the technical note: I am using Office 365, PowerPoint 2016 on Windows 10. This is untested on legacy versions or the Mac version.

Here is my sample slide deck; 5 slides with a video on slide 1 and indicator text on balance of slides.

Video Across Slides

When things are setup correct, yes we can play video across slides (yay!) as this video of the sample slides in slideshow demonstrate:

Side note: the above video was a Camtasia screen recording, because I discovered that using the Export As Video option does not show the video across slides (which makes sense with the below explanation of why I believe this is working)

Backstory:

  • Back in PowerPoint 2003, a video could be set to continue playing across slides and it would!
  • The reason was more of a limitation of PowerPoint that users were able to exploit and make a good thing. Back in PowerPoint 2003  video was not embedded and ran as a separate video player layer on top of PowerPoint. The good news was PowerPoint could keep the external video player going across multiple slides. The bad news was among other things, no PowerPoint content could be on top of the video while it was playing, because it was on top of the slides when playing.
  • Fast forward to PowerPoint 2010 and videos became embedded and content could be on top of videos! The downside was the embedded video removed the hand off to an external video player on top of the slides (but the improvements in reliable playback and styling effects were far superior options to have available!)
  • Today, video across slides works again. Here is my theory:
    • When the play across multiple slides option is selected for a video, the video uses a legacy video player and reverts back to the PowerPoint 2003 model of being a layer on top of PowerPoint. So yes, you can play a video across slides, but the video has a lot of styling limitations.

How to Set a Video to Play Across Slides:

  • Add video to slide (can be an embedded video, no legacy settings needed)
  • My example video was set to play the video automatically
    Video Across Slides
  • Open the Animation Pane
  • Right-click the video animation
  • Select EFFECT OPTIONS
  • Go to the EFFECT tab
  • Look in the STOP PLAYING section
  • Change the AFTER dialog to any number of slides needed (maximum 999 slides)
  • Click OKAY
    Video Across Slides

Limitations of Applying Styling Options to Videos That Use The Play Across Slides Option:

My Advice:

  • Don’t count on this working in the future. It was broken for years and suddenly started working (thanks to Taylor Croonquist for mentioning it!). It could easily stop working with another update (and the ultimate update would be to enable video to play-across-slides AND maintain the embedded video player for z-order control and styling effects!!).
  • But don’t hesitate to use it if needed. I was recently used a 60 second countdown video to play across a series of slides and all worked perfect (but the request was a circle shaped clock, which I could not do because of the above noted styling limitations). I tested on my show computers and was confident all would work for the meeting. If the same client asks for the same effect next year, I cannot promise it will work until we are close to the meeting date and I can test and confirm it is still a supported feature (eg. I am not sending out Sales Team decks using this feature, because it would be bad for things to stop working in the future).

Troy @ TLC

By |2025-05-12T10:16:54-07:00October 19th, 2017|Resource/Misc, Software/Add-Ins|
Go to Top