How Long is My Movie?
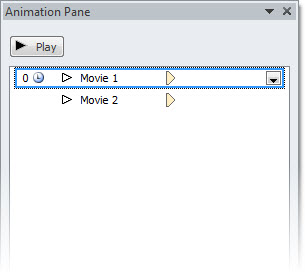
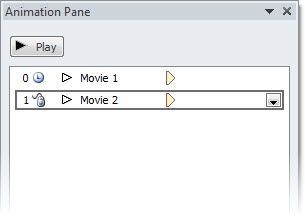
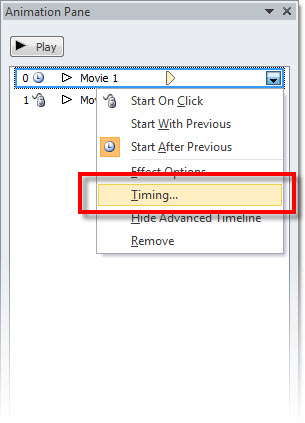
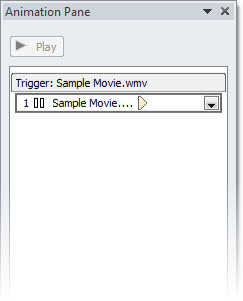
The Animation Pane does not show how long a movie is (like it does for all other animations). Here is one way to check, from inside PowerPoint, for PPT 2003, 2007 and 2010.
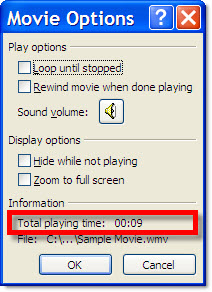
PPT 2003:
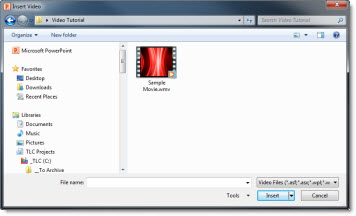
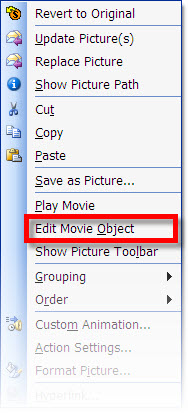
1. Select video

2. Right-click and choose EDIT MOVIE OBJECT
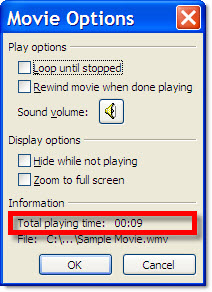
3. At the bottom of the MOVIE OPTIONS dialog it shows TOTAL PLAYING TIME
PPT 2007:
1. Select video
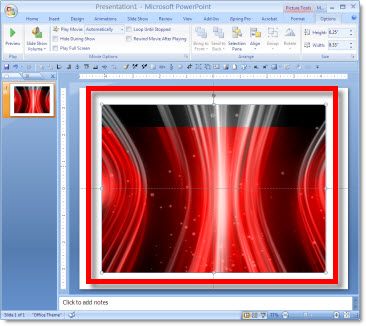
2. Under the OPTIONS Tab, click the MOVIE OPTIONS Pop-up Menu
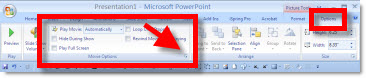
3. At the bottom of the MOVIE OPTIONS dialog it shows TOTAL PLAYING TIME
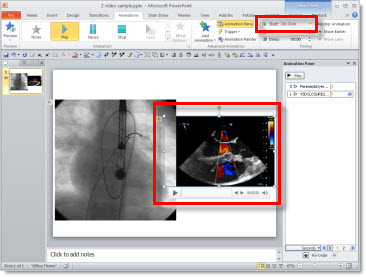
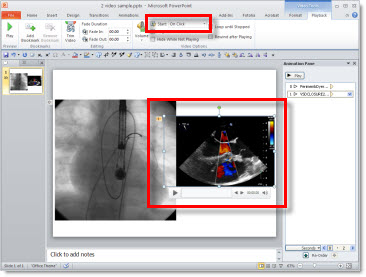
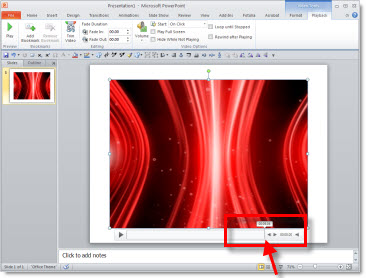
PPT 2010:
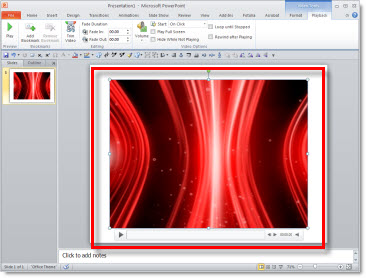
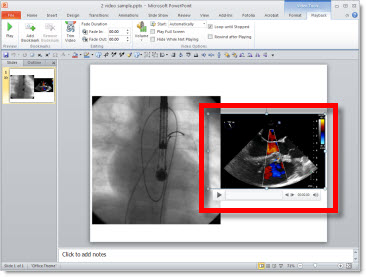
1. Select video
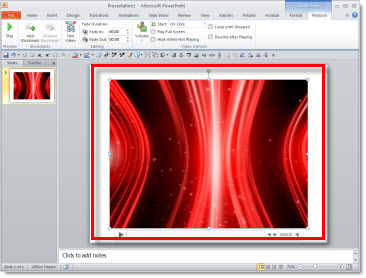
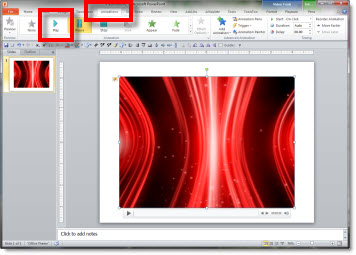
2. Roll mouse over the dynamic playback bar to the end
– Troy @ TLC