PowerPoint and Friends (3)
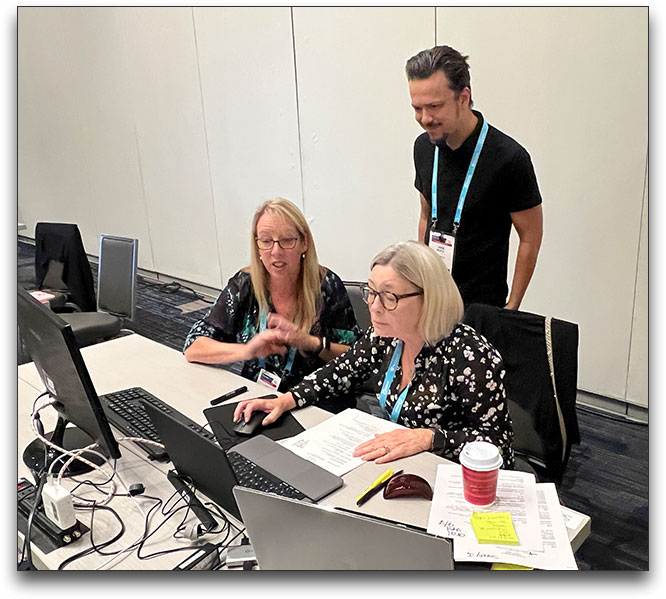
More PowerPointing with great people and great friends. Lori Chollar, Sandy Johnson and Jake Seelye at a conference this year troubleshooting a presenters presentation before we moved the file to the stage show computers.
Troy @ TLC
PowerPoint and Friends (2)
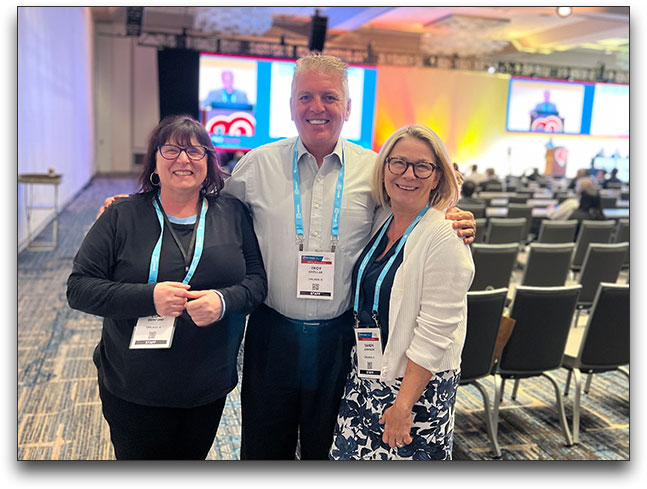
With PowerPoint, you get to work with great people – great friends. At a conference this year with Sandy Johnson and Echo Swinford!
Troy @ TLC
PowerPoint and Friends (1)
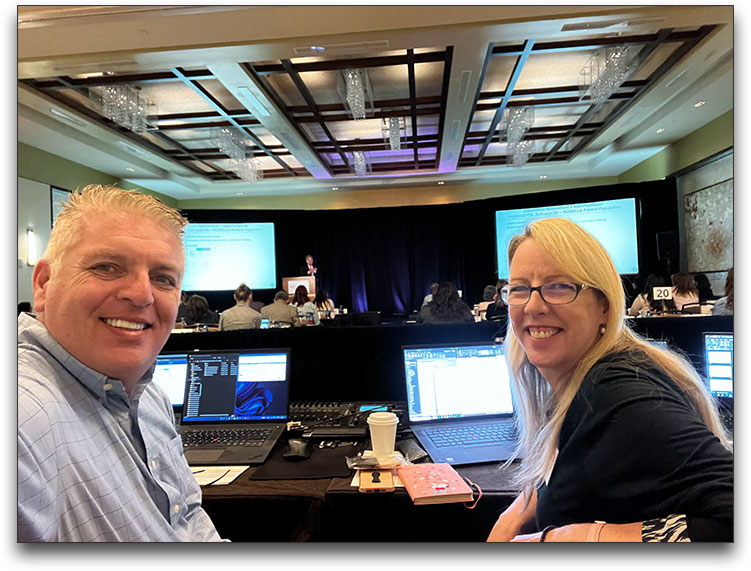
With PowerPoint, I am blessed to have the opportunity to work with my best friend (business partner and spouse!) – Lori Chollar.
Troy @ TLC
PowerPoint Big and Small (part 2)
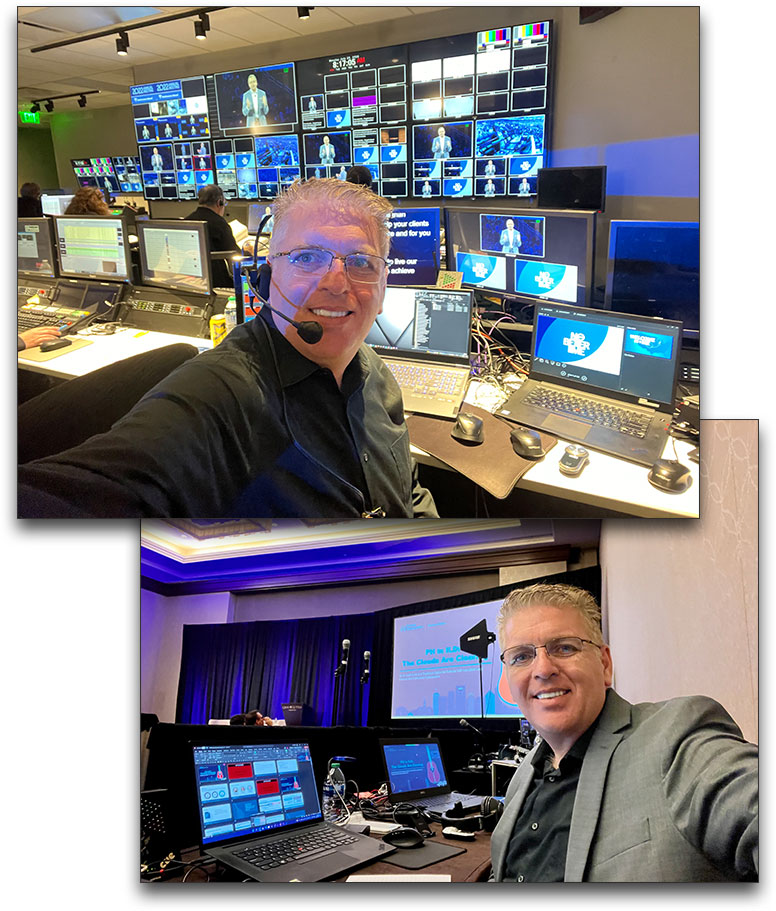
The backside, technical side, of PowerPoint can be big – huge, or small. Image above is me with presentation computers connected to a broadcast TV booth. And image below is me sitting beside the audience and presentation computers connected to a single video switcher. It’s all about designing slides to the audience environment – and knowing how to connect to systems of any size!
Troy @ TLC
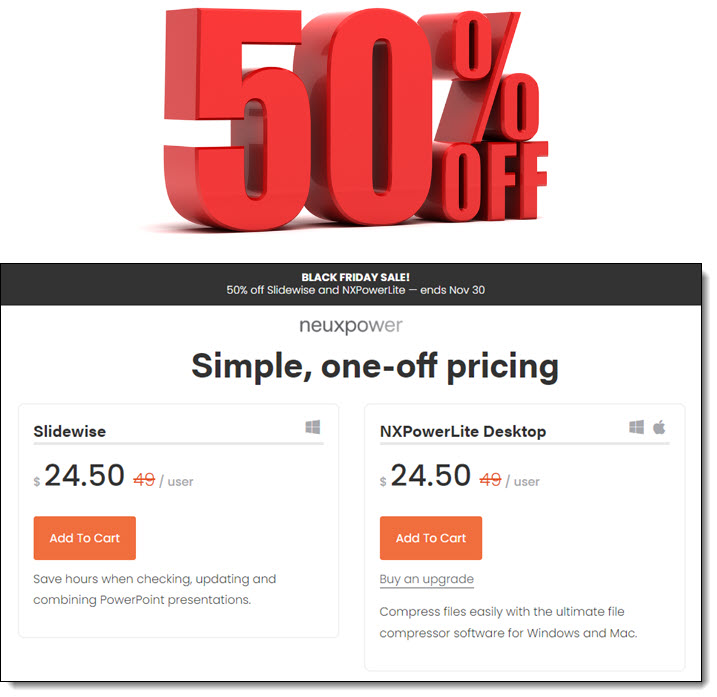
Slidewise and NXPowerlite – 50% Off!!!
I just received a promo email from Neuxpower, makers of NXPowerlite and Slidewise. I am dropping this post into my planned year-end photos series as it is valid for only a week. I highly endorse both apps for presentation workflow – and both are on sale for an amazing 50% off! Click here for the details.
PowerPoint Big and Small

Our PowerPoint design work covers a lot of presentation setups. In the same month the top image a PowerPoint on a 60′ wide screen, and the bottom image is PowerPoint on an 85″ screen. Design to the size of the screen for your audience!
Troy @ TLC
The Neuxpower Team
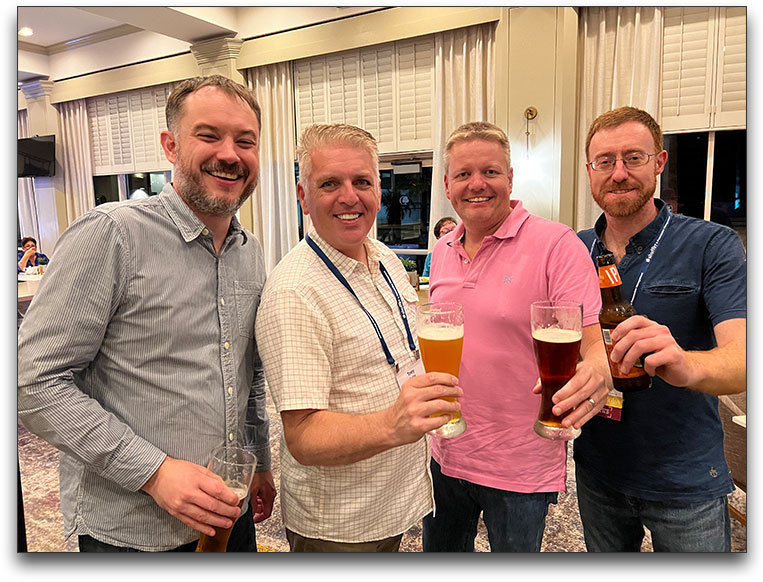
These are the three behind NXPowerlite and Slidewise – the Neuxpower team! No I am not a beer drinker, but when you are with a group from the UK, everyone has a pint!
Troy @ TLC