I work with PowerPoint on a daily basis and I am very honored to be a Microsoft PowerPoint MVP. We have a talented team of presentation designers at TLC Creative Services and ThePowerPointBlog is our area to highlight PowerPoint tips, tricks, examples and tutorials. Enjoy! Troy Chollar
A Day With Photoshop Guru Bert Monroy
A few weeks ago back Kelby Training had a Photoshop CS5 seminar in San Diego. It was a good day and the instructor was Photoshop guru Bert Monroy – who was kind enough to let us take a photo together.
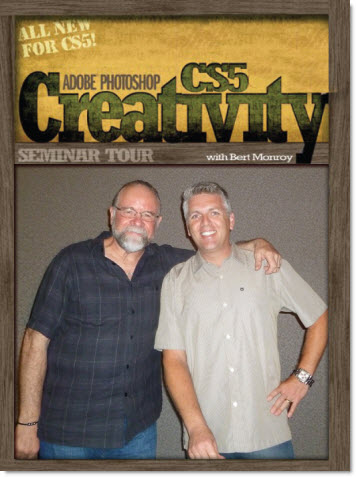
– Troy @ TLC