The PowerPoint® Blog

I work with PowerPoint on a daily basis and I am very honored to be a Microsoft PowerPoint MVP. We have a talented team of presentation designers at TLC Creative Services and ThePowerPointBlog is our area to highlight PowerPoint tips, tricks, examples and tutorials. Enjoy! Troy Chollar

Multimedia Lecture

This is the lecture mentioned in the previous post. This is a great use of PowerPoint and is a great teaching tool!

For this project I was supplied with two items:
1. Raw video recording of the instructor/presenter (recorded by professional video crew with monitored audio recording).
2. PowerPoint slide deck instructor used.

The project process was:
1. Edit video to remove long pauses, audience comments (no handheld microphone for audience, so to quiet to hear on recording), pan & zoom (crop) to bring presenter to full screen (especially important as video of instructor is small).
2. Optimize PowerPoint deck for use in video.
3. Sync lecture and slides (this is time consuming when there is no cue sheet or wide angle recording to see both the presenter and the projected slides – but I did learn a lot about molecular genetics as I listened to the full lecture 3-4X’s!).
4. Setup the interactive table of contents.
5. Render video(s), which were .flv format. Instructor at 29.97 FPS and slides at 5 FPS.
6. Prep for CDROM playback.
7. Prep for local computer (hard drive) playback.
8. Develop custom installer to automate process of copying files to computer, creating shortcuts, etc.
9. Develop the launch/install app. outlined in previous post.
10. Test, test, test.

– Troy @ TLC
By |2016-09-16T11:05:49-07:00February 12th, 2009|Portfolio|

Launch/Install App

Like many projects that I work on, this one involved lots of software:
– PowerPoint
– Photoshop
– Flash
– Installer development/coding
– Video Editing
– Camtasia Studio
– and more

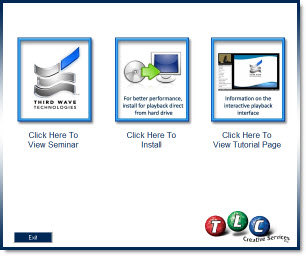
The actual project was a multimedia video lecture (highlighted in next post). But to provide a professional piece and give the end user a visual interface this ‘Launch and Install’ application was developed. The end user received a CDROM and when they insert the CDROM this user-friendly application automatically runs.

The Launch-&-Install application gives an intuitve graphic interface to running the lecture from the CD, installing the lecture files onto their computer, or viewing a quick tutorial on the lecture playback controls and options.

On the technical side, the application runs in a 800x600px window that is moveable and weighed in at just over 1MB.

– Troy @ TLC

By |2016-09-16T11:06:21-07:00February 10th, 2009|Portfolio|

CD Label Art

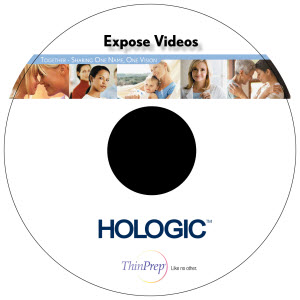
Many projects need to have multiple items all coordinate. Here is the CD label from a multimedia project that I used the same visual elements and layout style for a Launcher Application, video lecture series and this CD label.

This is the client proof which shows the center of the CD and a keyline around the actual circumfrence. The graphics extend beyond the actual CD size to give the printing process ‘bleed’ just in case the printing is not perfectly centered. The final print-ready file that goes to the printer does not include either of the black overlays.

– Troy @ TLC

By |2016-09-16T11:06:40-07:00February 8th, 2009|Portfolio|

Event Program Cover

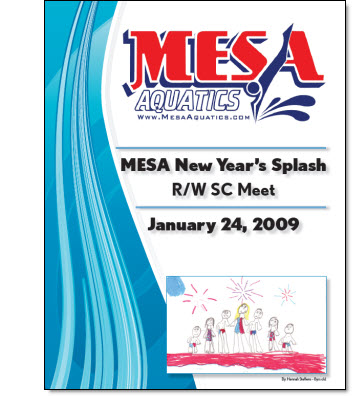
This was a fun, and personal, project. My oldest daughter joined a swim team last year. Her team hosted the fist swim meet of the year (12 other swim teams attended with over 500 registrations!). I was asked to help design the cover for the program – which I of course said yes to!

– Troy @ TLC

By |2016-09-16T11:07:47-07:00February 6th, 2009|Portfolio|

Hansen Communication Template

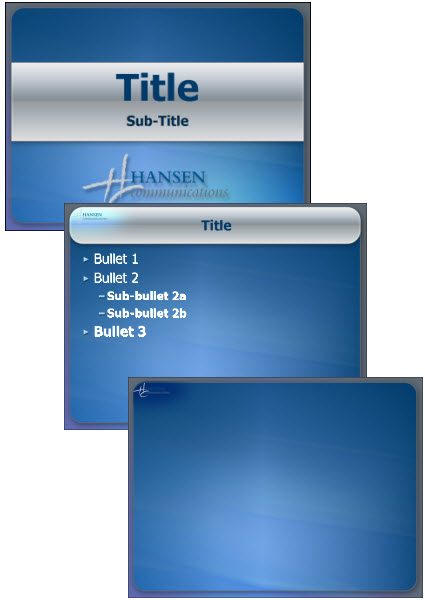
This is a really great PR oriented company that I am very happy to work with as a part of their extended team. They recently needed a fresh look for a number of internally created presentations so I developed this PowerPoint template.

Note: The 3rd slide is what I call the “Full Frame” master slide. This is closely coordinated with the standard content master, but has no title bar area and is for slides that have large, full frame, images or charts.

– Troy @ TLC

By |2016-09-16T11:08:12-07:00February 4th, 2009|Portfolio, Templates/Assets|

DVD Menu

Well I have been asked several times in the past few weeks what I have been working on, for examples of projects and if I really do anything… Hmmm, the website is a bit out dated and the blog has lots of tutorials but few samples. I can see where these statements are coming from as there is little current online proof that I really do work on lots of projects.

So most of this month will be dedicated to showing some examples of recent projects (at least the ones I can, as many are under NDA – and where needed I will substitute the TLC logo in place of company/event logos).

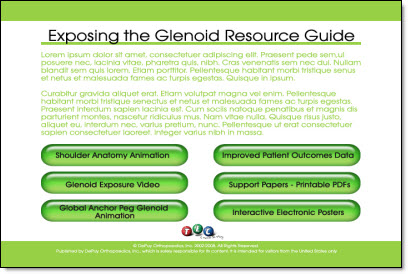
To kick things off – here is a DVD menu layout designed for a recent project (yes that’s greeking text to protect the innocent – me).

– Troy @ TLC

By |2016-09-16T11:08:33-07:00February 2nd, 2009|Portfolio|

Pecha Kucha (Tonight)

Pecha Kucha is something that sounds fun and may be a great skill builder for presenters. Basically Pecha Kucha forces presenters to create an on-the-fly presentation. They are given a topic, 20 slides, and 20 seconds per slide. It was created in Tokyo, Japan in 2003 as an event for young designers to meet, network, and show their work in public.

If you are in the NorthEast, head over to the free Calypso Communications event in Portsmouth NH. Click here for a story outlining the event and Pecha Kucha.

– Troy @ TLC

By |2016-09-16T11:09:22-07:00January 29th, 2009|Resource/Misc|

Resize Preview To Fit-to-Screen: PPT vs. Photoshop

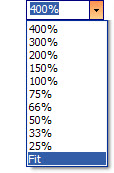
To quickly get the “big picture” you may need to see the whole slide or image. There are some great keyboard shortcuts to do this, but they are different in PPT 2003, PPT 2007 and Photoshop.

PowerPoint 2003:
Option 1: Use the drop-down menu and choose FIT

Option 2: Install the PPTools free StarterSet and click the magnifying glass icon

PowerPoint 2007
Click the ‘Fit to Window’ button in the lower right corner

Photoshop:
CTRL + 0 (zero)

– Troy @ TLC

By |2016-09-16T11:09:46-07:00January 27th, 2009|Tutorial|

Resize and Keep Aspect Ratio: PPT vs. Photoshop

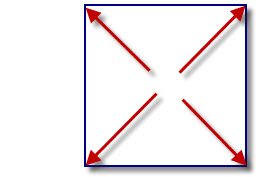
Another great feature is resizing (enlarging or shrinking) images and autoshapes from any corner and have it maintain the same aspect ratio.

This feature is available in PowerPoint and Photoshop, using the SAME key combination.

PowerPoint: SHIFT + adjust with mouse

Photoshop: SHIFT + adjust with mouse

– Troy @ TLC

By |2016-09-16T11:10:07-07:00January 25th, 2009|Tutorial|
Go to Top