Want to make your presentation pop by showcasing a video inside a realistic iPhone frame? Whether you’re creating a product demo, UI walkthrough, or simply want a sleek modern look, this step-by-step guide will walk you through how to insert a video into PowerPoint, crop it, modify it to rounded corners (yes, video containers can have rounded corners!) – all while fitting seamlessly into a PNG or SVG image of an iPhone.
Step 1: Insert Your Video
- Go to the slide where you want the video.
- On the Insert tab, click Video → choose This Device (note, for some of the styling options being applied, it must be an embedded video, not a web-based video).
- Browse and insert your desired video file.

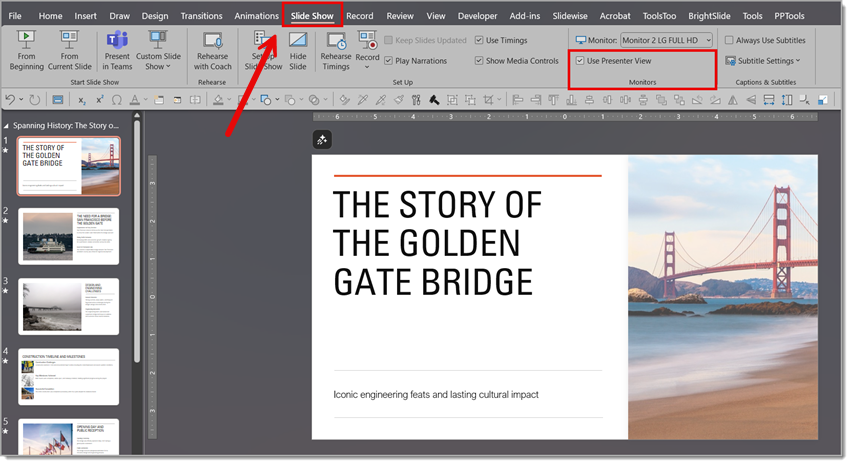
Step 2: Change Video Playback Settings to Set the Video to Play Automatically
- By default, when you insert a video in PowerPoint, it’s set to play “On Click” as part of the animation timeline.
- NOTE: Because this video is going to be underneath the iPhone image, it will not be manually clickable meaning you can’t “mouse over” the video to click it to play or pause. You can leave the animation setting to “On Click” but for our example we want the video to play automatically when the slide hits the screen.
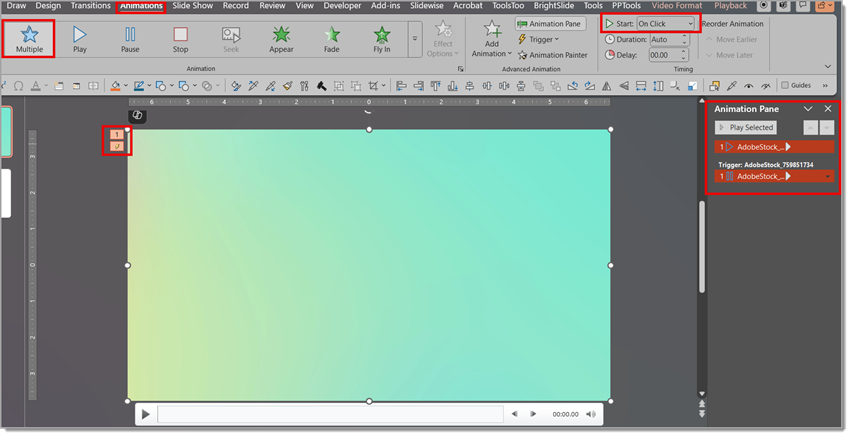
Click on the video to select it.
1. Go to the Animation tab on the ribbon.
2. Change to “Play” vs “Multiple”.
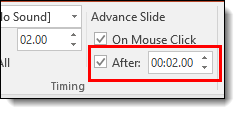
3. Look for the Start dropdown.
4. Change it from “On Click” to “With Previous.”.
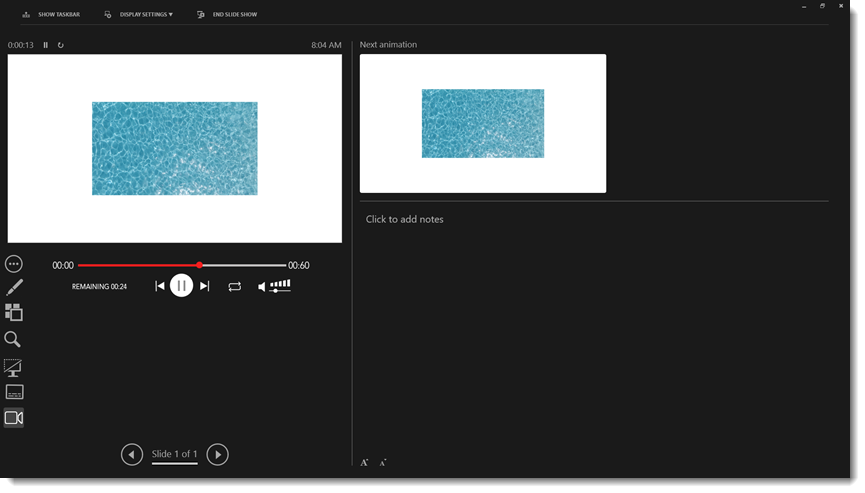
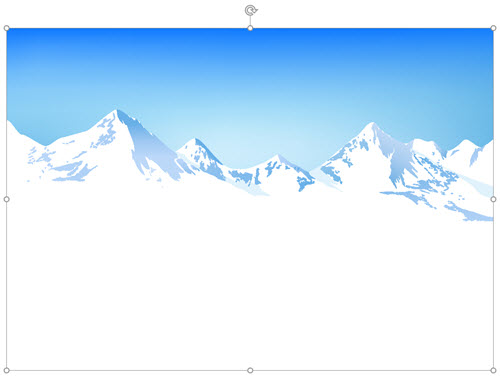
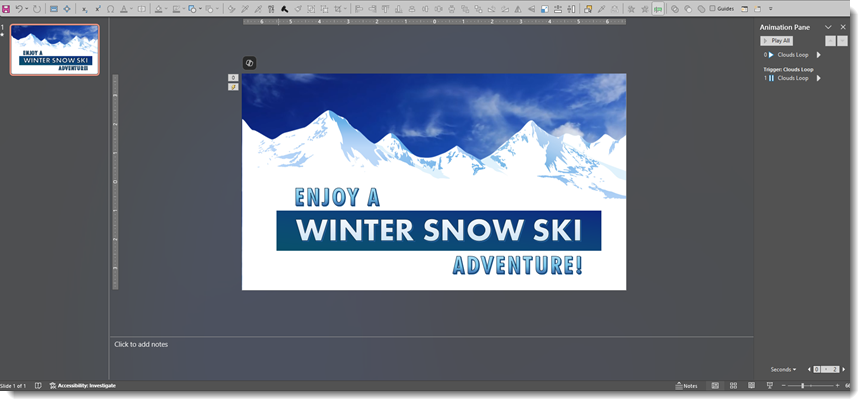
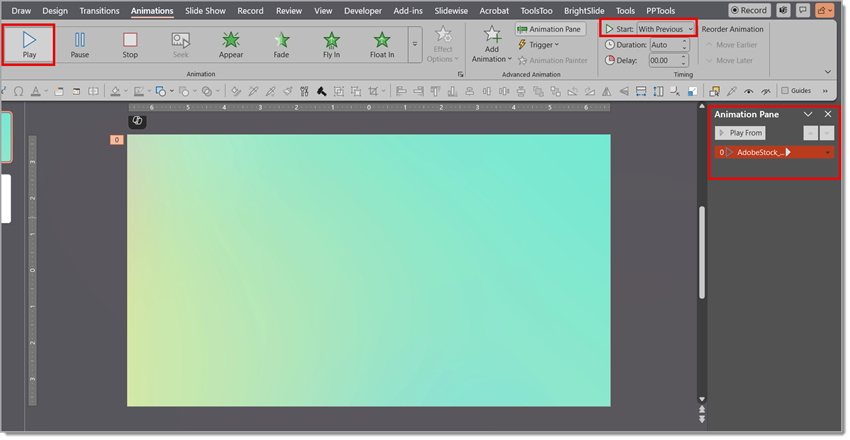
Now your video will begin playing as soon as the slide appears in Slide Show mode—no click required! For our example here, the video we chose is 1920×1080 (the teal gradation you see below).
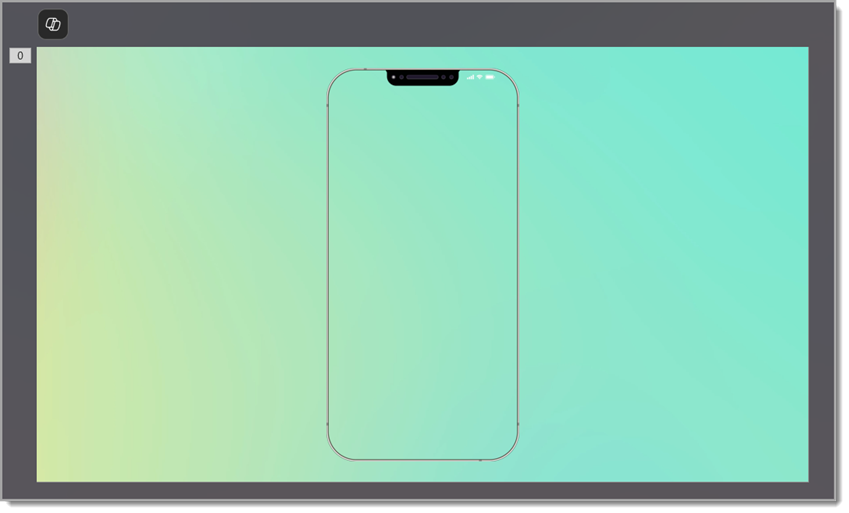
Step 3: Layer the Video Behind an iPhone PNG Image
Now, let’s place a phone on top of the video:
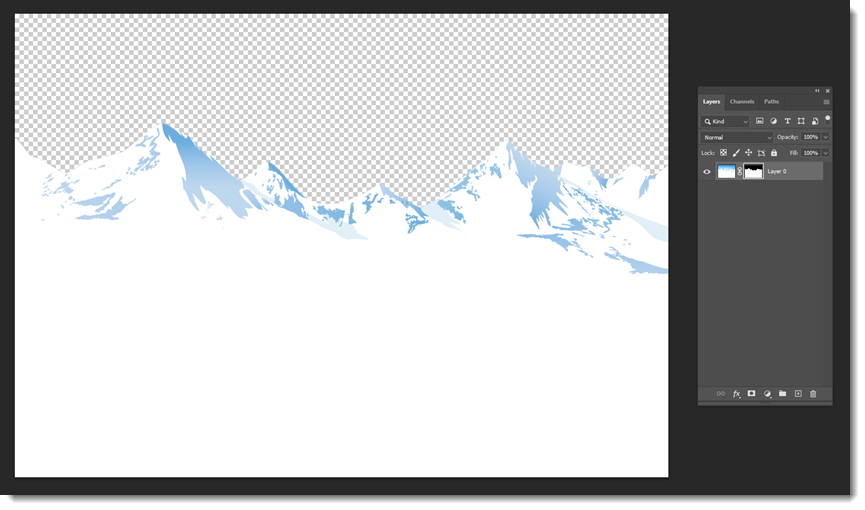
1. Source an image of a realistic phone (ideally a PNG with a transparent screen area showing just the phone “frame”) or edit your image to remove the background and the screen area of the phone.
2. Insert your phone image onto the slide.
3. Resize and position it as needed.
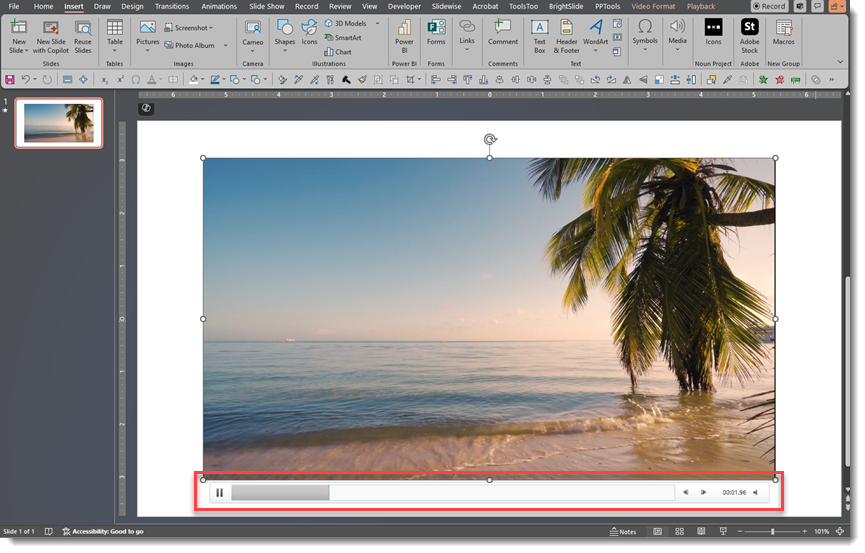
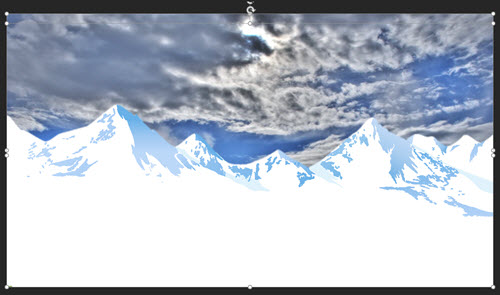
Step 4: Crop the Video to Align to the Phone Screen
To fit the video inside the vertical screen area of a phone (typically portrait aspect ratio), you’ll need to crop the video. You can do it like so:
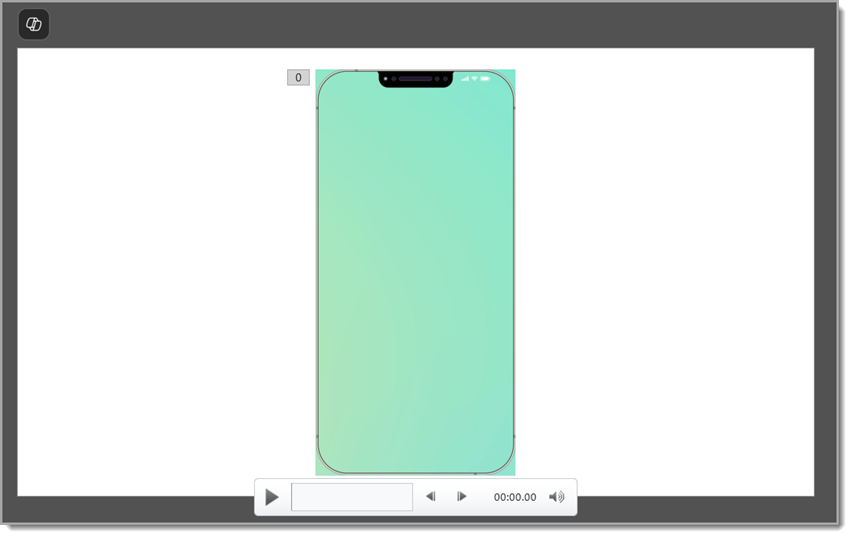
1. Select the video and resize the video as needed to fit the phone (for our example, we’ve chosen a simple gradient with no content, so resizing isn’t critical).
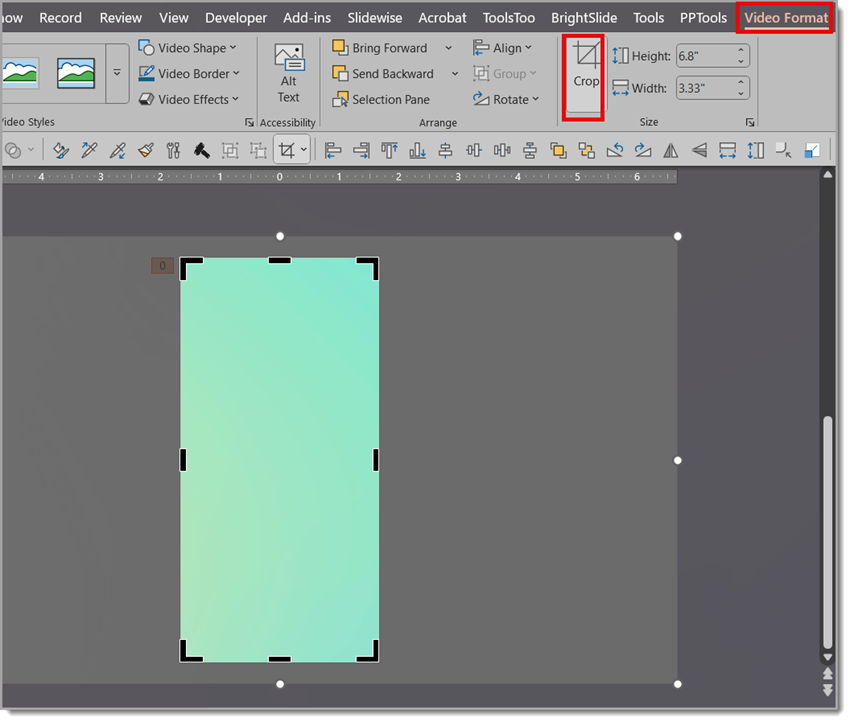
2. With the video selected, in the Video Format tab, click Crop.
3. Use the black cropping handles to trim the edges and create a portrait orientation, aligning the edge of the video just inside the edge of the phone.
4. Click Crop again to apply changes.
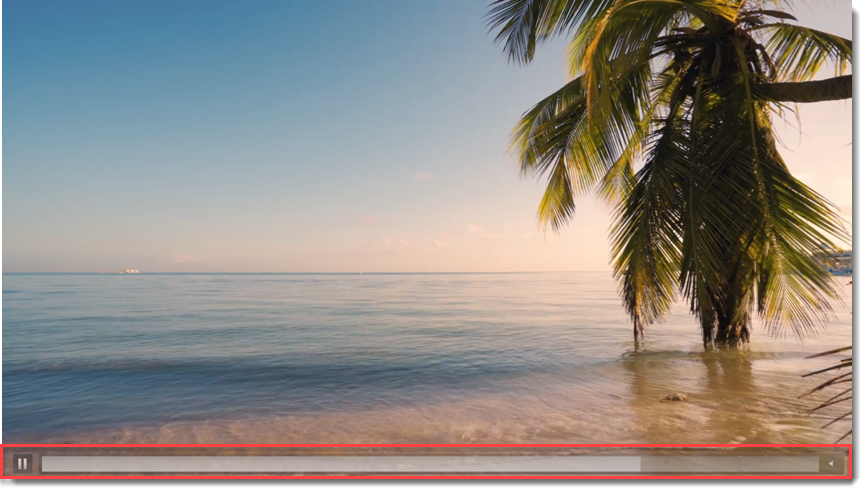
Step 5: Add Rounded Corners
Our video now fits nicely inside the phone but you can see the corners. The good news is that videos in PowerPoint can be changed to any (yes any!) of the PowerPoint shapes. For this slide, we need rounded corners, which is an easy customization to the video. Believe it or not, PowerPoint is easier for this than video editing apps!
1. Select the video.
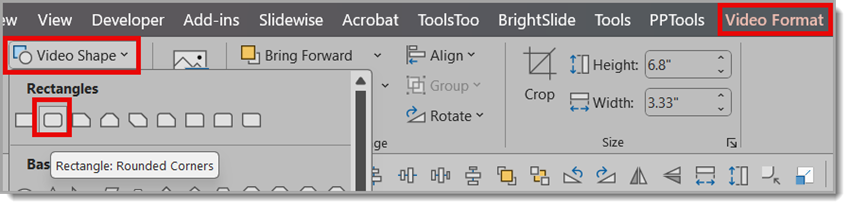
2. Go to Video Format → Video Shape → Choose the Rounded Rectangle shape.
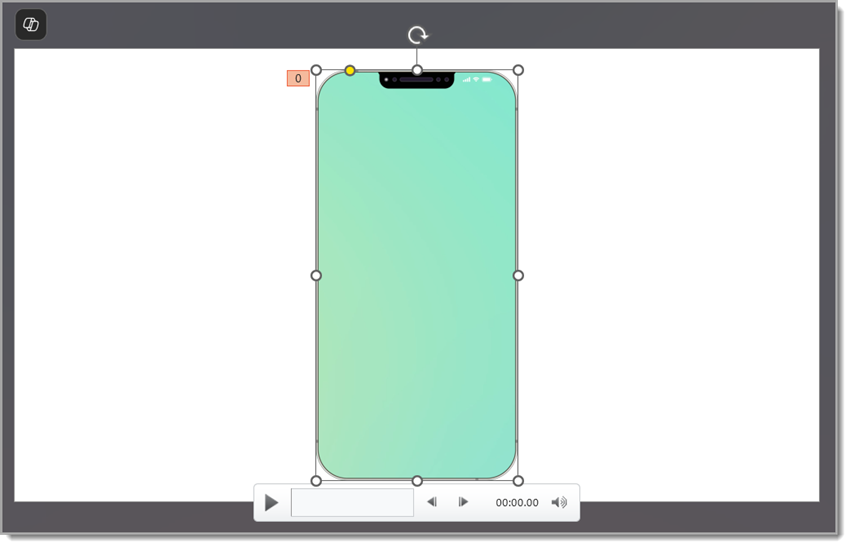
3. Now use the yellow shape modifier (dot) to adjust the rounded corners to match the iPhone image’s rounded corners
- TIP: zoom in on the slide for better control of the rounded corner adjustment.
With just a few clicks, you’ve created a high-end, device-framed video display — no video editing software required. Perfect for UI demos, mobile app presentations, or just leveling up your PowerPoint visuals.
Let your slides scroll like a screen — and wow your audience!
-The TLC Creative design team