Recolor .png Images in PPT
I am continously reflecting on how much more I can do inside PPT 2010 vs. going out to an external application such as Photoshop when developing slides. Here is an example from a recent project that was done in PPT in a matter of seconds vs. opening image in Photoshop, adjusting, saving, importing new version of image.
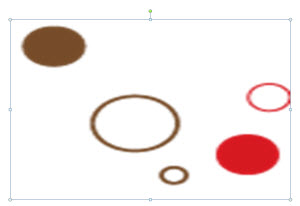
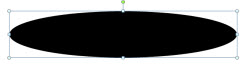
Here is my highly stylized trend line (used on a slide to show the economy is making progress, without showing any detailed numbers or facts). It is a .png image I prepared in Photoshop and inserted into the presentation.

Here is the same image, now full screen and on the presentation template backgound – it does not have enough contrast against the background.

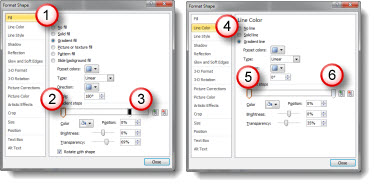
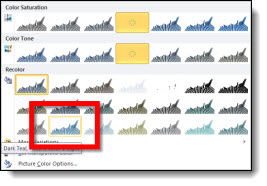
By selecting the image and then going to FORMAT >> CORRECTIONS I used the presets (all based on the template color scheme) to recolor the trendline image to a color with more contrast.
Done. Move on to next slide.

– Troy @ TLC