Tutorial

4 Ways To Zoom In/Out While Editing

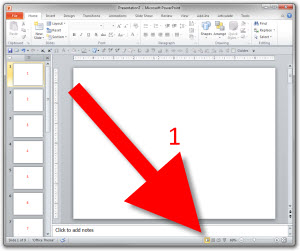
In the lower right is the zoom options.
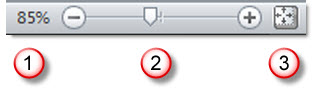
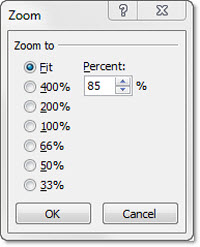
(1) The first option is largely unknown to many users, partially because it is not needed often. Clicking the percentage number opens the zoom dialog that has presets and ability to manually enter a specific zoom.
(2) The zoom slider was introduced in PPT 2007 and a is a great way to adjust the zoom level. Zoom ranges from 10% to 400%.

(3) Clicking the far right box is the ‘Fit to Screen’ option which I use a lot!

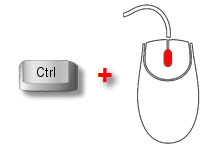
(4) The fourth option is a combination keyboard/mouse feature.
– Hold the CTRL key
– Roll the mouse scroll wheel. Forward = zoom in. Backward = zoom out.
– Troy @ TLC
By |2016-08-16T11:25:22-07:00June 21st, 2010|Tutorial|

Where is ‘Backstage’ and How to Close It

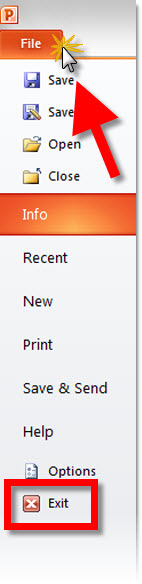
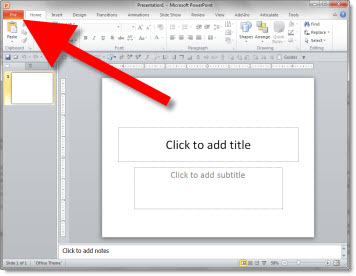
With Office 2010 the circle ‘office button’ in the upper left of all applications is replaced with a simple ‘File’ button that opens the Backstage.

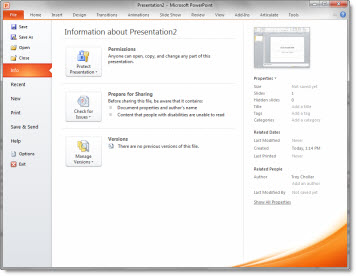
Click the ‘File’ button the Backstage takes over the full application window.

The Backstage is a great consolidation of tools and options. But I have seen many users struggle with how to close, or go back to their slides. If you click the ‘EXIT’ button, it closes the presentation vs. closing the Backstage.

The way to go back to the slides/close the Backstage, click on the ‘FILE’ button again or any of the tabs – home, insert, design, etc.

– Troy @ TLC

By |2016-08-16T11:26:44-07:00June 17th, 2010|Tutorial|

Why Can’t I Move The Logo on the Master Slide?

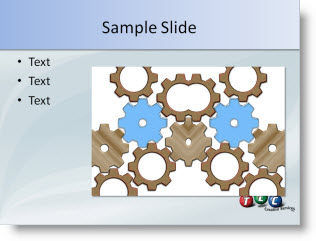
Here is my sample slide:

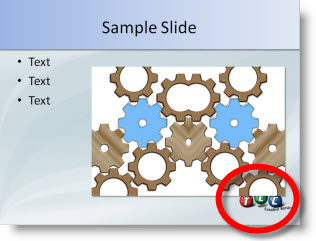
I decide the logo, on the master slide, needs to be moved down for more content area.

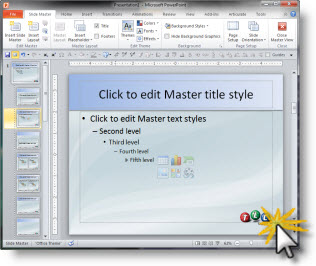
When go to VIEW >> SLIDE MASTER and try to move the logo I cannot click and select it.

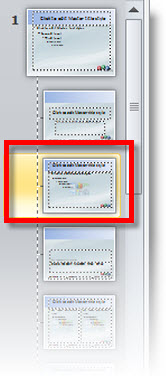
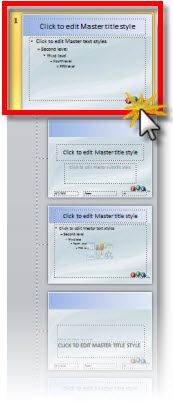
Because the master slide view opened to the layout slide.

If I click the Master Slide above the layouts I can select the logo, move it and it will update on all of the layout masters.

– Troy @ TLC

By |2016-08-16T11:32:15-07:00June 2nd, 2010|Tutorial|

The New View of ‘Arrange All’ Presentations!

PPT 2010 now displays each presentation in its own instance of the application. What does this mean?

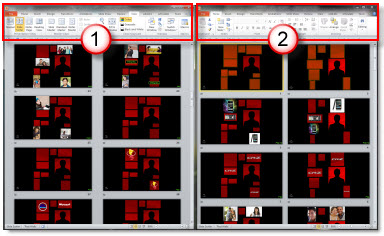
Here is a real world example (eg. my current project), where I have 2 screens and a separate presentation for each. In designing I need to view the presentations side-by-side. To do this it is the same as before: VIEW >> ARRANGE ALL. This is a screen capture of one monitor.

But the big difference is each presentation is contained in its very own application. Each has its own ribbon!

This is just one example of the new feature – and I am using it every day.

– Troy @ TLC

By |2016-08-16T11:32:35-07:00May 30th, 2010|Tutorial|

Toggle Normal Edit view and Slide Sorter View

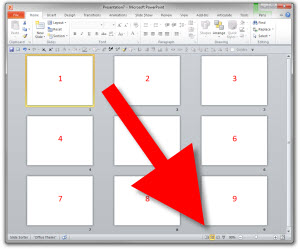
In the lower right corner are the shortcut buttons to change the view (normal, edit, slide show – and reading in PPT 2010), plus the zoom tools.

In my sample I am in the Slide Sorter view:

If I want to edit an individual slide, I select the slide and click the far left button for Normal/Edit view.

But the Slide Sorter button is also a toggle. When in Slide Sorter view, click the slide sorter button again and you change to the Normal view. Click it again and you go back to Slide Sorter.

This works in PPT 2007 and 2010. Not really a time saving shortcut as the buttons are literally next to each other – but it is a little known feature.

– Troy @ TLC

By |2016-08-16T11:33:17-07:00May 26th, 2010|Tutorial|

Move Your Custom QAT To Any PPT 2010 Machine

In PPT 2007 the QAT (Quick Access Toolbar) was the only customization option for the ribbon. In PPT 2010 the ability to customize the ribbons has been added, but the QAT is still the best resource for having always needed tools always available.

Here is my QAT, which I detailed in this post.

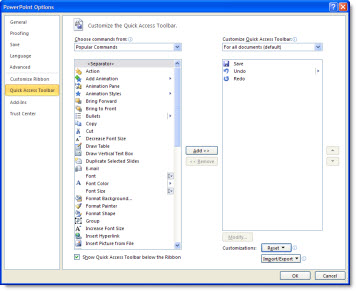
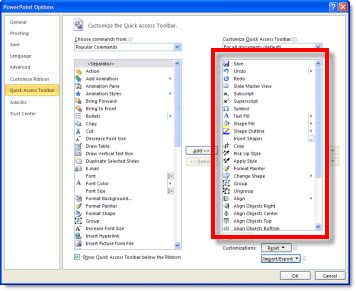
PPT 2010 adds a new feature to the QAT setup. Here is the QAT dialog in the Options area.

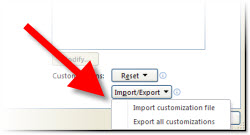
In the lower right is a new Import/Export option.

If you have customized your QAT, use the Export option to save a data file with all of your customization options. This can be used to setup your QAT on another computer or if something happens to your current computer you can quickly get your familiar work enviroment back.

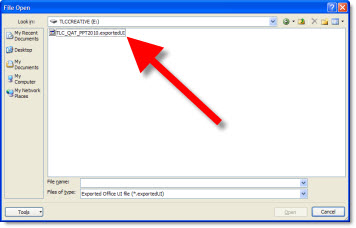
If you have a QAT data file, click ‘Import Customization File’ and go find the data file.

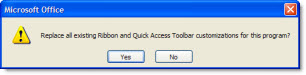
You will see a warning dialog that existing toolbar setup will be overwritten – say ‘Yes’ to install the new QAT.

Now the QAT column will show all of the tools/buttons added (compare to first dialog image above that showed default 4 tools).

Last, if you would like to setup your QAT with the tools I have, my QAT toolbar data file can be downloaded here (850K).

– Troy @ TLC

By |2016-08-16T11:35:30-07:00May 18th, 2010|Resource/Misc, Tutorial|

Where Are The File Properties in PPT 2010?

While much of the interface is the same as PPT 2007, some items are new – especially in the Backoffice area.

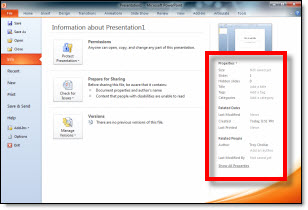
To view the file properties:
File >> Info >> Right side

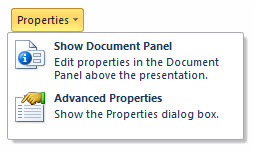
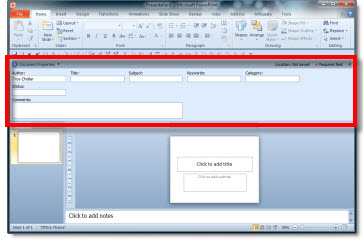
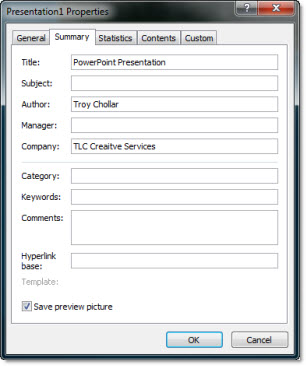
To edit the File Properties there are 2 options, both accessible by clicking ‘Properties’ to open a drop down menu.

‘Show Document Panel’ opens the file properties under the ribbon.

‘Advanced Properties’ opens the traditional dialog and offers a few additional properties.

If you are looking for the File Properties in PPT 2007, go to this blog post.

– Troy @ TLC
By |2016-08-16T11:36:15-07:00May 14th, 2010|Tutorial|

PPT 2010 – Is My Video Going To Be Embedded or Linked?

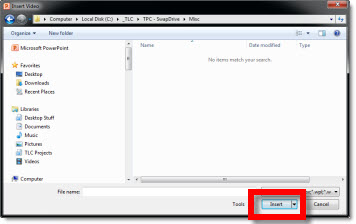
Inserting a video with PowerPoint 2010 starts the same as PPT 2007. Insert >> Video >> Video From File.

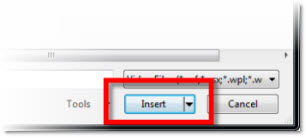
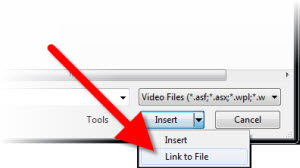
And we still get the same dialog window to choose the video to insert. But the drop down menu is now very important.

If ‘Insert’ is selected the video will be embedded.

If ‘Link to File’ is selected it will be linked to an external file.

Note: find and select video first, then use the Link dropdown because selecting the dropdown is the same as clicking it.

– Troy @ TLC
By |2016-08-16T11:36:34-07:00May 12th, 2010|Tutorial|

How To Fix The Gap in Text Reflections

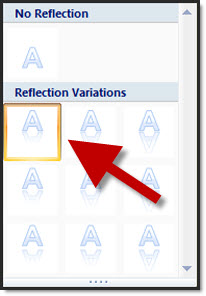
Selective use of the reflection tool for text can make slide layouts very dynamic. But why does the upper text have a gap and the lower text does not?

There are 3 preset gap options, but both samples here have the same setting (zero gap).

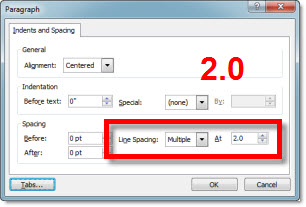
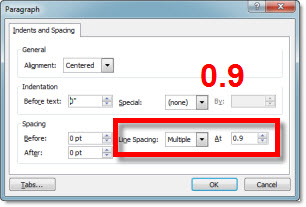
The answer is the line spacing is different. The larger the line spacing the larger the reflection gap – even when set to zero gap option. The top sample has a line spacing of 2.0, which creates a gap:

The lower text is setup with a .95 line spacing (note: 1.0, or single spacing, is the zero point for refections):

– Troy @ TLC
By |2016-08-16T11:47:30-07:00April 15th, 2010|Tutorial|

Animate Visual Dividers

Using the previous post’s sample, here is how I set up the animation on the slide.

Here is the sample slide:

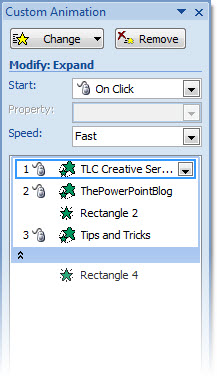
Here is the Animation Pane for the slide:

1. Text Box = Entrance animation – Expand – On-click (for each level) – Fast
2. Divider Lines = Entrance animation – Fade – With Previous – Fast
3. Drag 1st lines animation under 2nd line (2nd animation). So it fades in as the 2nd line of text expands.

Done!

The animated sample slide can be downloaded here (47K ).

– Troy @ TLC

By |2016-08-16T11:55:25-07:00March 28th, 2010|Tutorial|
Go to Top