Tutorial

Gradient Visual Dividers

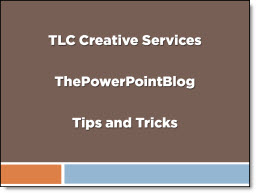
Lots of slides have a few main points, like this example:

I like to add a simple divider line as a visual break between each line. And I create it in PowerPoint using a simple gradient fill. So my sample slide looks like this:

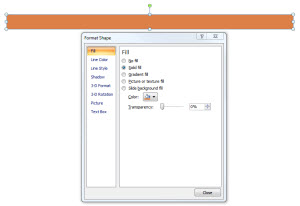
To create the divider line, start with added a basic rectangle – no outline and the fill color you want.

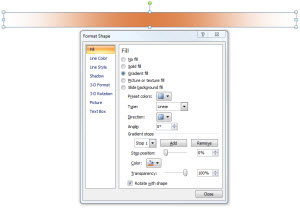
Then change to a Gradient Fill.

Creating the feathered edge is a bit tricky:
1. Type = Linear
2. Angle = 0
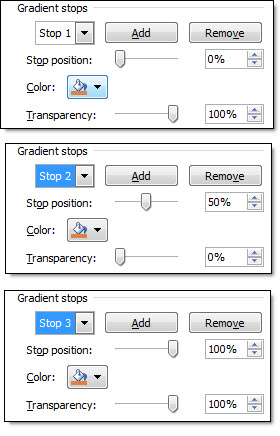
3. Stop 1: position = 0, color = your pick, transparency = 0
4. Stop 2: position = 50, color = your pick, transparency = 100
5. Stop 3: position = 100, color = your pick, transparency = 100
** Delete any additional stops (only want 3)

Last, adjust the rectangle height to be smallest possible.

Done!

– Troy @ TLC

By |2016-09-16T08:55:31-07:00March 26th, 2010|Tutorial|

3D Star Sample

For a recent project I needed some eye catching callouts/starbursts. I created a series of 3D stars and overlayed text boxes with the key phrases (New, Now, Available, etc.). It was a quick solution that looked really nice.

I started with a simple Star autoshape.

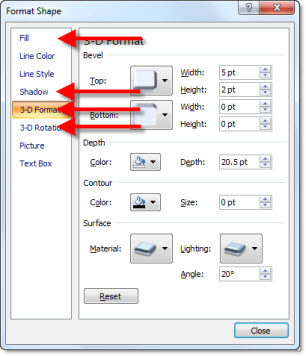
Adjustments to several tabs of the Format Shape box was all that was needed to create the visual.

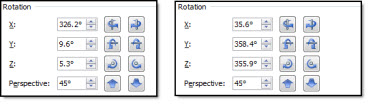
One of the tricky adjustments is changing the perspective to have a left facing star and a right facing star. Only 2 tabs are needed. The Shadow tab, adjusting the Angle and the 3D Rotation tab. Compare the numbers on the Rotation tab.

You can download a slide with these 3D stars on it here (33k ).

– Troy @ TLC

By |2016-08-16T11:56:19-07:00March 24th, 2010|Portfolio, Tutorial|

Zoom and Pan Animation Sample (Hockey)

Living in Southern California, Hockey is not really a focus for me. But with the excitement of the Winter Olympics hockey match up I was inspired to create this animation example. A popular animation effect used in recently (especially in commercials) is a zoom and pan where the background stays in place and key elements slowly lift and move to create depth and motion from a static image. The effect is not difficult in video or PowerPoint, it just requires a lot of prep work.

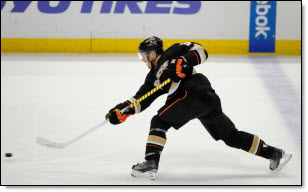
Here is my original image:

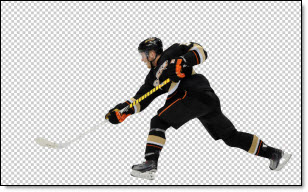
In Photoshop I dropped out the background and saved it as a .png:

I also created a background only version in Photoshop, where I ‘erased’ our hockey player from the image:

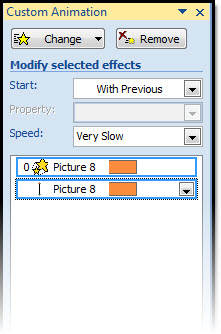
Then in PowerPoint I inserted 2 images; the hockey player and the blank background. Then applied the zoom and pan animation (grow/shrink 120% and motion path) to the hockey player image.

The result is a subtle motion to the slide that adds a nice polish and depth to what would be just a standard slide. Download the sample slide here (1.14MB ).

– Troy @ TLC

By |2025-01-02T13:35:51-08:00March 20th, 2010|Tutorial|

Customize an Image With Recolor

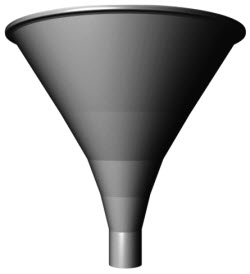
The recolor feature (FORMAT >> RECOLOR) can customize an image, saving a trip to Photoshop. For this presentation I needed to use the same content in 3 color coded sections. Once the funnel image was optimized and saved from Photoshop as a .png with no background I was able to do the rest in PowerPoint. Here is my original, simple greyscale funnel.

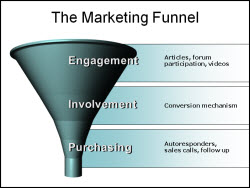
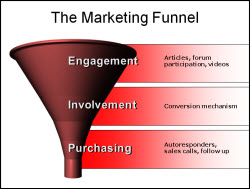
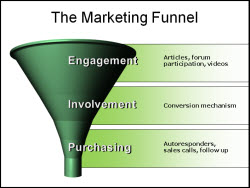
And here the funnel on 3 slides – no grey.

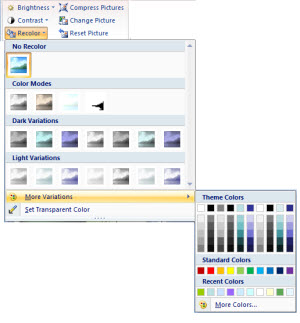
The funnel image used the custom color recolor:

The bars use a 2 color gradient fill with just color 1 adjusted (color 2 = white and 100% transparent).

Download the sample presentation to see the recolor tool in use (129K). Note: if your browser changes downloaded file to”.zip” rename to “.pptx”.

– Troy @ TLC

By |2016-08-16T11:59:17-07:00March 10th, 2010|Portfolio, Tutorial|

Color Swatch Add-In (for Templates)

If you develop PowerPoint templates, this new add-in from OfficeTips (PowerPoint MVP Shyam Pillai) is a MUST HAVE. Adding a custom color scheme is a tedious process that is now super easy, just fill in the swatches with the colors needed for the template, click apply, done!

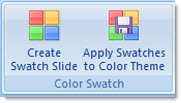
Install the free ‘Color Swatch’ add-in (PPT 2007, 2010) and it adds these 2 options to the ribbon:

Click ‘Create Swatch Slide’ and this slide is added to the presentation:

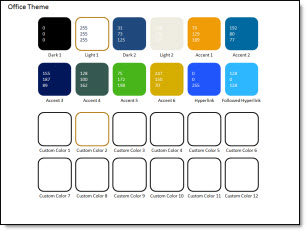
Simply change the fill color to all boxes as needed for the template custom color scheme. Here I have created a blue/green color pallette (leaving the first 4 boxes the same):

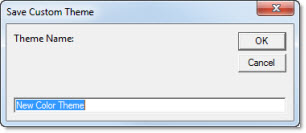
With the colors set click ‘Apply Swatches to Color Theme’ and give the color scheme a name (which will show up in DESIGN >> COLORS):

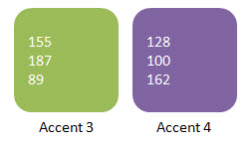
When applied the RGB value for each color swatch is updated automatically!

But wait, there’s more!

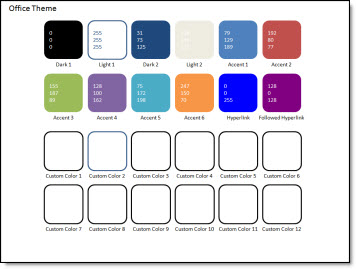
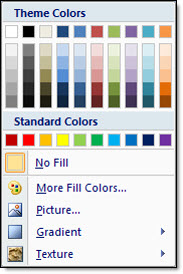
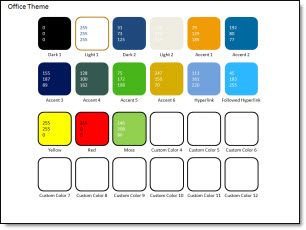
Here is a standard color pallette. It shows theme colors, MS standard colors, and additional options:

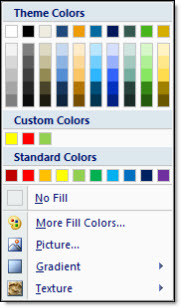
Maybe you have seen a corporate template another section called ‘Custom Colors’. PPT can pin additional colors to a theme, but up until now it involved xml coding with no visual interface to get these often needed colors into the template. Now it is as easy as applying a fill color to some boxes!

Here I have updated the Swatch slide with 3 custom colors. I have also named them (Yellow, Red, Moss).

Now when I look at the color pallette I have a new row of colors. And the Custom Color row travels with the presentation:

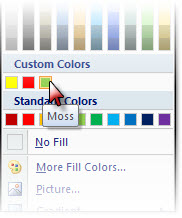
And the tooltip shows the color names assigned:

WOW!! This is a really, really incredible (and if you don’t develop templates, trust me, this is incredible!). Here is the info and download page.

– Troy @ TLC

By |2016-09-16T08:57:26-07:00March 8th, 2010|Tutorial|

Template Note on PPT 03 vs 07

This great tip is from MS PPT MVP Sandy Johnson at The Presentation Wiz. In talking about developing presentation templates Sandy mentioned a disclaimer type slide she includes at the beginning of all templates to help the user understand there are some challenges in using PPT 2003 templates in PPT 2007 and vice-versa.

Here is the slide included in her templates:

This template has been created in PowerPoint 2003 and is designed to utilize 2003 design features. While presentations created using this template can be viewed in PowerPoint 2007, note that if our presentations are edited in 2007, some of your Slide Master features will be lost.
To that point, we strongly encourage the PowerPoint template best practice of always starting new presentations with a “fresh” Slide MASTER template (vs. reusing an old presentation).
Thank you.

This is a great idea and service to everyone that uses the template. Look for a various to be included in all of my PowerPoint templates from now on.

– Troy @ TLC

By |2016-09-16T08:55:03-07:00February 25th, 2010|Tutorial|

Superscript with Keyboard Command

If using PPT 2007, you may have found the super and subscript buttons missing from the ribbon. My first solution is to make use of the QAT (Quick Access Toolbar) and add these valuable tools to it.

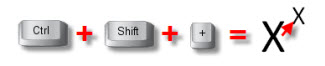
But you can also make any text superscripted with a keyboard command.

This works in PPT 2007, 2003, XP, and 2000 (cannot remember if works in PPT 2000, so this is just a guess).

A few notes about using the keyboard options from my use and observations:
1. PPT 2003 CTR+SHIFT+(plus) superscripts. Do it again and it returns to
standard text.
2. PPT 2007 CTR+SHIFT+(plus) superscripts. Do it again and nothing happens
(eg. no way to return to standard text from keyboard commands).
3. I have never been able to use keyboard command in either version to sub-script text (although others have said it works).

By |2016-09-16T09:03:38-07:00February 2nd, 2010|Tutorial|

Animated Timer

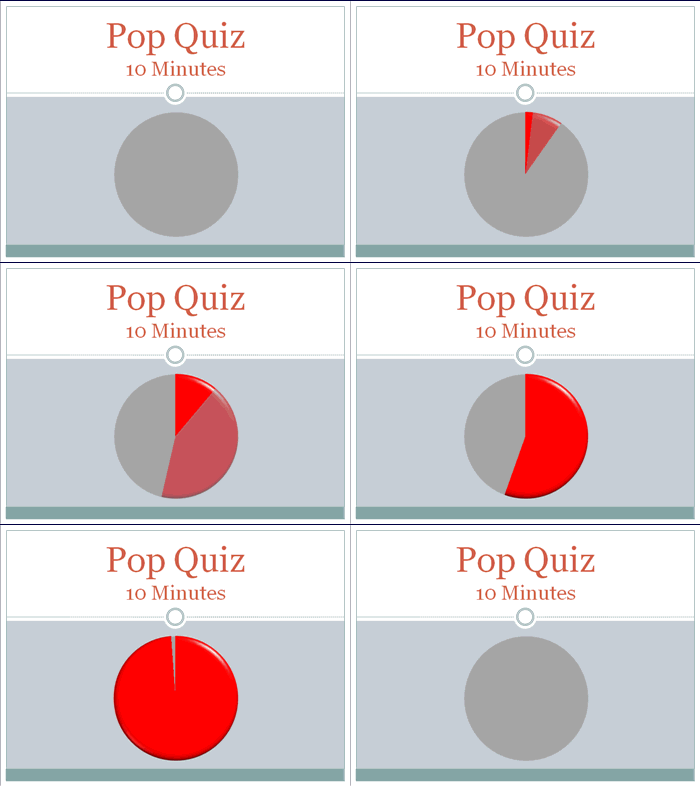
On a recent show I was asked (minutes before needed onscreen) to display a timer for some group interaction. Of course the answer was ‘no problem’… and I got to work. Here is the result:

New Transitions Sample

Making this visual timer is easy.

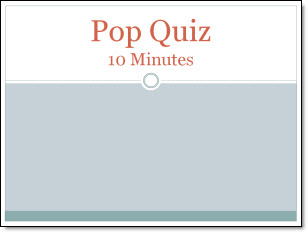
1. Here is my sample slide, using PPT 2007’s Civic template.

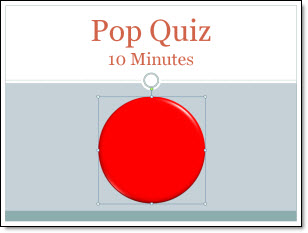
2. Next I created 2 cirlces of identical size. For the “timer” cirlce I made it red and applied some Shape Styling.

3. Using the alignment tools both circles are set to stack and then positioned on slide.

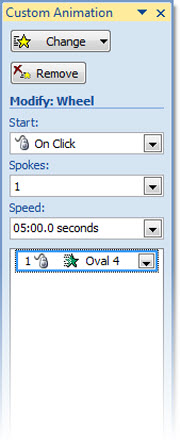
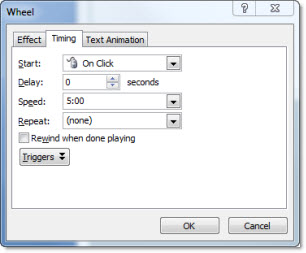
4. Apply an entrance animation to the top/red circle:
– Wheel
– 1 Spoke

5. Customize the time (of the entrance animation) to anything up to 99 minutes.

6. Run the show!

– Troy @ TLC

By |2016-09-16T09:04:42-07:00January 29th, 2010|Tutorial|

Adjusting Bad Line Breaks

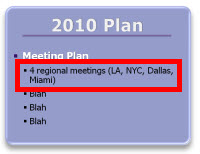
Here is a graphic from a recent client presentation (as sent to me – but with some text ‘removed’).

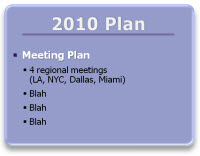
A simpe line break, soft-return (shift-return) grouped the topic/cities onto a single line which is much easier for the audience to interpret quickly.

– Troy @ TLC

By |2016-09-16T08:54:39-07:00January 13th, 2010|Tutorial|

Customizing SmartArt – Shadows

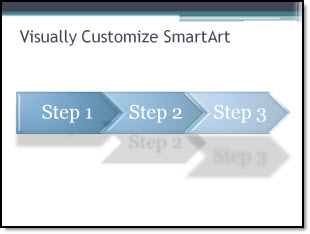
SmartArt is a great solution for converting text to visual elements. For a recent project I modified a simple timeline SmartArt (Closed Chevron Process) with customized drop shadows to add some visual interest to the slide.

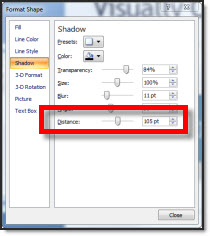
All was accomplished by adjusting the shadow distance for each of the 3 elements.

Download the slide here.

– Troy @ TLC
By |2016-09-16T09:10:42-07:00January 5th, 2010|Portfolio, Tutorial|
Go to Top