Tutorial

Setup 2 Movies to Play Simultaneously

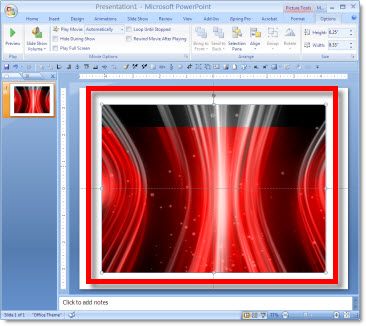
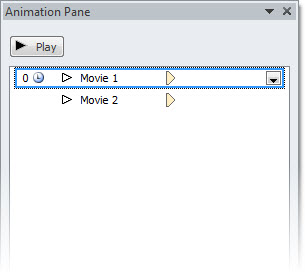
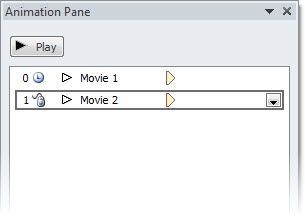
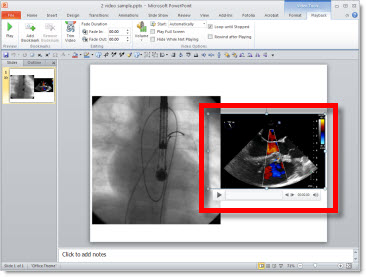
My sample slide has movies of 2 cardiograms (heart surgery movies). The 1st plays automatic and the 2nd starts after it finishes – which is the typical animation setup I have seen on hundreds of medical slides.

To make both movies play simultaneously:

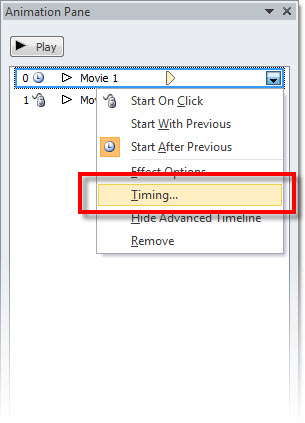
1. Select the 2nd movie

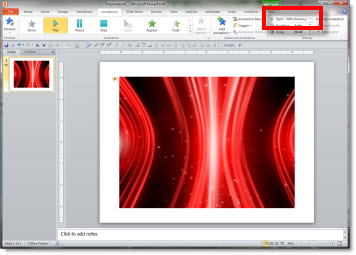
2. Change AFTER PREVIOUS to WITH PREVIOUS

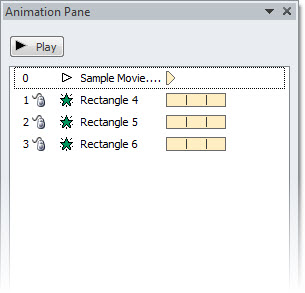
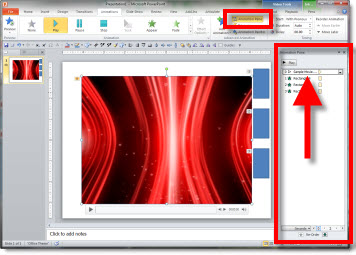
3. Open the Animation Pane and verify video are set in needed animation sequence

– Troy @ TLC

By |2016-08-16T11:17:19-07:00July 31st, 2010|Tutorial|

Make a Movie Play Automatically in PPT 2010

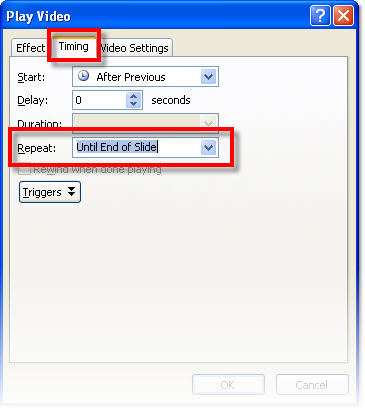
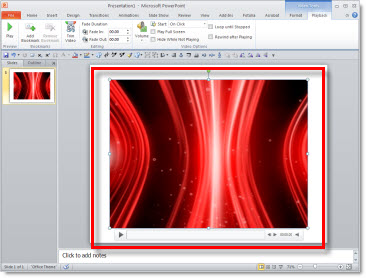
Because the default action requires the mouse to be seen during the presentation – something not allowed in any large stage production, I change the play animation on every movie. Here is my process:

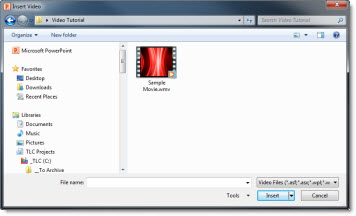
1. Insert the video: INSERT tab >> VIDEO

2. Locate movie on computer

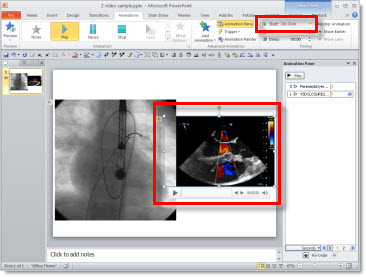
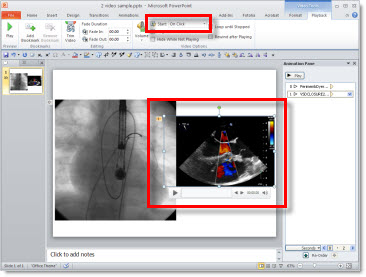
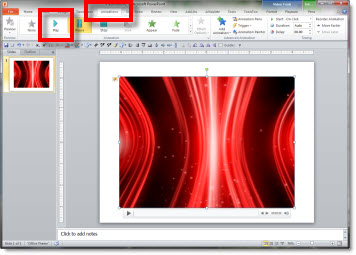
3. Select movie >> ANIMATIONS tab >> click PLAY to change from PAUSE

4. Change ON CLICK to WITH PREVIOUS

5. Open the Animation Pane and verify the movie play animation is the first in list

– Troy @ TLC

By |2016-08-16T11:17:47-07:00July 29th, 2010|Tutorial|

Movie Playback Default in PPT 2010

PPT 2010 has a different default when inserting videos than previous versions. Basically it no longer asks how you would like the movie to play and simply inserts the movie with a preset play action. Unfortunately for me, the default action is not the one I ever need…

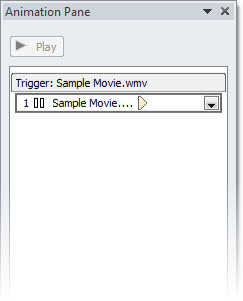
The default action sets up the video to play when clicked on with the mouse. In the animation pane, this is what you see – a trigger animation.

To be fair, I see this animation setting used by many presenters, so it is a vailid option as a default action. What makes it difficult is that there is no option to change the default behavior – we are all forced to go with what the Microsoft analysis deemed the best default action.

– Troy @ TLC

By |2016-08-16T11:18:30-07:00July 27th, 2010|Tutorial|

Where Are The Add-Ins in Windows 7?

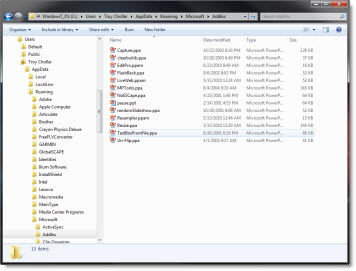
Finding the general Microsoft add-ins folder is very different in Windows 7 vs. Windows XP (I skipped Vista and just recently have been updating office computers from Windows XP to Windows 7). Here is the path the folder:

Windows7_OS (C: ) >> Users >> (Name) >> AppData >> Roaming >> Microsoft >> AddIns

– Troy @ TLC

By |2016-08-16T11:24:35-07:00June 27th, 2010|Tutorial|

When Troubleshooting, What is Your Combination?

When PowerPoint does something unexpected and unexplained, the desire to toss the computer out the window increases (a lot!). But there are lots of online resources to find solutions (here at ThePowerPointBlog, forums, and searching google or bing).

But now there are more variables with multiple OS’s, version of PPT, etc. So what is your combination?
– Windows XP – 32 bit, PPT 2007
– Windows Vista – 64 bit, PPT 2003
– Windows 7 – 64 bit, PPT 2010 64
– Etc.

Finding files in Windows 7 can be different than XP. Add-ins that work in Windows 7 32-bit may not work in Windows 7 64-bit. And the list goes on.

As a best practice, I recommend at a minimum listing:
1. What Operating System (OS)
2. If your OS is 32-bit or 64-bit
3. What version of PowerPoint (or what versions if you have multiple installed on same computer)
4. If PowerPoint 2010, is it 32-bit or 64-bit

– Troy @ TLC
By |2016-08-16T11:24:49-07:00June 25th, 2010|Resource/Misc, Tutorial|

Where is the PPTools Expert Mode Setting?

I have been using the PPTools “Starter Set Plus” Memorize Position tool.

Here is a typical use:

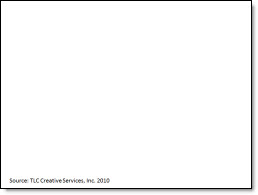
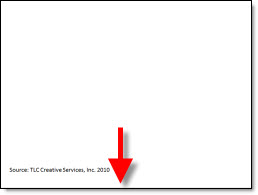
1. I have a reference/source line at the bottom of a slide

2. I want to have all other reference/source lines throughout the presentation in the exact same position. So on this slide the text box needs to move down

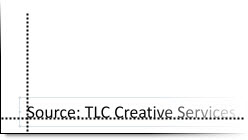
3. A common way to do this, without additional add-ins, but very tedious is to zoom in and position guidelines on the original text and then manually move other text boxes to align with the guidelines

4. The easier and more accurate solution is to select the original text box and pick up its position with the “Memorize Position” addin (left tool)

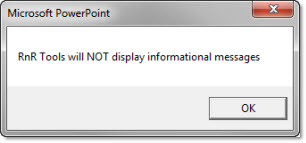
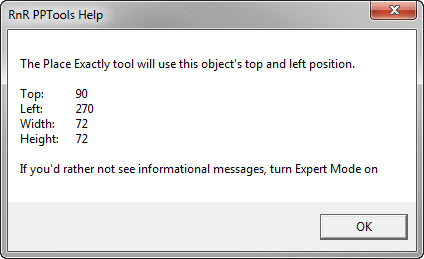
5. But work is interupted by this information dialog

– Note the last line about turning on Expert Mode to not show the dialog – so where is the expert mode?

6. Click this icon on the Master Toolbar (one of the toolbars installed with any PPTool add-in)

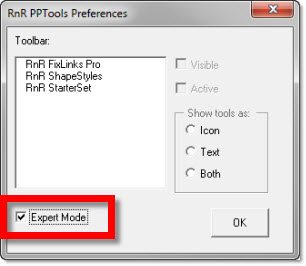
7. The RNR PPTools Preferences dialog opens. It shows all of the PPTools add-ins installed and at the bottom is the check box to turn on/off expert mode

8. This dialog message pops up, click OK

9. Done! Now use the Memorize and Place tools without having an extra dialog interupt the work.

– Troy @ TLC
By |2016-08-16T11:25:04-07:00June 23rd, 2010|Tutorial|

4 Ways To Zoom In/Out While Editing

In the lower right is the zoom options.

(1) The first option is largely unknown to many users, partially because it is not needed often. Clicking the percentage number opens the zoom dialog that has presets and ability to manually enter a specific zoom.

(2) The zoom slider was introduced in PPT 2007 and a is a great way to adjust the zoom level. Zoom ranges from 10% to 400%.

(3) Clicking the far right box is the ‘Fit to Screen’ option which I use a lot!

(4) The fourth option is a combination keyboard/mouse feature.
– Hold the CTRL key
– Roll the mouse scroll wheel. Forward = zoom in. Backward = zoom out.

– Troy @ TLC
By |2016-08-16T11:25:22-07:00June 21st, 2010|Tutorial|

Where is ‘Backstage’ and How to Close It

With Office 2010 the circle ‘office button’ in the upper left of all applications is replaced with a simple ‘File’ button that opens the Backstage.

Click the ‘File’ button the Backstage takes over the full application window.

The Backstage is a great consolidation of tools and options. But I have seen many users struggle with how to close, or go back to their slides. If you click the ‘EXIT’ button, it closes the presentation vs. closing the Backstage.

The way to go back to the slides/close the Backstage, click on the ‘FILE’ button again or any of the tabs – home, insert, design, etc.

– Troy @ TLC
By |2016-08-16T11:26:44-07:00June 17th, 2010|Tutorial|

Why Can’t I Move The Logo on the Master Slide?

Here is my sample slide:

I decide the logo, on the master slide, needs to be moved down for more content area.

When go to VIEW >> SLIDE MASTER and try to move the logo I cannot click and select it.

Because the master slide view opened to the layout slide.

If I click the Master Slide above the layouts I can select the logo, move it and it will update on all of the layout masters.

– Troy @ TLC

By |2016-08-16T11:32:15-07:00June 2nd, 2010|Tutorial|

The New View of ‘Arrange All’ Presentations!

PPT 2010 now displays each presentation in its own instance of the application. What does this mean?

Here is a real world example (eg. my current project), where I have 2 screens and a separate presentation for each. In designing I need to view the presentations side-by-side. To do this it is the same as before: VIEW >> ARRANGE ALL. This is a screen capture of one monitor.

But the big difference is each presentation is contained in its very own application. Each has its own ribbon!

This is just one example of the new feature – and I am using it every day.

– Troy @ TLC
By |2016-08-16T11:32:35-07:00May 30th, 2010|Tutorial|
Go to Top