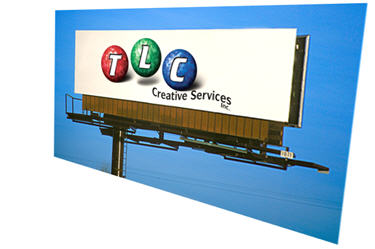
One of the great features of PPT 2007 is the ‘Change Picture’ tool. From a programming perspective this was not a monumentus task to implement because all inserted images are now automatically an autoshape with a fill effect (in this case filled with an image).
In previous versions if we went through the steps of creating an autoshape, doing the custom fill and being willing to live with some design limitations we could update the fill effects with a new image. The advantage was any animations would remain intact. The disadvantage was a lot of extra clicks.
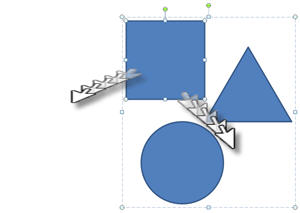
With PPT 2007 changing out an image is just a matter of Right-Clicking the image and selecting the CHANGE PICTURE command!
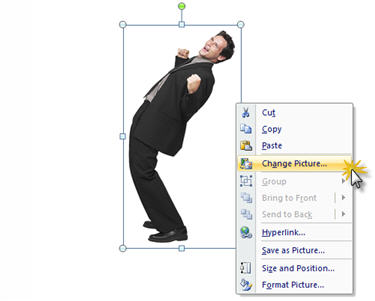
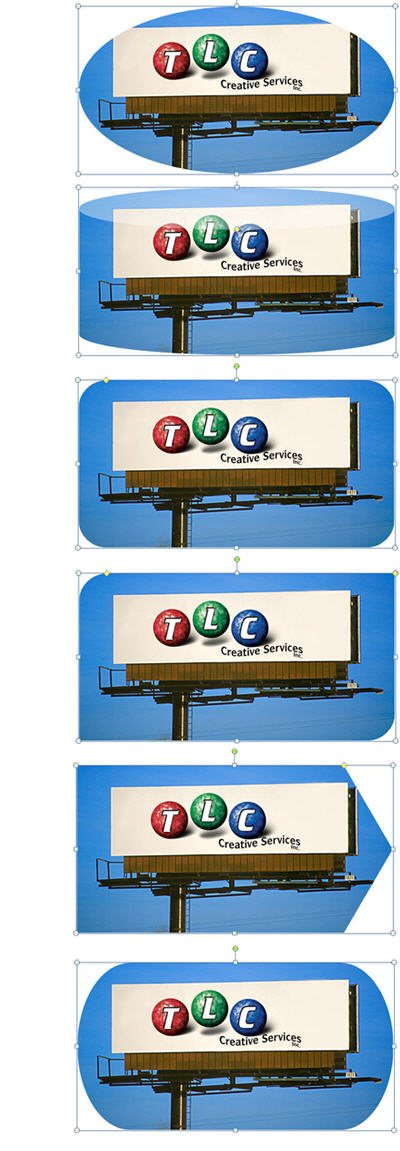
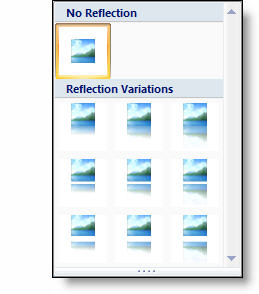
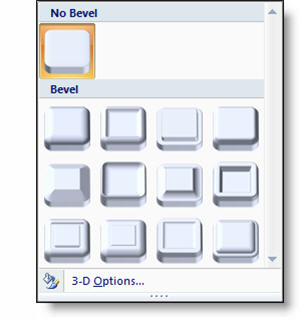
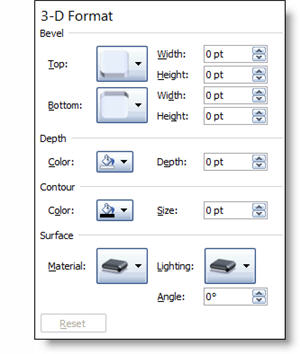
Virtually any adjustments made to the original image are maintained. Animations, rotation, dropshadows, bevels, and the new image is automatically scaled to fit in the existing bounding box (which may or may not be exactly what you need).
– Troy @ TLC