Clipchamp Screen Capture Videos
The Clipchamp video editing app also has a video screen capture feature. Capture on-screen content such as a software demo. The video can also record your live narration, or include you via live webcam.
![]()
For this post, let’s go with a software demo that we want to include as a video on a slide.
- Open Clipchamp
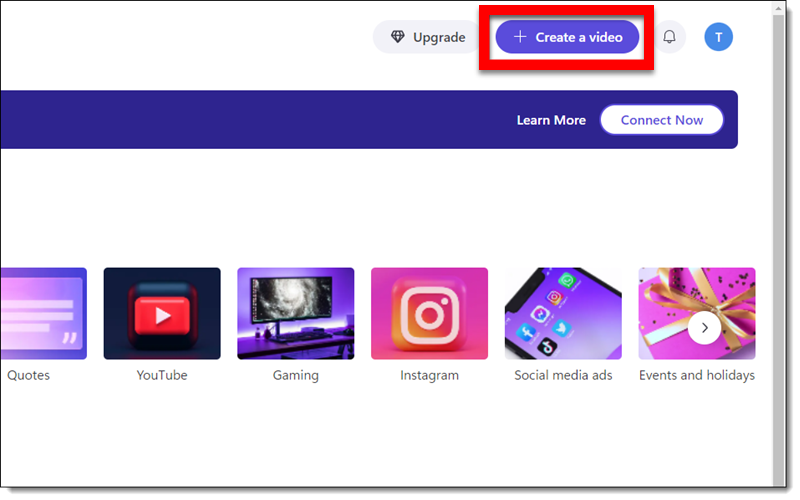
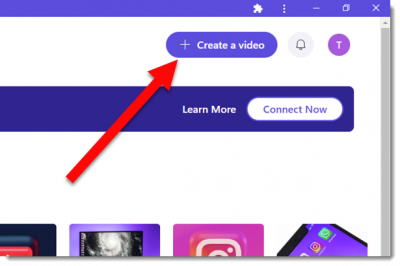
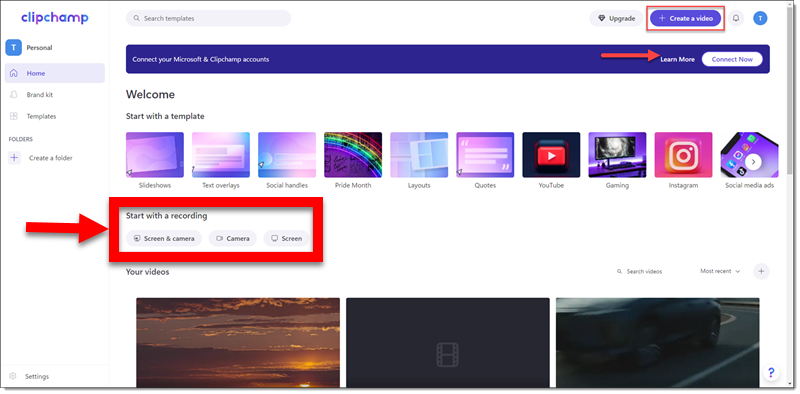
- Click “Create a video” on the top right.
- On the RECORD & CREATE tab=choose the type of content (screen & camera, camera only, screen only).
- OR, use the quick access “START WITH A RECODING” section on the main screen and choose the type of content (screen & camera, camera only, screen only).
- The pop-up in the lower left is the screen recording dock. The red button is how the screen capture is started. The Mic icon – if recording a narration – is where the record mic setup. The record duration starts when the record button is clicked.
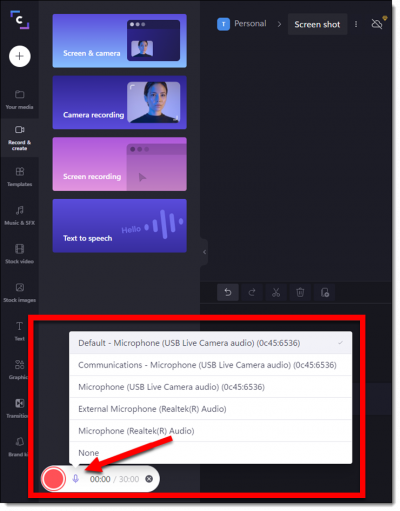
- RED means ready to record. PURPLE means the recording is in process.
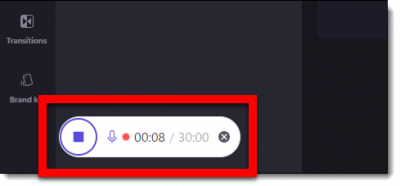
- TIP: one really nice option is the “retake recording” available on the screen-sharing notification bar.
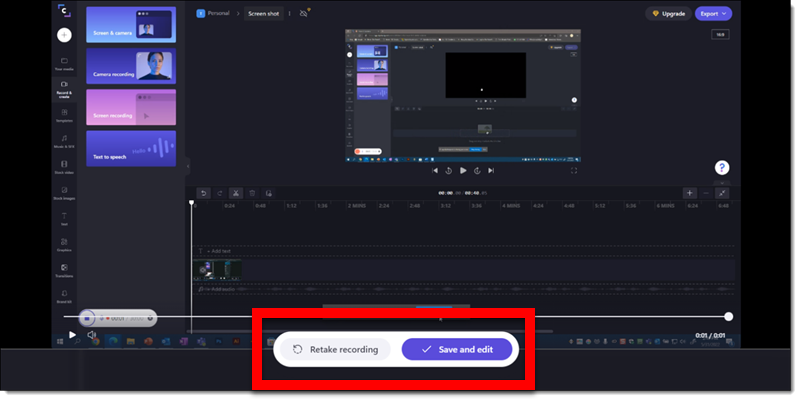
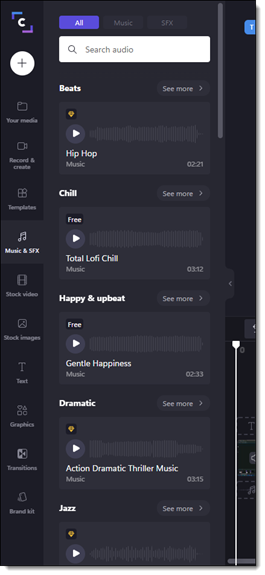
- After stopping the screen capture record, Clipchamp’s post editing options can be used to add music, accent graphics, text, transition effects and more.
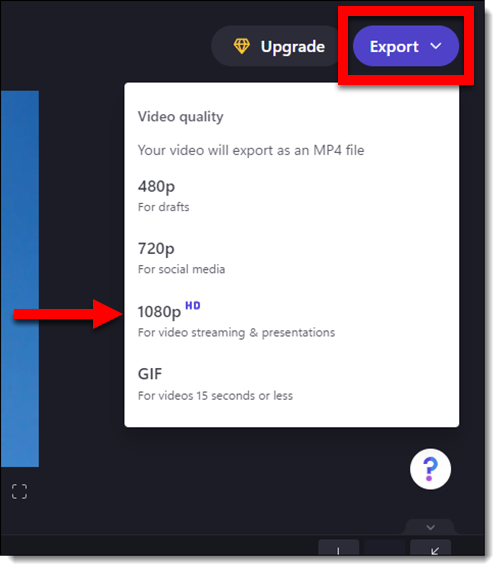
- Export the video and add it to the presentation slide!