The Presentation Podcast Episode #57 Released Today!
A new episode of The Presentation Podcast with Troy, Nolan, and Sandy is available today!
PowerPoint Sections, first introduced in PowerPoint 2010 are still a hidden feature to many. Troy, Nolan and Sandy spend a whole episode to talking about this great, and underutilized feature. How they use, when they use, and reasons to use PowerPoint sections, along with tips & tricks, asks of Microsoft and examples. Enjoy another PowerPoint conversation!
July is All About Free Image Resources!
For the month of July I have The PowerPoint Blog focused on images for presentations.

Not just any images, but places we use for projects that offer FREE images! So check in throughout the month for reviews of 7 online image resources.
Troy @ TLC
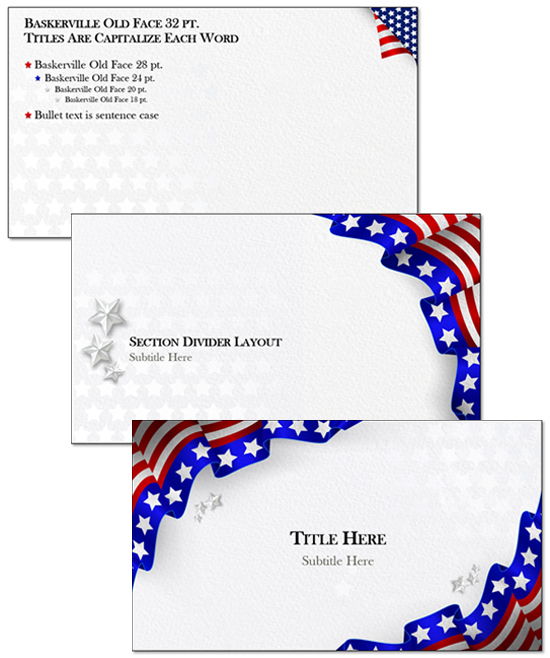
Free Fourth of July Template!
Here is a FREE Forth of July themed PowerPoint template from TLC Creative Services design team. Download here
Enjoy!
– Troy @ TLC
Change Shape of a Video
Earlier this month, was how to use PowerPoint’s Change Shape tool. Using the same tool, videos are not limited to rectangles! Essentially the Change Shape for videos crops any video to a new shape.
First, insert your video and select it.
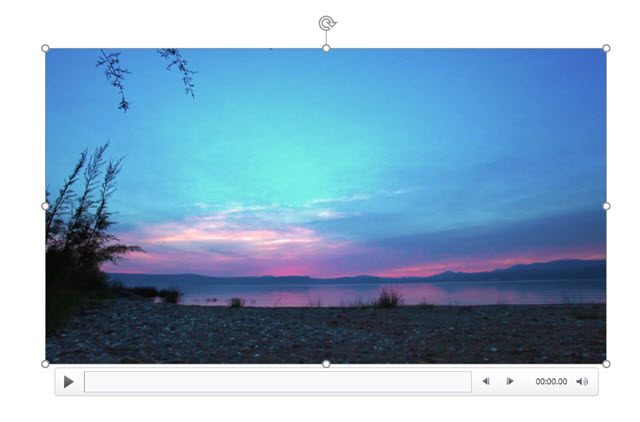
Go to Video Tools > Format Tab, click Video Shape > Oval (or other desired shape).
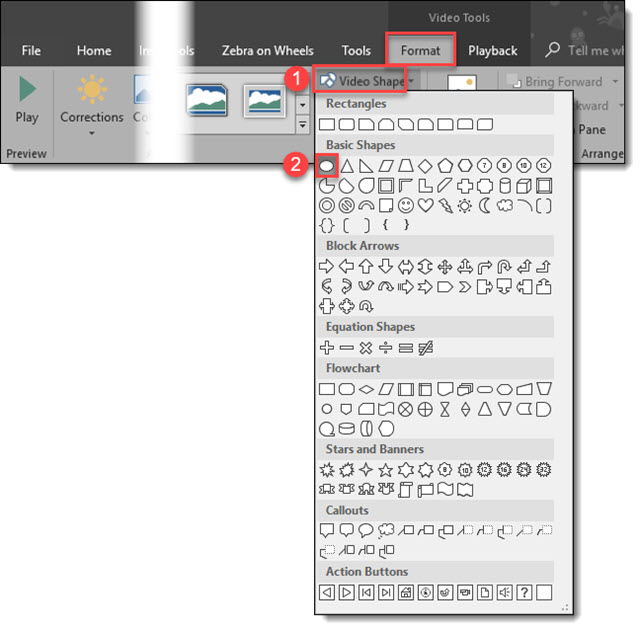
The video is now cropped to an Oval.

The same crop tool functionality used on images works on videos. By default, the Video Shape tool crops to the existing rectangle aspect ratio. To make the video playback a perfect circle, use the crop tool to manually change the aspect ratio to 1:1.
Note: adjust the viewable area of the video by repositioning the video in the cropped area while the crop tool is selected.
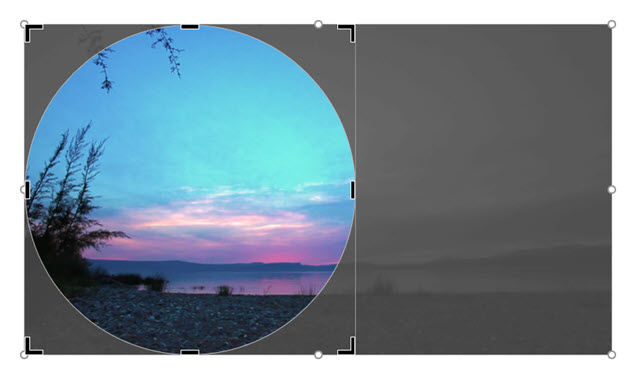
The video is now a circle, or a star, a heart, or any other shape in the Video Shape library!

Whichever shape you select, the video will export and play in that format.
Troy @ TLC
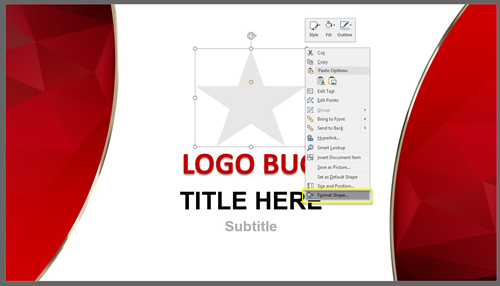
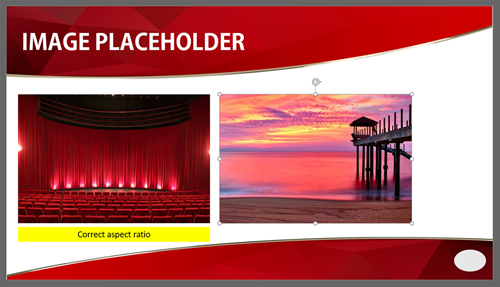
Lock Aspect Ratio
When it comes to design, there are few things worse than seeing distorted shapes, pictures, and text. In presentations, we often see distorted headshots, picture place holders, callout shapes and more. Powerpoint’s “Lock Aspect Ratio” feature helps ease the task of resizing any shape, photo, or placeholder.
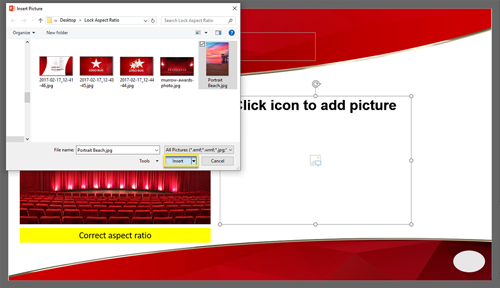
- Right click on the object you wish to resize and select “format shape.” This will open the right format shape panel, select the size & properties tab.
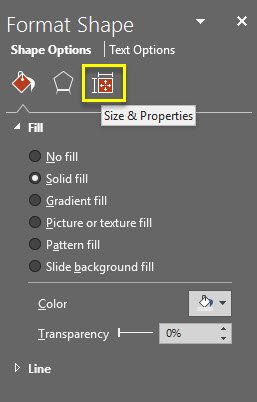
Under the size dropdown, check the Lock aspect ratio box. You now can grab any of the four corners of the bounding box and resize without any distortion. Previously, this was only achievable by holding down alt.


- Now, drag and resize your shape to your desired size.
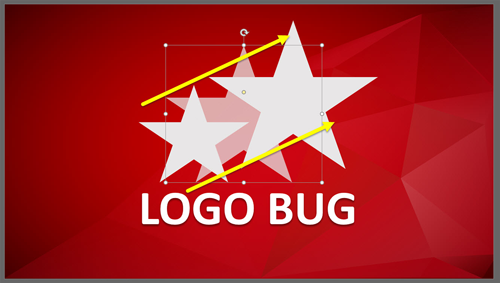
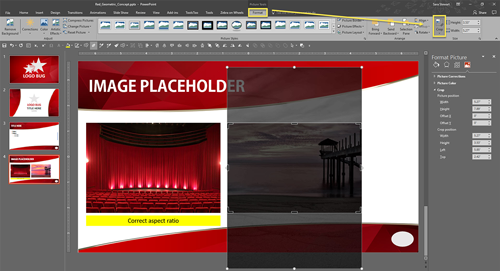
This trick comes in handy in many situations, but for us, its most effective when it comes to images and placeholders. For example, we see a lot of org charts or presentations that have speaker slides with images, where you want your image size and proportions to be consistent. Selecting the “Lock Aspect Ratio” box in the master for these placeholders, allows us to add an image that will be cropped to this size. (You can easily change how the image is cropped in the Format tab > Crop)
Troy @ TLC
Making Text Align to the Edge of the Text Box
Text boxes in PowerPoint are like mini-word documents. Each one has its own margins, tabs and formatting.
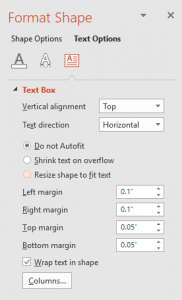
The text box formatting options (margins, tabs, line spacing, etc.) for each text box can be modified in the Format Shape dialog. Select a text box > FORMAT > open the FORMAT SHAPE pane > TEXT OPTIONS > TEXT BOX. Or right-click any text box and select FORMAT TEXT EFFECTS > TEXT BOX.
Just one example of where modifying a text boxes internal margins can help the visual layout is when a design needs the text to flush align with other objects, vertically and/or horizontally, the text box margins interfere with the results.
For this example, it is making the 3 objects, 2 boxes and 1 text box, all with the ALIGN LEFT tool, vs. manually adjusting the position of the text box so the text inside it is visually aligned with the objects above it.
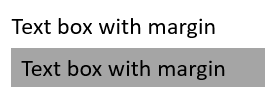
The left edge of all three align, but visually the text is indented, but they are actually aligned to the left edge.

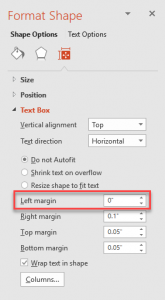
Instead of manually moving the text box left to visually align the text with the two boxes, adjust the text box margins – set the left margin to zero.
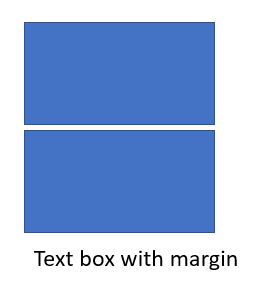
To illustrate, here is are two text boxes. They have identical formatting, but the lower one has a solid fill to show the text margin. The top text box has a zero left margin. The bottom text box has the default .1″ inset margin pushing the text away from the true left edge.
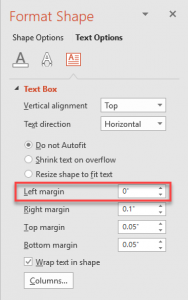
To make the text align to the left edge, go to the Format Tab and click on the small arrow under the text portion for the FORMAT SHAPE menu.
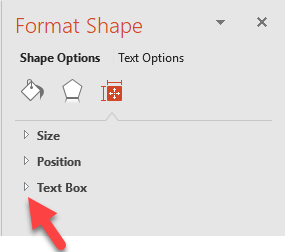
Select TEXT BOX in the left column and on the right in the INTERNAL MARGIN section change the LEFT to “O”.
The text now aligns flush to the left edge.
At TLC Creative we are constantly working with text box internal margin settings to create visual layouts. It is easier if each text box is visualized as a mini-Word document with it’s own settings.
Troy @ TLC
What is the Tab Selection Order on a Slide?
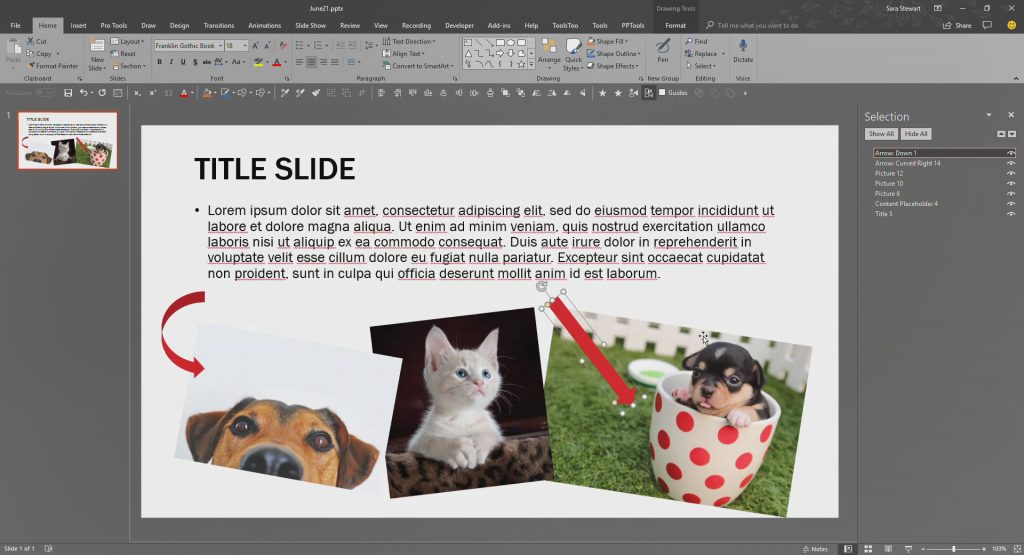
Many times, in PowerPoint, you may find yourself with layered content that makes it difficult to format, adjust animations, etc. A great tip is to know about the TAB key. Select any object on the slide, then click the TAB key to rotate through selecting every visible object on the slide. Bonus tip: use SHIFT + TAB to reverse the selection order.
So, how is the selection order of tabbing chosen? Look to the SELECTION PANE. The Selection Pane is the order that the TAB key follows. It not only shows every element on a slide, but has the functionality to change the name of each element, and enables turning on/off the visibility of any element on a slide.
To turn on your selection pane, go to HOME > SELECT > SELECTION PANE from the drop down. Or for all of TLC Creative we have the Selection Pane on our custom QAT.

With the Selection Pane open, use the TAB key and the selected objects go down (or up with SHIFT + TAB) the object list. Or click on any element in the Selection Pane to select any object on the slide.
[KGVID]https://thepowerpointblog.com/wp-content/uploads/2018/06/unnamed-file-1.mp4[/KGVID]
Use the TAB key to move through the layers of objects on the slide. The tabbing order follows the Selection Pane order, also referred to as the z-order, or the stack order.
Troy @ TLC