
July and a New Start!
Greetings to all that think I fell off the internet. I did not fall off, just into more projects and work needs than ever expected, which is good, so I am not complaining (but whining a bit)!

July, with Independence Day and celebrations of Freedom, seems like a great time to get things back in motion. The new TLC Creative Services office is up and running, great design projects are in process, and I just finished a fantastic 2 week family holiday that gave me some time to relax and refocus. All together, things are good and I am excited to have a game plan for ThePowerPointBlog again!
A few adjustments have been put in place to assure things are steadily posted:
– 3 posts per week (generally Mon-Wed-Fri)
– The full TLC Creative Services staff is now a part of writing posts
– Posts by guests are in the rotation
So tomorrow, Monday, is the first PPT post, Wednesday is a great 4th of July themed template that anyone is free to download and use, and there are a lot of reviews, tutorials and example posts all created and queued up!
– Troy @ TLC
Instant Eyedropper – New Favorite Tool!
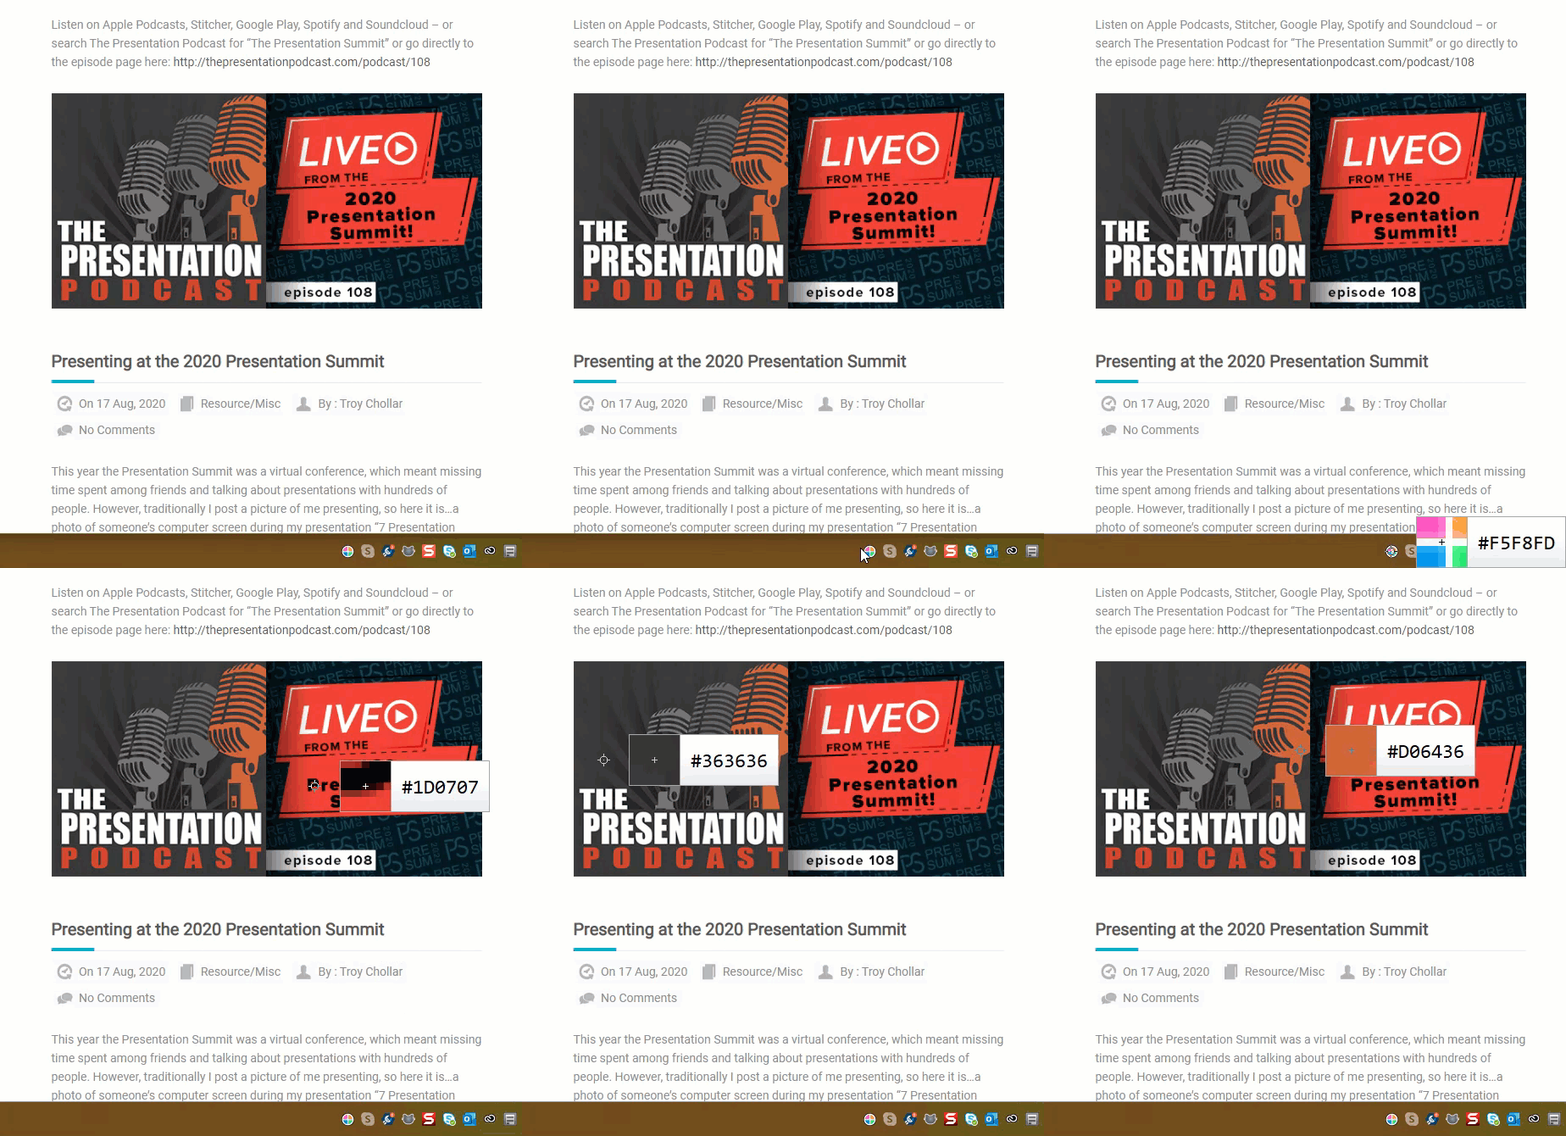
This FREE tool is a must for every designer, tech, and creative using a PC – the Instant Eyedropper tool is the easiest way I’ve found to quickly identify and use colors on screen.
Instant Eyedropper is accessed through the system tray and is easy to use. Click the icon to launch, hover around the display until you get to the color that needs identification, and click to copy the HEX code right to the clipboard.
Doctors, Videos, and Presentations
Amber and I spent the week in Chicago managing the presentations for 130 Doctors. Internal medicine has been revolutionized by micro video camera technology – unfortunately, the same cannot be said for standard video CoDecs and videos working smoothly in every presentation. Happy to report that with very few exceptions, our work pre-flighting (great term from my print designer days) resulted in seamless presentations.

– Troy @ TLC
Greetings From My Table
Just another show, array of computers and nice view of the action from the “front of house” tech table.

– Troy @ TLC
Add Slides to a Presentation and Keep Their Original Look
Adding slides from one presentation into another and hoping for a button that will automatically format the slides the way needed is just not a feature in PowerPoint. But, the almost magical “Destination vs. Source Formatting” button does exist. For this tutorial, we are going to add slides from the “Blue” presentation (Presentation #1) to the “Purple” presentation (Presentation #2) and keep the blue slides blue (ie. opposite of the last tutorial where the slides updated to the purple template).
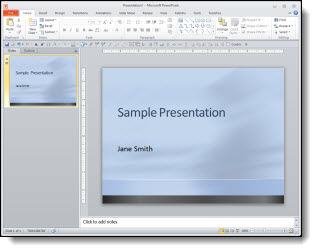
Here is our “Blue” presentation (#1):
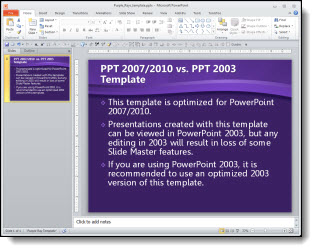
And here is our “Purple” presentation (#2):
Select the slides from Presentation #1 and copy. Then paste them into Presentation #2. To paste in the new slides, right-click and in the pop-up menu in the “Paste Options” sections, select “KEEP SOURCE FORMATTING:”
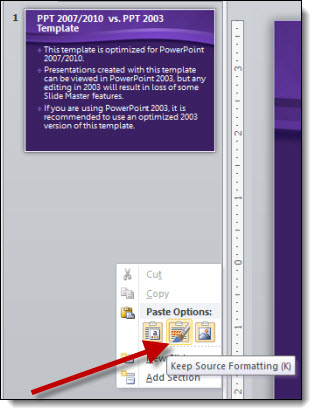
With the KEEP SOURCE FORMATTING option the template for the new slides keeps the template that was used in Presentation #1. So the blue slides stay blue.
Behind the scenes what happens is a new Master Slide set is added to the presentation. So if you look in the slide layouts (HOME >> SLIDES section >> LAYOUTS) there are two master slide sets to choose from (Presentation #1 and Presentation #2).
NOTE: If you paste in more slides from the Blue presentation in a new location and select KEEP SOURCE FORMATTING another blue master slide set will be added (which is not optimal).
– Troy @ TLC
Add Slides to a Presentation That Fit In
Adding slides from one presentation into another and hoping for a button that will automatically format the slides the way needed is just not a feature in PowerPoint. But, the almost magical “Destination vs. Source Formatting” button does exist. For this tutorial, we are going to add slides from the “Blue” presentation (Presentation #1) to the “Purple” presentation (Presentation #2) and make all of the slides the same, so they are all purple.
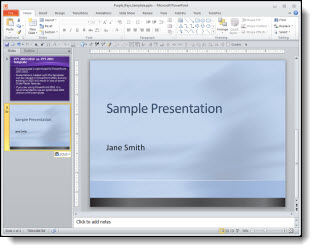
Here is our “blue” presentation (#1):
And here is our “purple” presentation (#2):
Select the slides from Presentation #1 and copy. The paste them into Presentation #2. To paste in the new slides, right-click and in the pop-up menu in the “Paste Options” sections select “Use Destination Theme:”
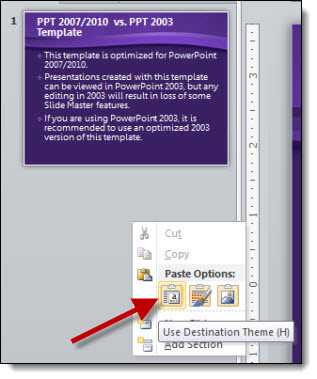
With the USE DESTINATION THEME option, the template for the new slides is assigned to the template used on the slide in front of the insert point. So now all of the blue slides are changed to the purple template.
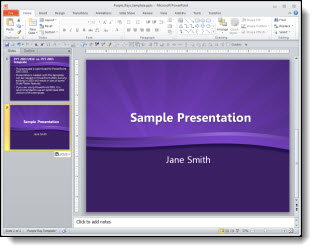
*Note: There is no “magic” button and with this example the text boxes, background, colors used, etc. were all setup correctly using the template formatting (which also means it is a real template). When updating to the new (purple) template all of the master slide formatting carries over just fine. But there are lots of times when things are not based on template formatting and need to be manually updated (ie. no magic format button).
– Troy @ TLC
Adobe CS 6 is Coming – and FREE Upgrade Offer
Photoshop, Illustrator, and Acrobat are all common applications we use for presentation projects. Adobe has (finally) announced the time frame for CS6 to be released AND is offering the largest free upgrade they have ever done!

Release date for Adobe CS 6:
By May 31, 2012Free Upgrade:
Purchase Adobe CS 5.5 through May 6, 2012 and receive a one-time upgrade to Adobe CS 6 free.Details for the upgrade offer from the Adobe site are here.
– Troy @ TLC