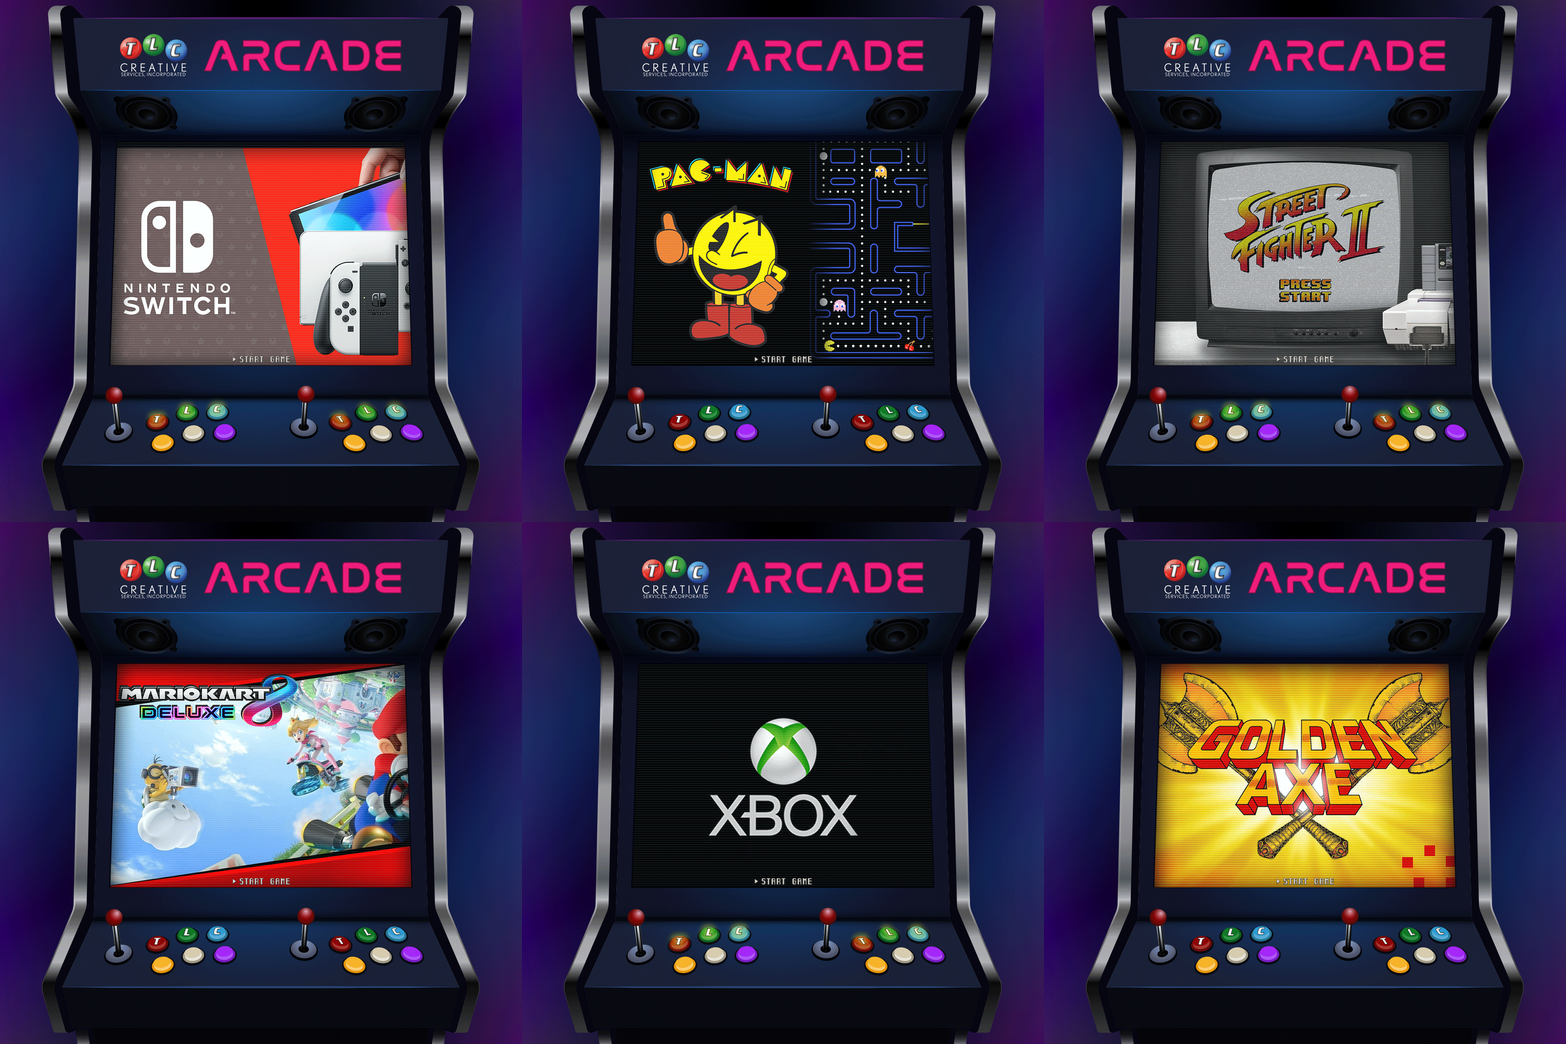
Personal Gaming with an Nintendo Switch Themed PowerPoint Template
Game/Console Background:
- The Nintendo Switch video game was released worldwide in March 2017. The console itself is a hybrid tablet that can either be docked for use as a home console or used as a portable device. The controllers are wireless with standard buttons and directional sticks along with motion sensing and tactile feedback. When released, in 2017, it was the world’s first hybrid console design. The game library for the Nintendo Switch is practically limitless!
The PowerPoint Template
- Christie developed a fantastic Nintendo Switch themed full feature PowerPoint template with custom icon bullets, and multiple preset layout with a static version and preset animation version.
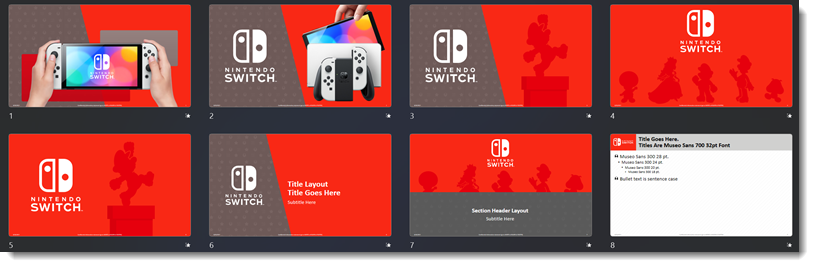

Download the Mario Kart template for FREE! Nintendo_Switch_16x9_Template
Going Modern Gaming with an Xbox PowerPoint Template
Game/Console Background:
- Xbox is a video gaming brand created and owned by Microsoft. With five video game consoles, many games, a streaming service and an internal game dev studio, Xbox Game Studios. Xbox was first introduced in November 2001. The second console, the Xbox 360, was released in 2005, followed by the Xbox One in November 2013, and the Xbox Series X and Series S in November 2020.
The PowerPoint Template
- With a dramatic theme slide animation and a library of copy/paste .png images, this is a great PowerPoint template.
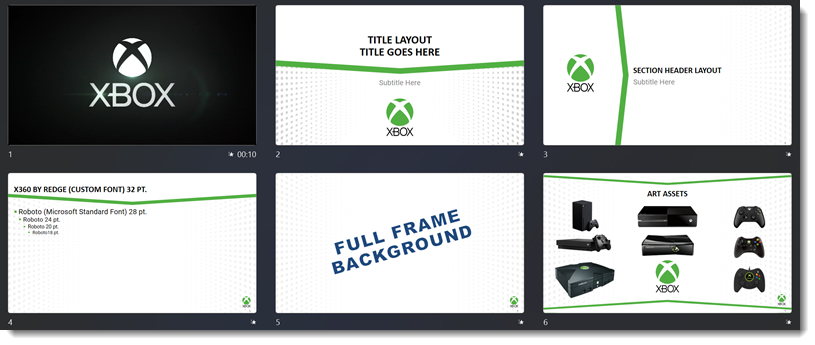

Download the Mario Kart template for FREE! Xbox_16x9_Template
Do You Remember Golden Axe?
Game Background:
- Golden Axe is a side-scrolling video game released by Sega for arcades in 1989, running on the Sega System 16B arcade hardware. The game casts players as one of three warriors who must free the fantastical land of Yuria from the tyrannical rule of Death Adder, who wields the Golden Axe. The game was well received and later converted for play on many different home systems.
The PowerPoint Template:
- A full featured PowerPoint template with preset (custom) fonts, color scheme and several animated layouts.
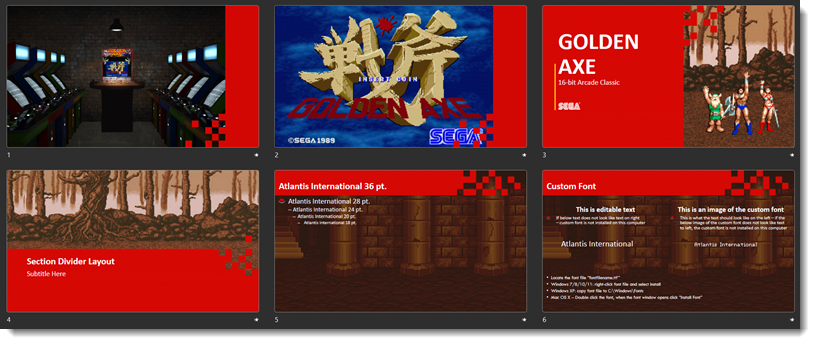
Download the FREE, and awesome classic arcade template, here: Golden_Axe_Arcade_16x9_Template
The Ultimate Classic: Pac-Man!
Game Background:
- Pac-Man was created by NAMCO, a game company based in Japan. The game was released for arcades in 1980 (eg. full size standalone cabinets).
- It was created in response to shooter games, with the intention of being a more fun & lighthearted option.
- It’s without question, one of the greatest video games of all time.
- Fun trivia: Originally, it’s name was Puck Man, inspired by the Japanese slang word “paku-paku,” which means to munch/chomp food.
- The plot of the game is that Pac-Man must eat all the dots in the enclosed mazed – while running from the 4 ghosts; Blinky, Pinky, Inky, and Clyde. The large dots called “Power Pellets” cause the ghosts to turn blue and while blue they can be eaten by Pac-Man for bonus points. The fruits that appear can also be eaten for bonus points. Once all the pellets have been eaten, Pac-Man advances to the next level.
- More trivia: the 4th ghost was named Sue in Ms. Pac-man, and Tim in Jr. Pac-man!
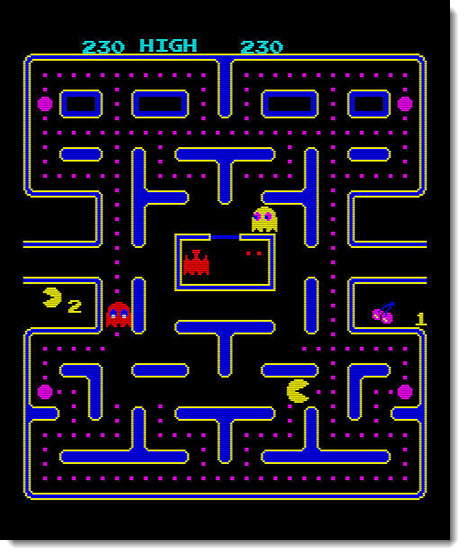
The PowerPoint template:
- Karen on the TLC Creative design took on Pac-man and developed this amazing themed full-feature PowerPoint template.
- This template features an animation where Pac-Man eats the pellets on the Title & Section Divider layouts.
- The custom color scheme is taken from the game’s original arcade colors.
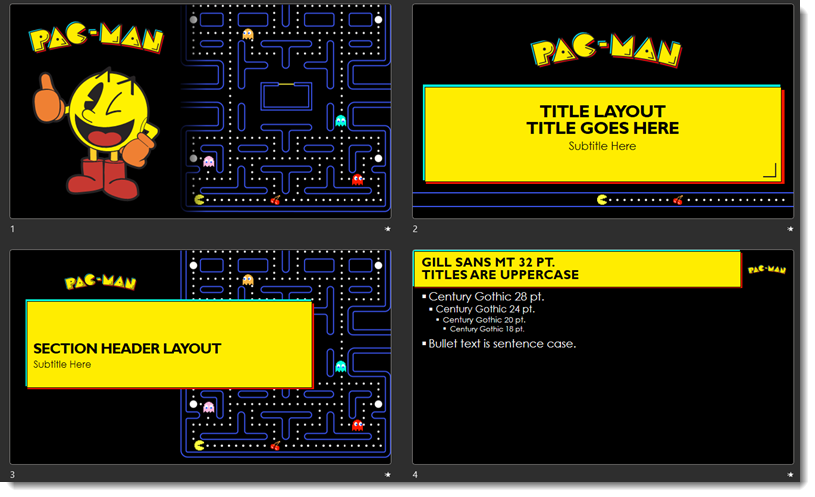

Download the template here: Pac-Man_16x9-Template
Podcast Release!

Another fun – great – and presentation centric podcast conversation releases today! Listen to it here.
Mario Kart Template
Game Background (because we had fun researching this blog post series!):
- The Super Mario Kart racing video game was developed and published by Nintendo for the Super Nintendo Entertainment System. Super Mario Kart was the first game in the ever-evolving Mario Kart series. It was released in Japan and North America, August 27 1992, and in then in Europe the following year in 1993. The Mario character was added four months into the game development. In the original prototype he was dressed a plain overalls – with no moustache.
The PowerPoint Template:
- Amber on the TLC Creative design team claimed Mario and developed this super fun Mario Kart Deluxe 8 themed full feature PowerPoint template, which features 3 background image versions; Race Course, Tokyo Blur, and Rainbow Road!
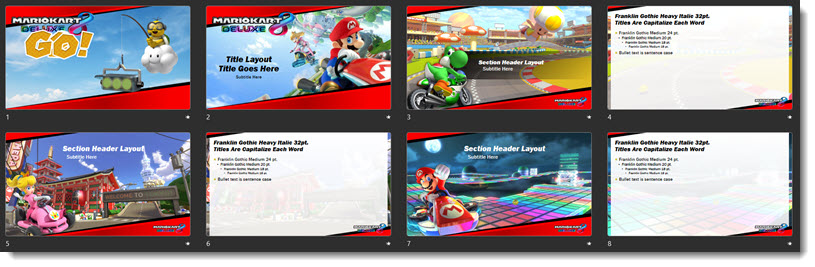
Here is the animated theme graphic layout:

Download the Mario Kart template for FREE! MarioKart Themed 16×9 Template
TLC Creative Headed to the Classic Arcade for a New PowerPoint Template Series!
Design team fun on display! As an internal project, designers on the TLC Creative team picked an arcade game or system from a great online top 20 list I found. Read through the upcoming posts to see PowerPoint template creativity – and download each free template!