It’s Back to School with Morph (part 1)

Hi! It’s Amber from the TLC Creative presentation design team. As the back-to-school season is here, there is excitement in the air, especially in my household. This year is particularly special for me because my first-born is starting kindergarten! It is a huge milestone, not just for him, but for our entire family. Watching him prepare for this new chapter has been a whirlwind of emotions; excitement, nostalgia, and a touch of nervousness (okay… more than a touch). He’s so excited to start Kinder and make new friends, and I’m excited to watch him learn and grow as a Kindergartner.
To celebrate back-to-school time, we here at TLC decided it would be fun to create “Back-to-School” PowerPoint animations – using only PowerPoint’s Morph transition. Morph is such a fantastic tool for creating smooth PowerPoint transitions and animations to bring slides to life.
My back-to-school animation for this series features 8-bit style graphics inspired by Mario, one my son’s favorite video game characters. While his current favorite game is Super Mario Odyssey (Mario Kart 8 a close second place), I have a soft spot for the classic Super Mario Bros. 3 which I played as a kid with my older brother.

To bring my idea to life, I prepped the slide art in Adobe Illustrator and imported PNGs into a PowerPoint presentation. TIP: the asset export feature in Adobe Illustrator is a huge timesaver for projects like this. You can add the individual pieces you’re needing to animate to the asset export panel. You can then export all images at once as PNG files in a couple of clicks.

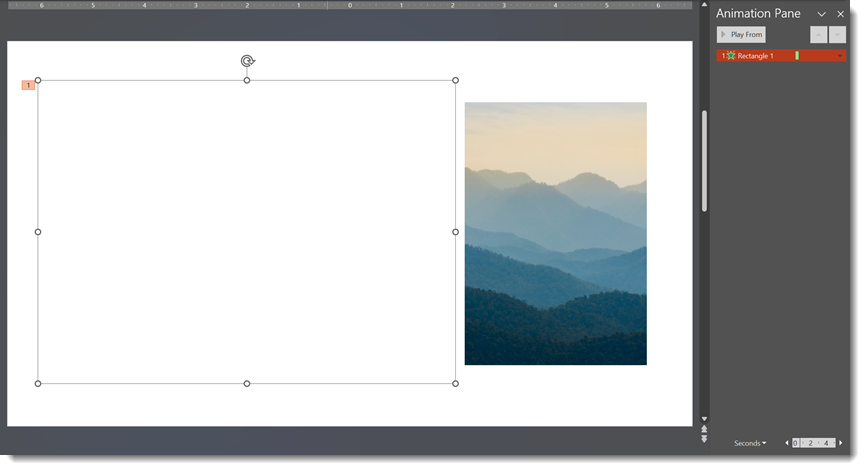
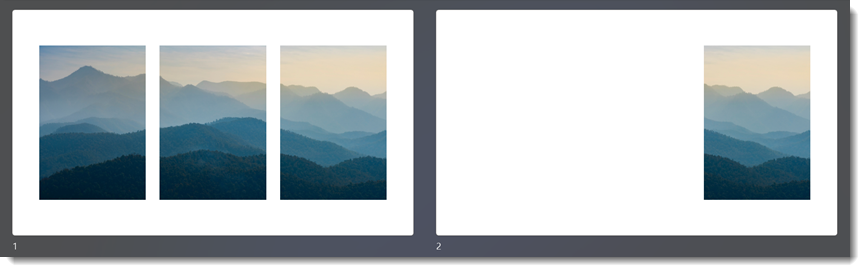
I envisioned the animation opening to feel like The Simpsons opening scene clouds. So, on the first slide I added all of the cloud images huge, then let Morph magically size and move them into place on the following slide creating the feeling of swift forward movement.
Huge clouds outside of the slide…

…resolve into the normal sized clouds on the next slide:

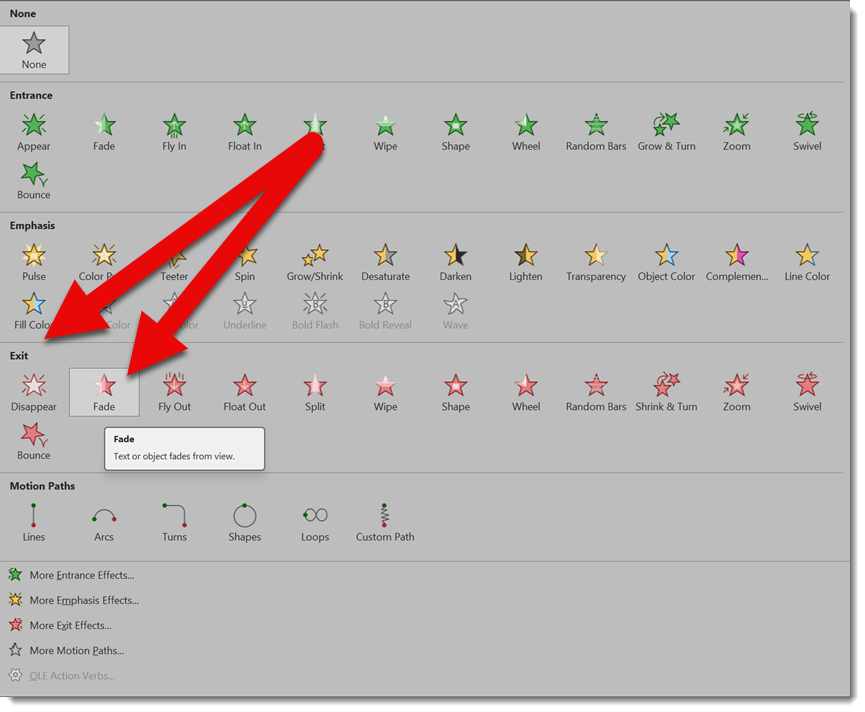
The 20 second animation consists of 20 slides, with auto transitions on all but the final slide. This is because an auto transition would end the show in black, not stop the slide show on the final slide. Most of the movement in the 20 seconds of animation is my “son” jumping through the scene collecting school supplies before heading into school – using only the Morph transition for all movement.

Click play for the full, PowerPoint Morph, animation in action!
Be sure to come back and check out what my co-workers back-to-school animation creations are in the posts to come!