PowerPoint Presentation Translator Add-in
Microsoft has a secret garage where lots of amazing things are thought up, and few escape into the public realm. One recent Microsoft Garage app is the PRESENTATION TRANSLATOR. The add-in is really multiple parts; powered by the “Microsoft Translator Live Feature”, part PowerPoint add-in, part mobile app, and part 3-things-in-1, this add-in has a lot to offer a lot of different people.
At its core, the Presentation Translator is an add-in from Microsoft that is designed to help presenters communicate with audience members who speak a different language, or may be deaf/hard of hearing. It does slide translation as automatic narration, live subtitling, and interactive live translation using mobile devices. While not perfect, it is impressive, and fun to use.
To install you need to download direct from the Microsoft Garage webpage here (no Office Store install option yet).
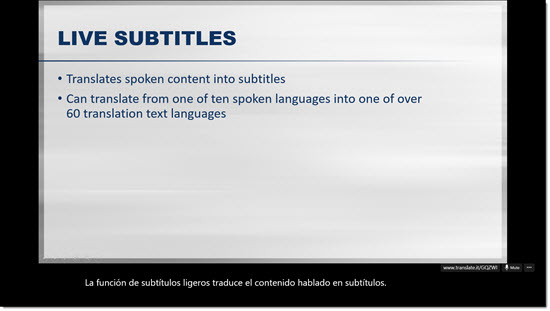
Live subtitling, one of the key features, allows the presenter to speak in 1 of 10 spoken languages while the add-in creates real-time, live subtitles translated into one of more than 60 text translation languages. The customized speech recognition feature uses the slide content to learn your language, helping ensure proper translation.
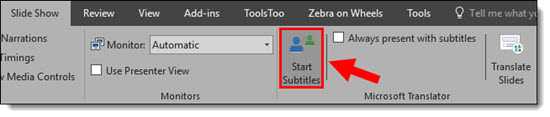
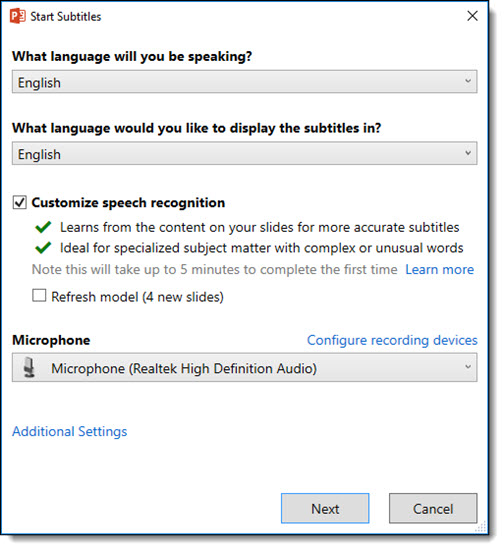
To start the live subtitles, go to the Slide Show tab and select Start Subtitles.
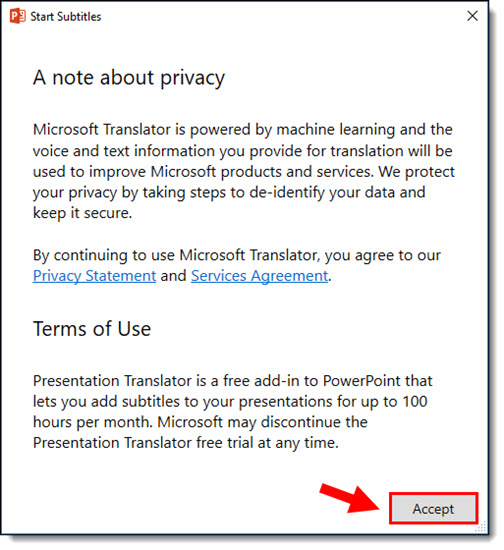
Click Accept to agree to the terms of use.
Walk through the overview by clicking Next until you reach the settings options. Select the speaking language and the subtitle display language. Check Customize speech recognition if you would like to use this feature, and select your microphone device.
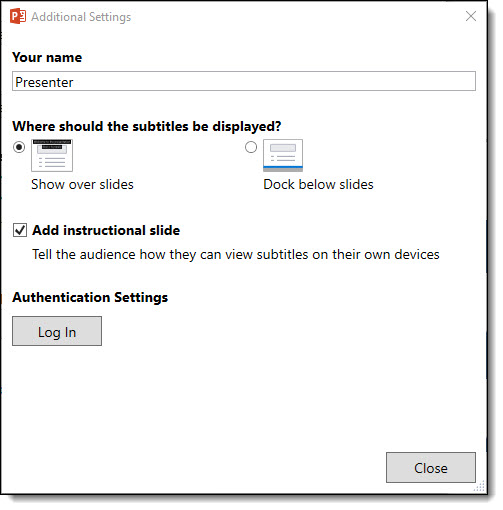
You can also enter a presenter name, select subtitle locations, log in for authentication settings, and turn on or off the optional instructional slide by clicking Additional settings. When finished with all settings, click Next. Once loaded, your presentation will begin and subtitles will appear in the location you selected.
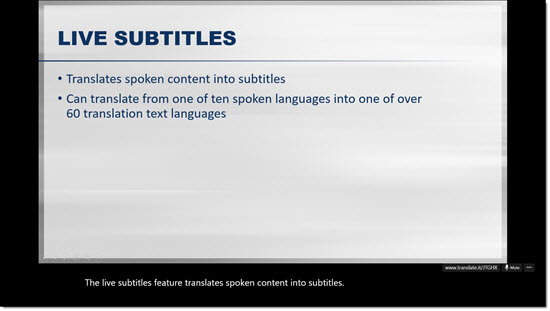
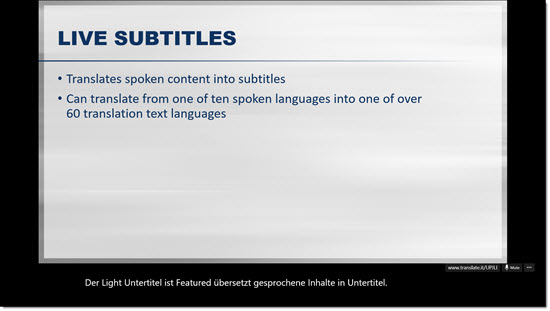
Here is one of our sample slides with the sentence “The Live Subtitles feature translates spoken content into subtitles” translated into English, French, German, and Spanish subtitles.

—
Personal Translation: Through the add-in and corresponding mobile app, the audience members can also use a custom code to access personal translations, allowing them to follow along and communicate in their own language. The add-in also translates audience questions during an unmuted Q&A. If the audience members don’t speak one of the ten spoken languages, they can use one of the 60+ text based languages. In turn, those who are deaf or hard of hearing can more easily follow along with the presentation.
To use this feature, you will need to download the Microsoft Translator app on your mobile device and follow instructions provided during the presentation.
—
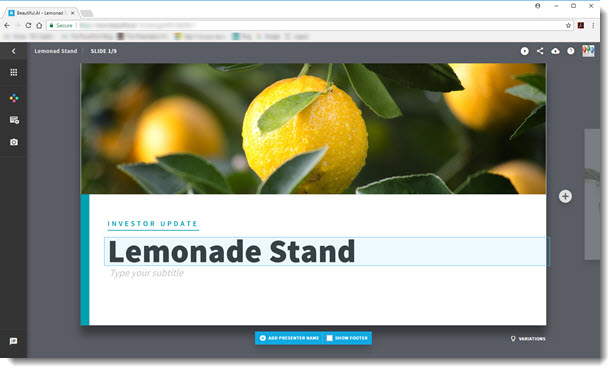
Presentation Content Translation: the add-in also offers a tool to translate an entire presentation, while still maintaining formatting. See our original example here, in English.

To translate the content, go to the Slide Show tab and select Translate Slides
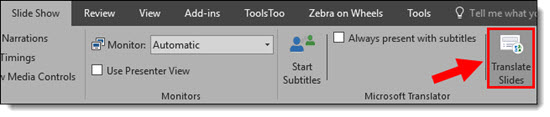
Select the current, slide language and the new language to translate to and click Translate Slides

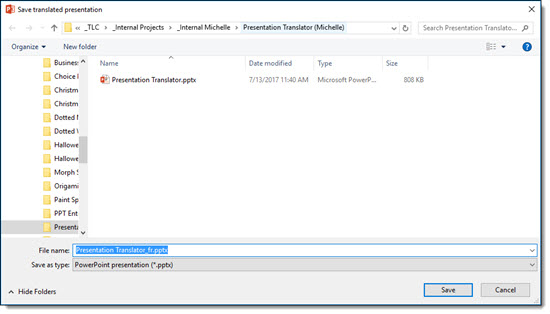
Locate the folder you would like to save the translated version in, rename if desired, and click Save. Note the by default, an abbreviation of the new language is added to the end of the filename.
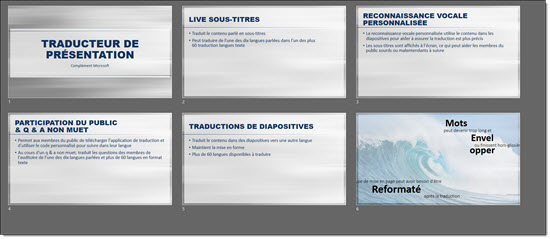
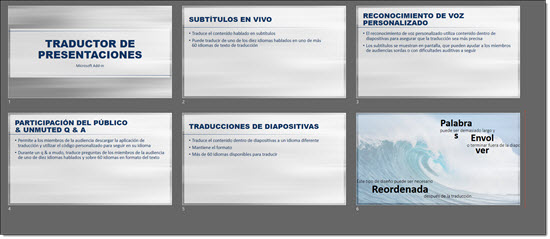
A new file will open with all content translated while still maintaining the original formatting. Here is our example after being translated to French, German and Spanish.
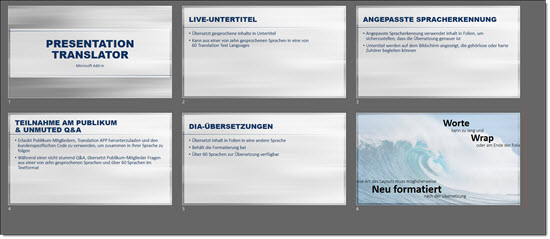
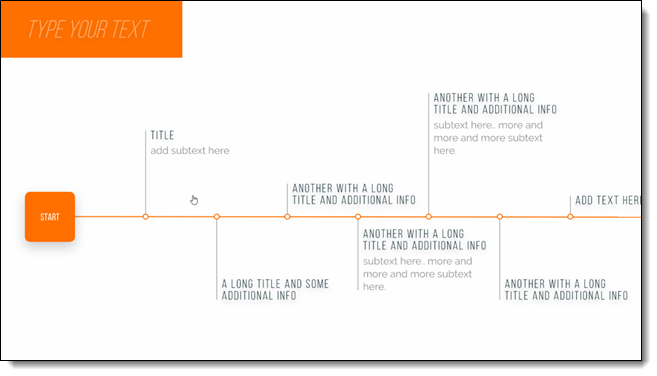
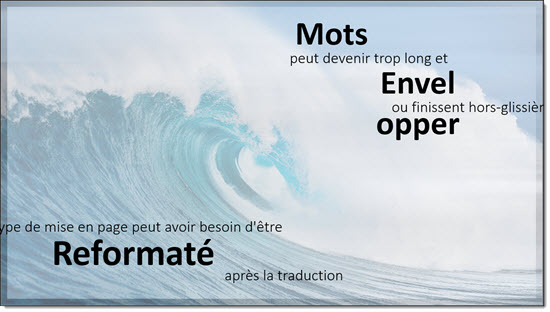
For some layouts, reformatting may be necessary to best display the translated content. For example, here is a slide that features large, stacked text of different sizes.
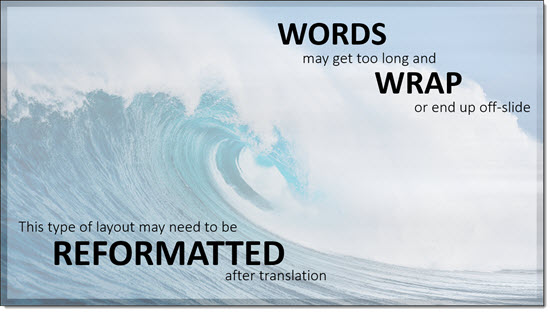
When translated into French, German or Spanish, the length of the words change and cause issues with the content fitting into the existing design. Notice that the word “wrap” may become two lines and some text ends up overlapping or off-slide.


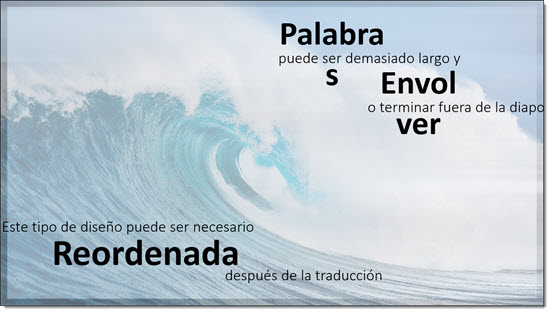
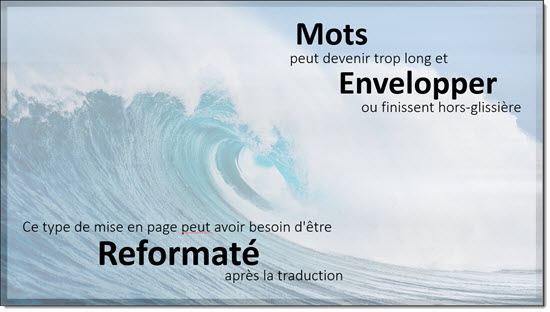
By resizing and moving text, most of these layouts can still function after translation. Here is our French slide before and then after fixing the formatting.
The slide content translation was the feature of most interest to me, and for a standard bullet list style presentation it does a good job. As the examples above show, for more stylized layouts, there is still a lot of layout revision needs. And, because I do not fluently speak or read any of the languages used, I cannot say how accurate the translated text really was. The world is becoming much smaller all the time, and the PowerPoint Translator add-in is making it happen sooner than later.
Troy @ TLC